Quick answer
Digital nomads streamline transit by consolidating passports, cards, and a compact power bank into a single travel pouch kept in an outer pocket. Pair this with short cables, fully charged devices, and offline boarding passes to eliminate checkpoint delays and gate-side outlet hunts. The goal is a grab-and-go system that keeps you powered and paper-ready from curb to cabin.
Key takeaways
- Combine power and paperwork in one RFID-blocking travel pouch to cut carry-on clutter.
- Carry a short charging cable and a power bank under 100Wh to comply with TSA/FAA rules.
- Pre-load offline boarding passes and backup IDs before reaching the airport.
- Keep your transit pouch in an outer pocket for instant access at security and boarding.
- Top off devices before departure so a mid-flight power bank is a backup, not a lifeline.
Why Transit Friction Costs You More Than Time
Every time you pause at a security desk to unearth your passport from a main compartment, or crouch under a gate seat hunting for an outlet, you burn mental energy you could have spent on client work or rest. For digital nomads, airports are not vacations—they are liminal offices. A disorganized bag turns that office into an obstacle course where every task takes three times longer than it should.
The real problem is fragmentation. Your passport lives in a jacket pocket, your power bank is buried in a tech pouch at the bottom of your pack, your boarding pass is on a phone that just hit twelve percent, and your only charging cable is tangled somewhere behind a pair of headphones and a toiletry bag. By the time you reach your gate, you have completed a full-body workout and still have no guarantee your devices will survive the flight or the Uber ride on the other side.
That stress compounds when flights are delayed or gates change at the last minute. If your phone dies, you lose not just entertainment, but your boarding pass, your two-factor authentication codes, and your map to the coworking space. Smooth transit is not about owning more gear; it is about choosing gear that serves more than one purpose and assigning it a permanent home. When everything has a place, you stop reacting to the airport and start moving through it with the same calm you bring to a morning coffee shop shift.
What to Look for in a Transit Organizer
A dedicated travel wallet for transit should do three jobs: protect your identity, hold your documents, and keep a power source close. Look for an RFID-blocking layer, a dedicated phone pocket that does not force you to remove your case, and a slim enough profile that it slides into a daypack’s outer sleeve without bulking up your silhouette.
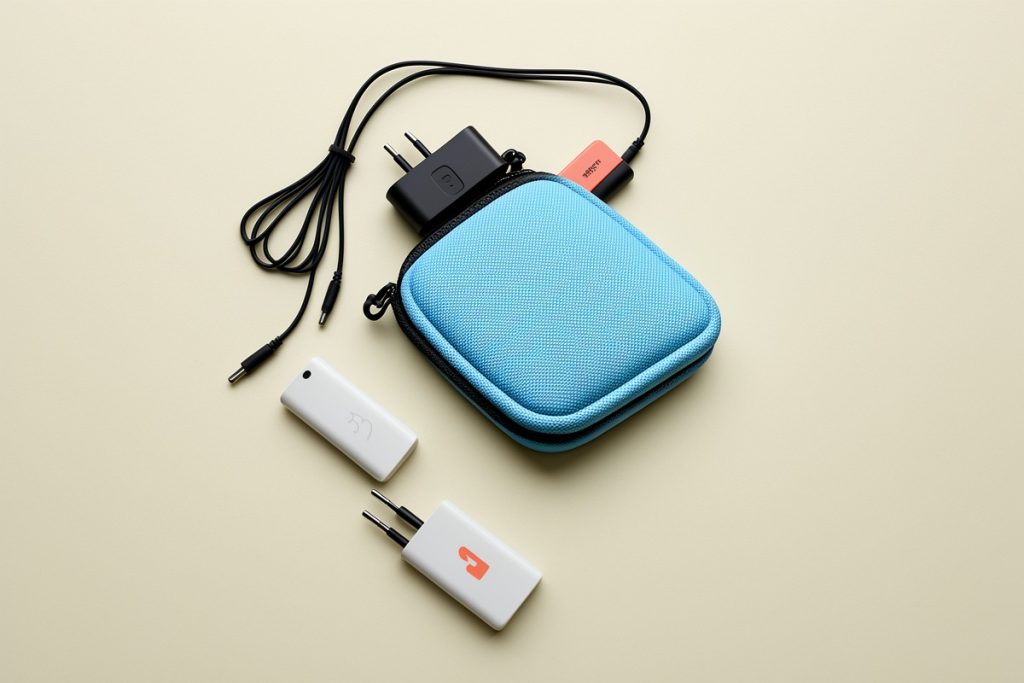
Removable power banks are especially useful because they let you pull the battery out at security if an agent asks for a closer look, without dumping your cash and cards onto a plastic tray. As an Amazon Associate, GetWitty may earn from qualifying purchases. A pouch like the Phone Charging Passport Holder – Travel Wallet with Removable Power Bank combines a removable battery with organized slots for currency and cards, letting you keep everything in one place while still separating power from paperwork when needed.
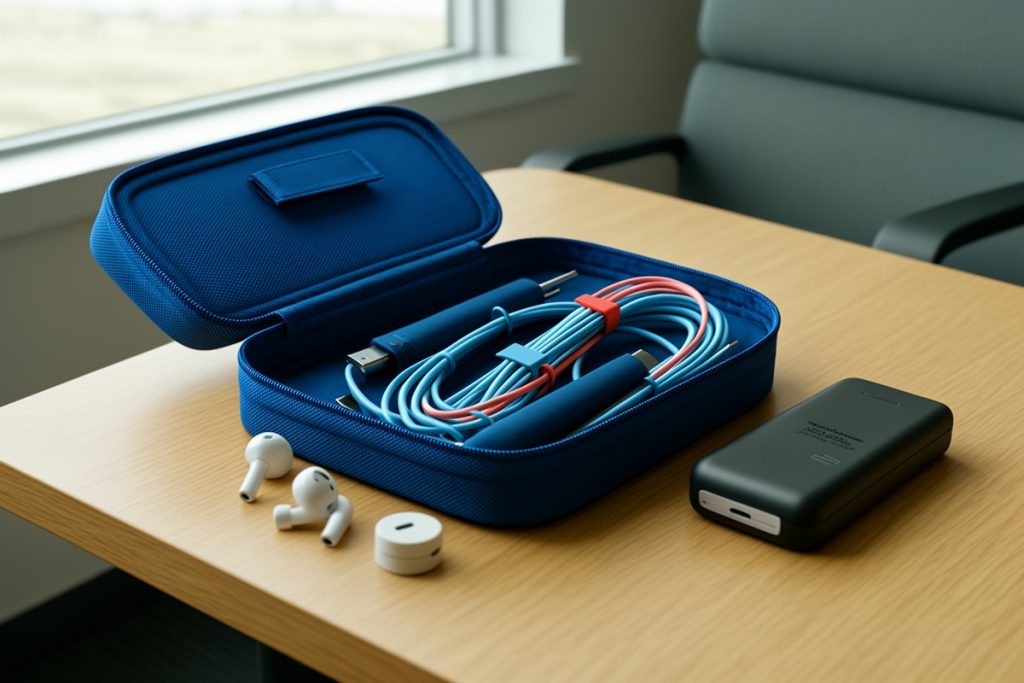
Short cables matter more than you think. A six-inch cord reduces tangles and lets you charge from the pouch while walking, rather than managing a three-foot snake of wire through a crowded terminal. Choose a wallet with a zippered internal pocket for a spare SIM or SD card, because swapping connectivity at your destination should not require unpacking your entire bag at the baggage carousel.
TSA and FAA Rules for Portable Chargers
Lithium-ion power banks are considered hazardous materials when flown, which means they must stay in your carry-on baggage. You cannot check them. Most airlines follow FAA guidance and cap each device at 100 watt-hours without airline notification, and many airport security teams will look for the printed watt-hour rating on the housing. If that label has worn off, the device may be confiscated.
Capacity is not the only concern; shape and accessibility matter too. Keep your power bank in a pocket you can reach in seconds, because some security checkpoints outside the United States require you to remove all batteries and place them in a separate bin. A transit organizer with a removable battery makes this far easier than digging through a maze of socks and adapters.
Minimalist Pre-Flight Transit Checklist
Use this checklist the night before an international flight to make your airport workflow automatic rather than improvisational.
- Night before: Charge phone, earbuds, and power bank to 100 percent.
- Three hours out: Download offline boarding passes and screenshot backup 2FA codes.
- Packing phase: Consolidate passport, cards, and cash into one slim travel wallet.
- Bag prep: Stow liquids and laptops in outer compartments for easy removal at security.
- Final check: Confirm your power bank’s watt-hour rating is clearly printed on the housing.
Run this checklist once and the pattern becomes muscle memory. The goal is to reach the airport with nothing left to remember except which gate to find.
Moving From Security to Gate Without the Scramble
Once you clear security, resist the urge to repack everything into your main bag. Keep your transit organizer in the same outer pocket and use the walk to the gate as a chance to assess your power levels. If your phone is below fifty percent, plug it into the removable power bank while you stroll. By the time you reach the gate, you have topped off enough juice to survive a delay, a long taxi ride on arrival, or an unexpected terminal change.
When boarding begins, your passport and boarding pass should already be in hand because they live in that outer pocket. You are not the traveler holding up the line while juggling a backpack, a coffee, and a phone that is somehow also a ticket. You simply move, because your system has already done the thinking for you.
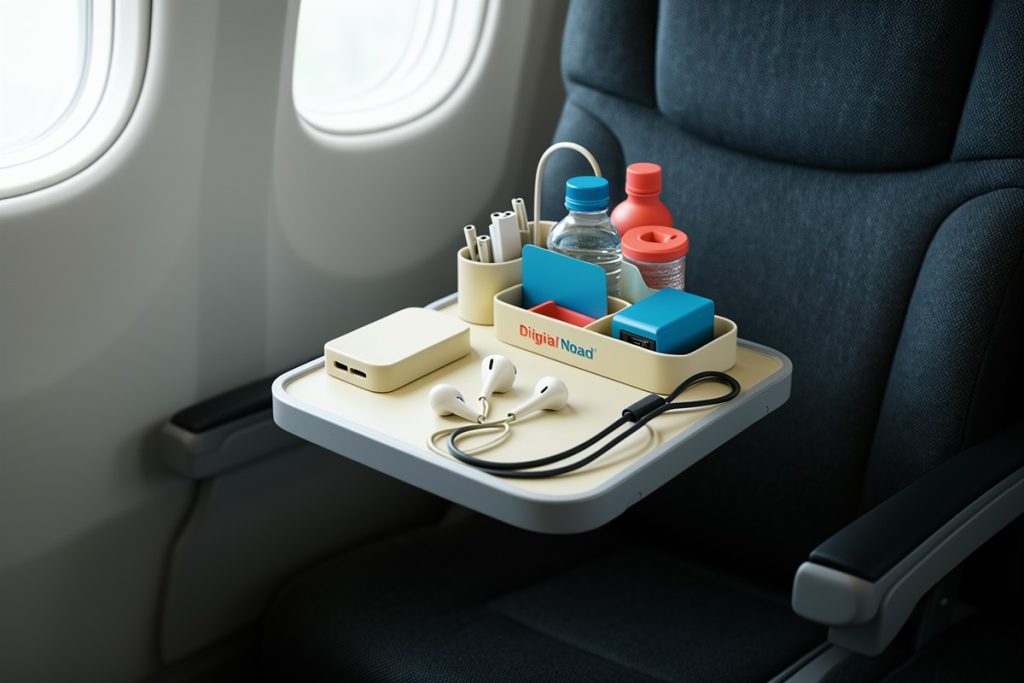
After takeoff, stow the organizer in the seat-back pocket or slide it under your bag. Because your essentials are consolidated, you will not need to climb over seatmates to retrieve a charger from the overhead bin. If you want to work during the flight, your cable is six inches long, not six feet of chaos. That quiet efficiency is what separates a digital nomad who arrives ready from one who arrives frazzled. The airport is a test of your setup, and with the right pouch and a little discipline, you pass it every time.
Sources
Last reviewed: 2026-08-07