Quick answer
To organize tech for digital nomad travel, build one compact core kit around your actual workday: laptop charger, essential cables, power bank, adapter, and communication accessories. Separate daily-use items from backups, give every cable a fixed pocket, and keep batteries in your carry-on. Before buying a travel organizer, measure your largest charger and check whether its compartments match your devices.
Key takeaways
- Pack for your work routine, not every device you own.
- Use separate spaces for daily essentials, backups, and adapters.
- Measure bulky charging bricks before choosing a tech organizer.
- Keep power banks and spare lithium batteries in your carry-on.
By Casey Blake, Realistic Remote Work Advisor
Start with the workday, not the gadget drawer
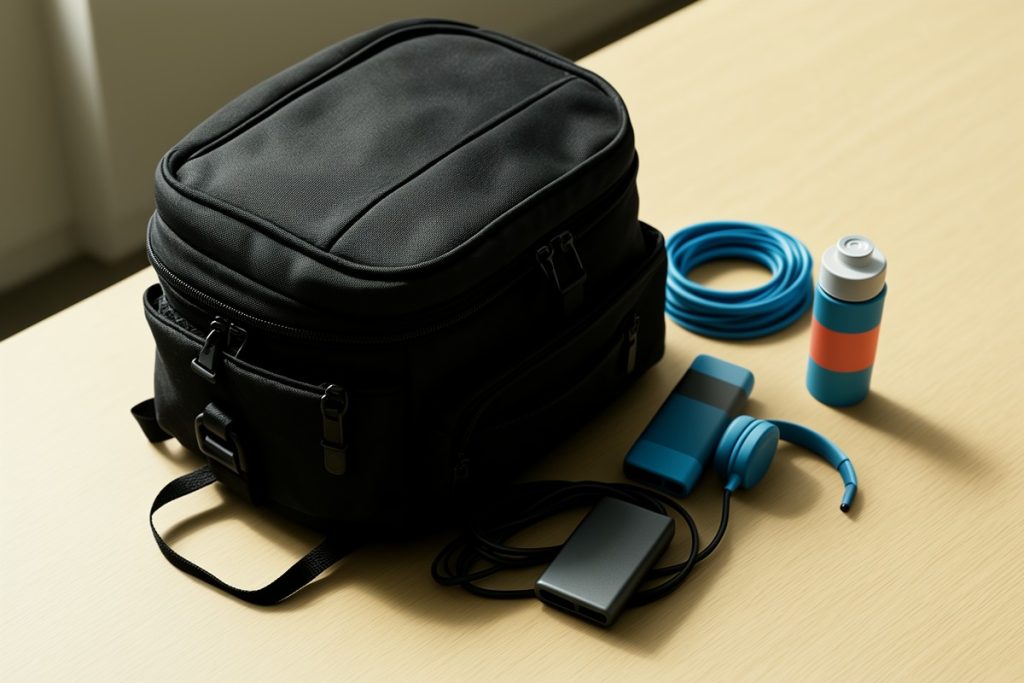
Digital nomads often end up carrying too much technology because each item seems useful in isolation. The extra HDMI cable may help one week. A second mouse may feel reassuring. Three different charging cables might cover every possibility. Together, they create a heavy, tangled bag that is difficult to search at an airport or in a crowded café.
Begin by listing what you actually do during a normal workday. If you mainly write, join video calls, and manage projects from a laptop, your core kit may be surprisingly small. If you edit video, photograph destinations, or connect to external displays, your needs will be different. The goal is not minimalism for its own sake. It is removing items that do not support your current work.
For each gadget, ask three questions: Do I use it at least weekly? Can another item replace it? Would replacing it cost more trouble than carrying it? Keep the answers practical. A spare cable can be worth the space if losing your only cable would stop your work.
Build a two-layer digital nomad tech kit
A useful system has two layers. The first is your daily-carry kit: the equipment you need between accommodation, workspace, and transport. The second is a backup layer for less frequent situations. Keeping them separate means you can leave rarely used accessories in your main luggage instead of unpacking your entire setup every morning.
| Kit layer | Typical contents | Best location |
|---|---|---|
| Daily essentials | Laptop charger, primary cable, phone cable, earbuds, compact adapter | Small organizer in your personal item |
| Work-specific | Mouse, card reader, presentation adapter, external drive | Organizer pocket or separate sleeve |
| Backup | Spare cable, replacement adapter, backup storage | Main luggage or a rarely opened compartment |
| Power reserve | Power bank and its charging cable | Accessible carry-on pocket |
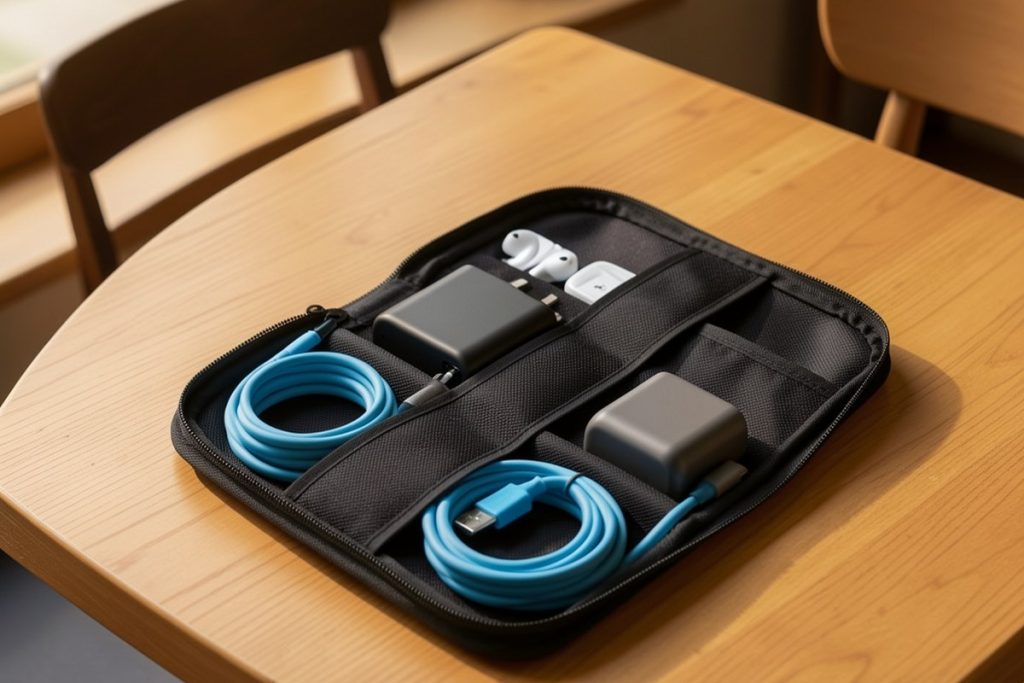
Labeling compartments mentally is more effective than trying to remember where everything went. For example, reserve the largest pocket for the laptop power brick, a narrow pocket for cables, and one zipped space for small items that could otherwise disappear. A consistent layout makes packing faster when you change locations frequently.
Choose an organizer that matches your largest item
The smallest pouch is not automatically the best travel tech organizer. Capacity matters, but so do shape, access, and protection. A flat pouch may slide easily into a backpack but struggle with a large charger. An upright case may hold bulky equipment better but use more vertical space. Decide which limitation matters most for your luggage.
Check these details before buying:
- Charger clearance: Measure the length, width, and thickness of your largest charging brick, including the cable connection.
- Pocket layout: Look for separate areas for long cables, small adapters, and fragile accessories.
- Material: Water-resistant fabric can help with everyday spills, but it is not the same as waterproof protection.
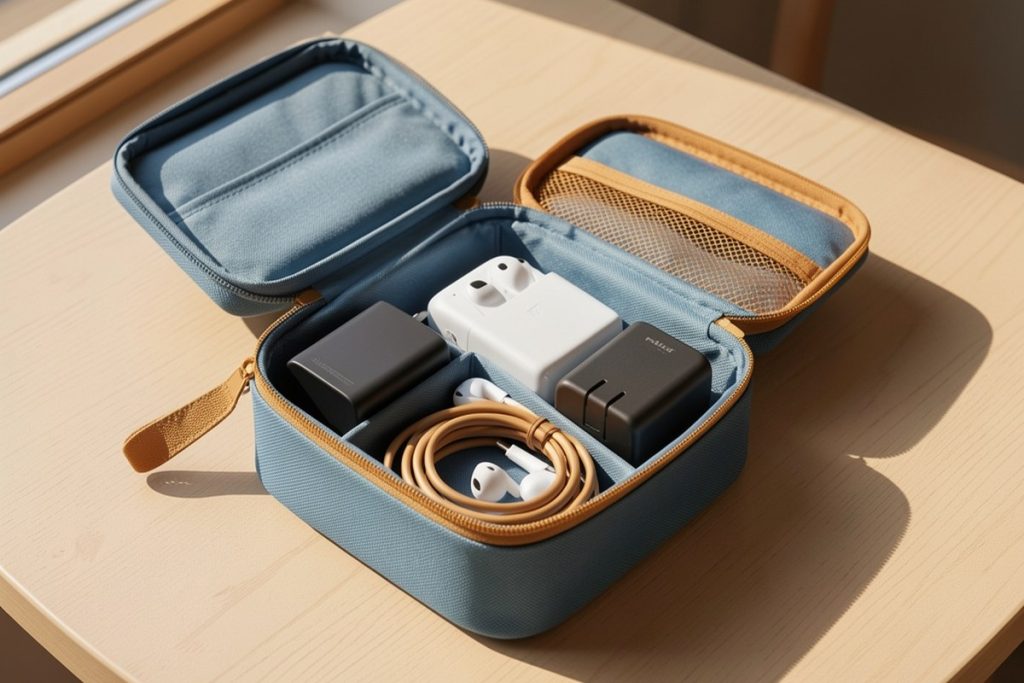
- Opening style: A case that opens widely is easier to search than a deep pouch with one crowded compartment.
- Carry-on fit: Check the organizer’s dimensions against your backpack or personal item before ordering.
The Electronic Organizer Travel Case is one reasonable option for a nomad carrying a substantial laptop charger and several cables. Its listing describes water-resistant nylon, eight pockets, and compatibility with MacBook Pro 96W/140W charging setups. That makes it worth considering for a larger charging kit, but pocket count alone does not guarantee a good fit. Measure your own equipment and check the case dimensions first.
Pack cables by purpose instead of cable type
Many travelers organize cables by shape: all USB cables together, all adapters together, and everything else in a loose pocket. That approach can still leave you searching for the one cable needed to start work. Organizing by purpose is faster.
Create a “start working” group containing the laptop charger, primary cable, phone cable, and any adapter required at your usual workspace. Keep less frequent items, such as a camera cable or display adapter, in a secondary pocket. If you carry both USB-C and older connectors, separate them clearly so you can identify the right one without emptying the case.
Coil cables loosely rather than wrapping them tightly around a charger. Tight bends near the connector can put unnecessary strain on the cable over time. Avoid stuffing a power brick on top of delicate connectors, memory cards, or earbuds. A little separation protects small accessories and reduces the time spent untangling your kit.
Handle airports and battery rules deliberately
Travel procedures vary by airport, country, airline, and screening program. For flights departing the United States, review the Transportation Security Administration’s current electronics guidance before you leave. Do not assume that a previous airport experience will apply to your next trip.
Power banks and spare lithium batteries require particular care. Federal Aviation Administration guidance says spare batteries must be carried in the cabin rather than checked baggage and protected from damage or short circuits. Keep a power bank where you can reach it, and follow the airline’s rules if they impose stricter limits. Never pack a loose battery beside keys, coins, or other metal objects.
Keeping your technology organized also makes inspection less stressful. Put the organizer near the top of your personal item, leave charging bricks accessible, and avoid burying cables beneath clothing. You may not need to remove every item, but you will be better prepared if an officer asks you to present something separately.
Use a five-minute reset between destinations
A travel tech system only works if you maintain it. Before leaving a hotel, apartment, or coworking space, run the same short reset every time:
- Check the wall outlet, bedside table, and desk for charging cables.
- Return every cable to its assigned pocket instead of placing it loose in your bag.
- Confirm the laptop charger and phone cable are both present.
- Check the power bank charge level if you expect a long travel day.
- Remove receipts, wrappers, and unrelated items that have collected in the organizer.
Once a week, inspect the kit more thoroughly. Look for frayed cable jackets, loose connectors, damaged adapters, or accessories you have not used in several weeks. Replace anything unreliable before a travel day, and remove anything that no longer supports your current work.
The simplest system is the one you can repeat
Good digital nomad gear should reduce decisions, not create another packing ritual. Choose a fixed home for each item, keep your daily kit separate from backups, and make your largest charger the deciding factor when selecting a case. The result is a lighter, faster setup that works in an airport lounge, a rented apartment, or a café without turning your bag into a cable drawer.
Last reviewed: 2026-08-21