Quick answer
If you are starting from zero, focus on four skills: choosing yarn and needles, casting on, making the knit stitch, and binding off. Practice a small swatch for 15–20 minutes a day rather than rushing into a large project. By the end of a week, you can usually make a simple square or scarf section, even if your tension is still uneven.
Key takeaways
- Start with light-colored, medium-weight yarn so your stitches are easy to see.
- Use the yarn label to choose needles, then adjust if your stitches feel too tight or loose.
- Learn one stitch well before adding purling, cables, or color changes.
- Expect uneven tension at first; consistency improves through short, repeated practice.
- Use a small swatch as your first project so mistakes stay manageable.
Gather the right beginner knitting supplies
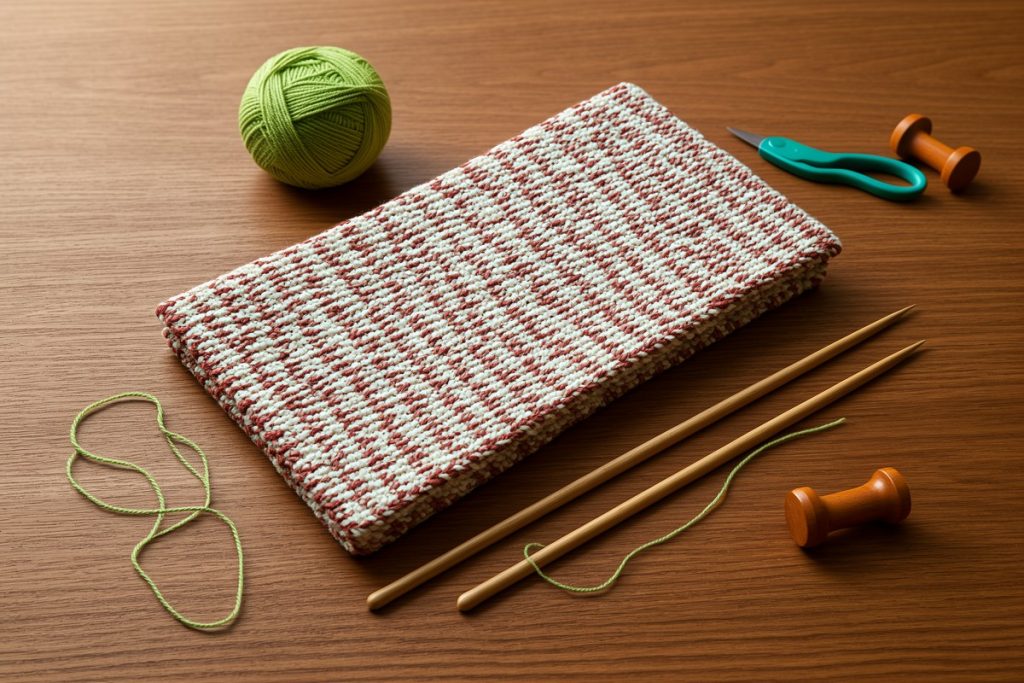
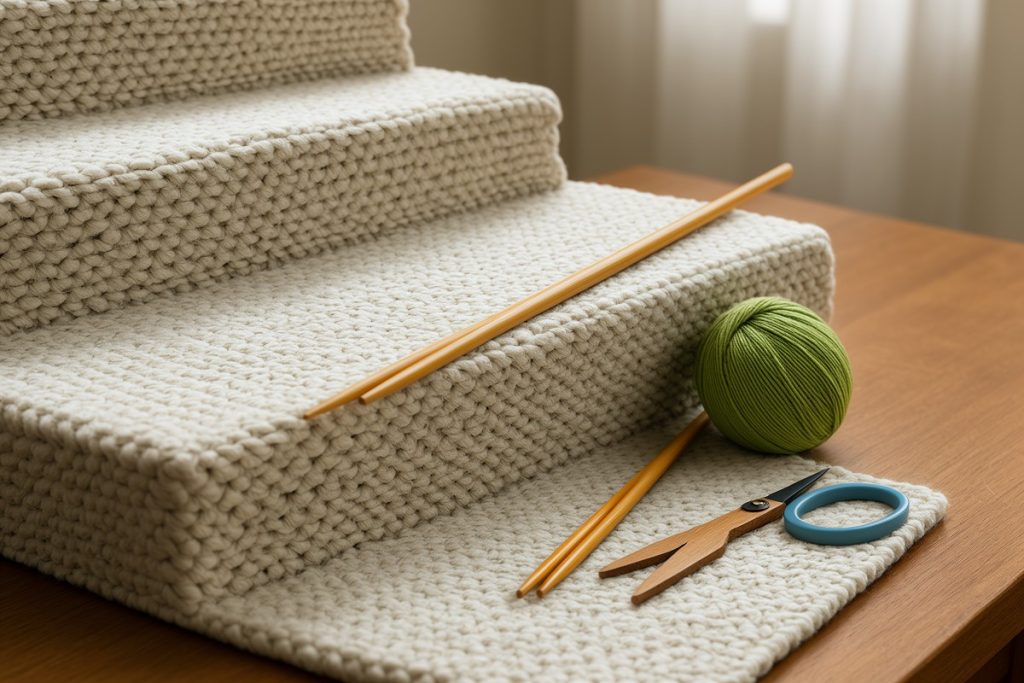
You do not need a large craft kit to begin. Start with medium-weight yarn, often called worsted or category 4 yarn, and a pair of knitting needles that match the yarn label. A light or medium color is easier to inspect than black, navy, or highly textured yarn.
The Craft Yarn Council lists category 4 medium-weight yarn with a common needle range of approximately 4.5–5.5 millimeters, or US sizes 7–9. Treat that range as a starting point rather than a strict rule. Your knitting style affects the result, so a small test swatch matters more than the number printed on the needle.
| Supply | Beginner-friendly choice | Why it helps |
|---|---|---|
| Yarn | Light-colored medium-weight yarn | Stitches are visible and easy to handle |
| Needles | Medium-size bamboo, wood, or metal needles | Large enough to control without feeling delicate |
| Scissors | Small, sharp pair | Makes finishing cleaner |
| Yarn needle | Blunt needle with a large eye | Helps weave in loose ends |
| Measuring tape | Flexible tape | Useful for checking swatch size |
Bamboo and wooden needles provide a little more grip, which can make it easier to keep new stitches from sliding away. Metal needles are smooth and durable but may feel slippery. There is no universally best material; choose the pair that lets you move the yarn without squeezing tightly.
Follow this seven-day learning plan
Day 1: Learn the basic setup
Practice making a slip knot and holding the needles comfortably. Keep the yarn relaxed across your fingers rather than wrapping it tightly around your hand. Your goal is not speed. You are learning how the yarn moves and where each loop sits on the needle.
Make several practice loops, remove them, and begin again. This removes pressure from the first real attempt and helps you notice when the yarn is too tight.
Day 2: Practice casting on
Use the long-tail cast-on if you want a versatile edge with some elasticity. Leave enough yarn for the number of stitches you need; if the tail runs out, undoing the entire edge is frustrating. For a practice swatch, cast on 15–20 stitches.
Keep the loops snug enough to stay on the needle but loose enough for the other needle to enter easily. A tight cast-on edge is one of the most common beginner problems.
Day 3: Make the knit stitch
Hold the needle with the cast-on stitches in your left hand and the empty needle in your right. Insert the right needle into the first stitch from left to right. Wrap the working yarn around the right needle, pull a new loop through, and slide the old stitch off the left needle.
Repeat this process across the row. The sequence may feel slow at first: insert, wrap, pull through, slide off. Say the steps quietly if that helps you maintain the order.
Day 4: Turn your work and control tension
When every stitch has moved to the right needle, turn the work so the needle holding the stitches is again in your left hand. Continue making knit stitches. Watch the yarn between your fingers. If you pull after every stitch, the fabric will become tight and difficult to work.
Try to keep a steady rhythm instead of trying to make identical loops by force. Uneven stitches often relax slightly after the fabric is finished and gently washed according to the yarn’s care instructions.
Day 5: Bind off
Binding off secures the final row. Knit two stitches, lift the first stitch over the second and off the right needle, then knit one more stitch. Continue lifting the previous stitch over the newest stitch until one loop remains. Cut the yarn with a tail, pull it through the last loop, and weave in the end with a yarn needle.
Do not pull the bound-off edge too tightly. It should remain flexible enough to lie flat.
Days 6 and 7: Make a small swatch
Cast on 20 stitches and knit every row until the piece is roughly square. This is called garter stitch, and it is a practical first project because you only need one basic stitch. Count your rows occasionally, but do not restart every time one edge looks uneven.
Use the final two days to repeat the process with less guidance. Independence is the real milestone: you should be able to identify the working yarn, turn the piece, find the next stitch, and recover from a small mistake.
Fix the most common beginner mistakes
- Stitches are too tight: Relax your grip and avoid pulling the working yarn after every loop. Larger needles can also create a looser fabric.
- The first row is difficult to enter: Your cast-on edge is probably too firm. Cast on more slowly or use a slightly larger needle for the cast-on row.
- Edges are uneven: Check that you are completing every stitch and not accidentally knitting into the space between stitches.
- A stitch slips off: Stop immediately. Place the loose loop back on the needle with the front leg facing correctly, then continue.
- The fabric widens: You may be adding stitches at the edges. Count the stitches at the end of each row until the movement becomes automatic.
Choose a realistic first knitting project
A square swatch, dishcloth, or narrow scarf is more suitable than a sweater, fitted hat, or intricate pattern. Early projects should let you repeat one motion and see progress quickly. Avoid fuzzy, very dark, or highly variegated yarn until you can read your stitches comfortably.
Gauge matters when size is important. It describes how many stitches and rows fit into a given measurement with a particular yarn and needle combination. The yarn label and pattern may suggest a gauge, but your own swatch tells you what your hands actually produce. If the fabric is too dense, try larger needles; if it is too loose, try smaller ones.
Decide whether a visual knitting guide will help
Free tutorials can teach the essential movements, but beginners often benefit from having the steps arranged in one consistent sequence. The candidate guide Knitting Basics for Beginners: Step By Step Visual Guide – Learn to Knit Like a Pro in Less than a Week! may suit learners who prefer visual, offline-style instruction and a defined progression.
That does not make it necessary. You can learn the fundamentals with basic supplies and reliable free tutorials. A book is most useful if you find it easier to revisit one explanation than to search for a new video whenever you forget a step. Before starting a project, still follow that project’s own yarn, needle, gauge, and abbreviation instructions.
Beginner knitting checklist
- Choose smooth, light-colored medium-weight yarn.
- Match the needles to the yarn label.
- Practice a relaxed slip knot and cast-on edge.
- Repeat the knit stitch across several short rows.
- Count stitches when the fabric changes shape unexpectedly.
- Bind off loosely and weave in the ends.
- Keep the first project small enough to finish.
Learning to knit in a week is best understood as building a dependable foundation, not mastering every technique. Short daily sessions help your hands remember the sequence without turning practice into a chore. Once casting on, knitting, turning, and binding off feel familiar, you have the skills needed to begin simple patterns and add new stitches one at a time.
Last reviewed: 2026-08-31