
Quick answer
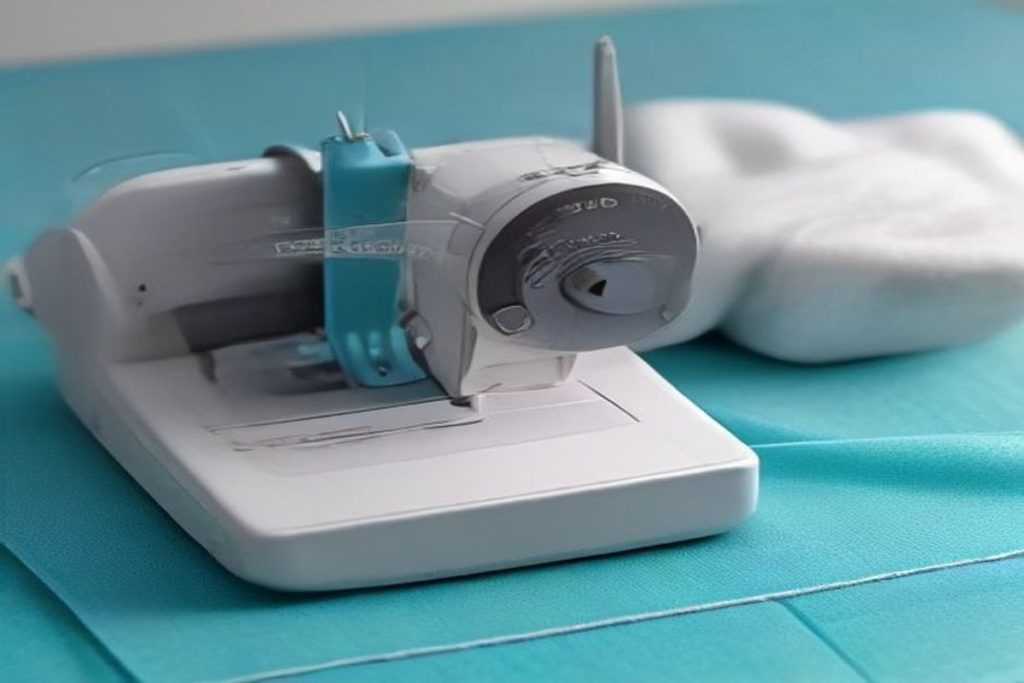
To set up a sewing machine for the first time, identify the machine’s controls, install the needle and presser foot correctly, wind and insert the bobbin, thread the upper path, and test on scrap fabric. Start with a straight stitch at a moderate length, sew slowly, and adjust only one setting at a time when troubleshooting.
Key takeaways
- Read the manual for your exact machine before threading it.
- Raise the presser foot while threading so the thread seats correctly in the tension path.
- Always test stitches on scrap fabric before sewing the real project.
- Most beginner problems come from incorrect threading, a poorly inserted bobbin, or a bent needle.
What you need before turning on the machine
Set up on a sturdy, level table with enough space to the left and right of the machine. You will need the machine’s power cord and foot controller, a compatible needle, thread, bobbin, fabric scraps, fabric scissors, and the machine manual.
Use thread and a bobbin specified for your machine when possible. Sewing machines are not universal: bobbin shape, needle system, threading path, and stitch controls vary by model. The manual is more reliable than a general tutorial when the two disagree.
Remove packaging, protective covers, and any shipping materials from around the needle area. Keep the needle pointed away from your fingers while installing it, and unplug the machine whenever you replace the needle, clear a jam, or work near the bobbin area.
Set up the needle, presser foot, and bobbin
Begin with the needle in its highest position. On many machines, the flat side of the needle faces a particular direction, but that direction is model-specific. Loosen the needle clamp, insert the needle as far as it will go, and tighten the clamp securely without forcing it.
Attach the standard presser foot if it is not already installed. This is the most useful foot for learning straight seams. Check that the presser-foot lever moves freely and that the foot is firmly attached.
Next, wind the bobbin according to the manual. The thread should wind evenly rather than forming a mound on one side. Insert the wound bobbin in the correct direction and guide the thread through the bobbin’s slot and tension path. A bobbin that is upside down or not seated under the guide can cause loose loops, skipped stitches, or thread nests underneath the fabric.
Thread the upper path correctly
Raise the presser foot before threading. This opens the tension discs on many mechanical machines and helps the thread settle into the correct path. Place the spool on its pin, follow each numbered guide or diagram, and make sure the thread passes through the take-up lever.
Finish by threading the needle from the correct side. Leave a tail several inches long and hold both the upper thread and bobbin thread behind the presser foot. This prevents the threads from being pulled back into the needle plate when you begin sewing.
If the machine has an automatic needle threader, treat it as an aid rather than a substitute for learning the threading path. It may not work with every needle size, and forcing the mechanism can bend its small hook.
Choose beginner-friendly settings
Select a straight stitch and use the machine’s default or middle stitch-length setting. A moderate length is suitable for practicing seams and gives you enough room to see whether the stitches are forming evenly. Set the stitch width to zero if your machine displays width separately.
Start with the needle in its center position, the presser foot lowered, and a slow speed. If your machine has a speed slider, lower it while learning. Use the foot controller gently; pressing harder usually makes the machine sew faster, not stronger.
Place fabric under the presser foot with the edge aligned to a seam guide. Lower the presser foot before pressing the controller. Hold the thread tails for the first few stitches, then release them once the seam is stable. Sew several inches, stop with the needle down if your machine allows it, and raise the presser foot before removing the fabric.
Use this first-stitch checklist
- Needle is new, straight, and fully inserted.
- Bobbin is wound evenly and installed in the correct direction.
- Upper thread follows every guide and passes through the take-up lever.
- Presser foot is lowered before sewing.
- Both thread tails are held behind the foot for the first stitches.
- Scrap fabric is placed under the needle.
- Machine is set to a straight stitch at a moderate length.
Fix the most common beginner problems
Thread bunches underneath: Rethread the upper thread with the presser foot raised. Check that the bobbin is inserted correctly. This problem is often caused by the upper thread missing a guide rather than by the bobbin itself.
The fabric will not move: Confirm that the presser foot is lowered and the feed dogs are engaged. The feed dogs are the small teeth beneath the presser foot that move fabric through the machine. Do not pull the fabric; let the machine feed it.
Stitches skip: Replace the needle and confirm that it matches the fabric and machine. A bent, dull, or incorrectly installed needle can prevent consistent stitches.
Thread keeps breaking: Check the threading path, reduce excessive tension adjustments, and make sure the thread is not catching on the spool. If the thread breaks at the needle, inspect the needle for damage and confirm that it is appropriate for the thread.
Seams look uneven: Slow down and guide the fabric without pushing or pulling it. Aim the fabric edge at the seam guide instead of watching the needle alone.
Practice before starting a real project
Spend 10 to 15 minutes sewing straight lines on scrap fabric. Practice starting, stopping, reversing to secure a seam, turning a corner, and maintaining an even edge. Then fold two fabric scraps together and sew a simple seam. Check both sides before changing the stitch or tension.
For a structured introduction, First-Time Sewing Machine Guide for Beginners: Learn Your Machine, Build Confidence, and Sew Your First Real Projects—Step by Step may be useful as a companion to your machine manual. It is best treated as general beginner guidance, since the exact buttons, bobbin system, and threading route still depend on your machine model.
Once the straight stitch is consistent, learn the zigzag stitch, seam finishing, backstitching, and safe fabric handling. Add projects gradually rather than changing several settings at once.
Last reviewed: 2026-10-09