
Quick answer
Build a home emergency repair kit around the problems most likely to interrupt your household: leaks, loose hardware, power outages, and minor damage. Start with basic hand tools, lighting, protective gear, water-containment supplies, and common consumables. Store everything together, check it twice a year, and use the kit to contain problems—not to attempt hazardous electrical, gas, or structural work.
Key takeaways
- Choose tools based on your home’s actual fixtures, fasteners, and utility shutoffs.
- Keep lighting, gloves, eye protection, and water-containment supplies in the same accessible location.
- Test battery-powered items and replace used consumables at least twice a year.
- Call a qualified professional for gas, live electrical, structural, or rapidly worsening problems.
What a home emergency repair kit is really for
A home repair kit is not a miniature contractor’s workshop. Its job is to help you respond calmly during the first few minutes of a manageable problem: tightening a loose cabinet handle, catching water from a small leak, replacing a battery, securing a temporary cover, or finding the correct shutoff.
That distinction matters. A well-stocked kit can reduce damage and make a professional repair easier, but it cannot make a dangerous job safe. The goal is preparation, not confidence without limits.
Audit your home before buying tools
Walk through the home and note the repairs or interruptions that would cause the most trouble. Look under sinks, around toilets, near the water heater, at doors and windows, and around frequently used furniture. Notice whether your home uses Phillips, flat-head, square-drive, or hex fasteners. Check whether your shutoff valves are easy to reach and whether your breaker panel is clearly identified.
For each utility, record the location of the main control and save the provider’s emergency number in your phone. Do not test a gas shutoff or electrical system just to become familiar with it. Instead, learn the correct procedure from your utility, landlord, building manager, or a qualified professional.
What to put in the kit
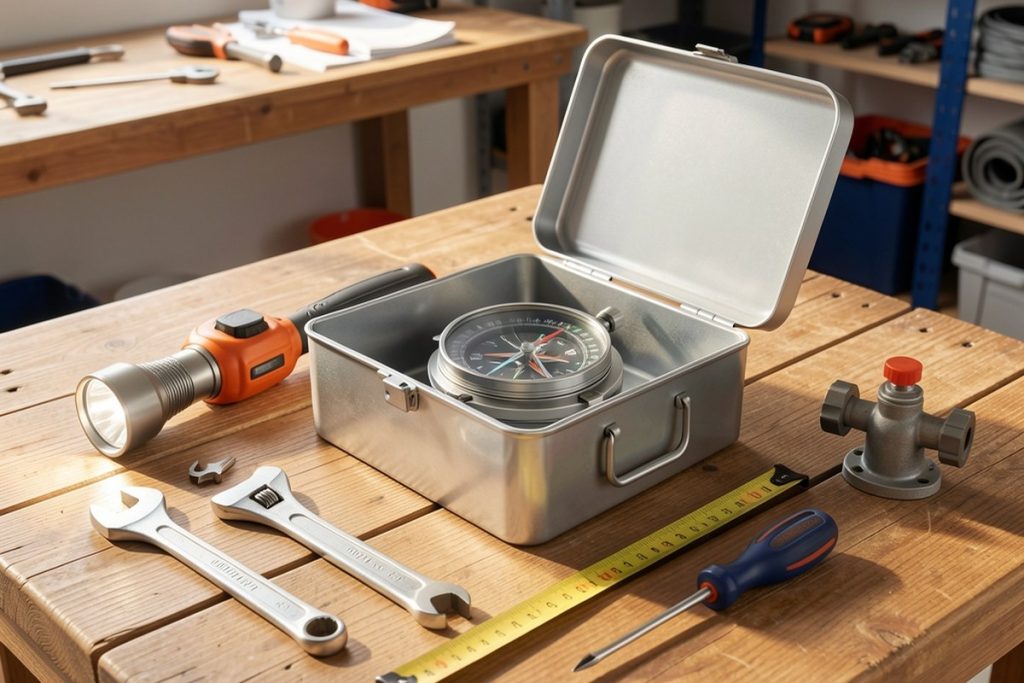
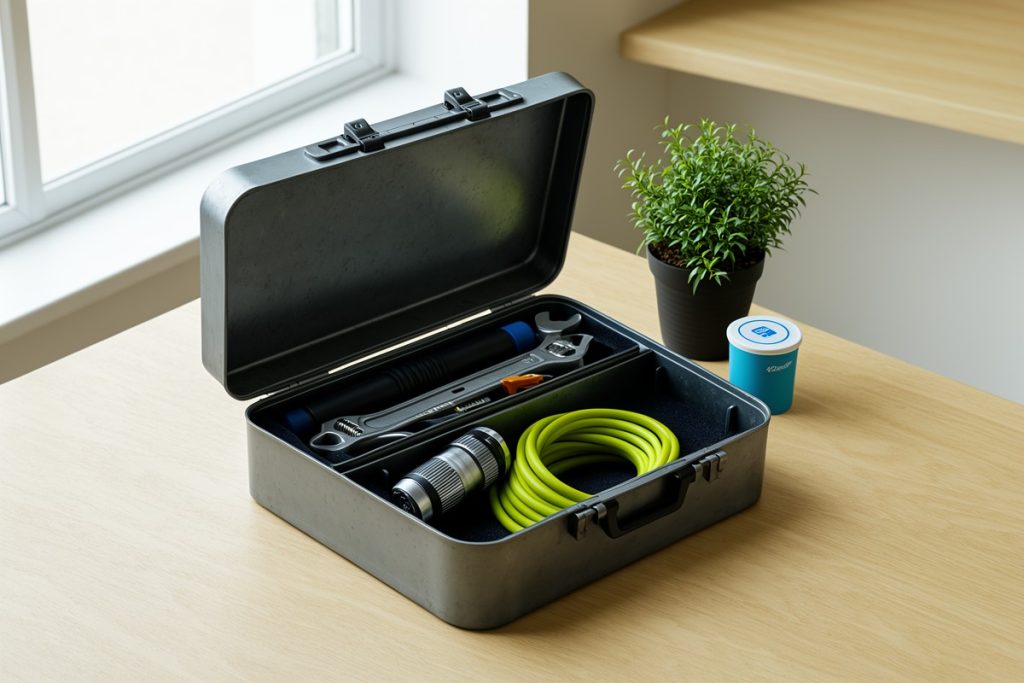
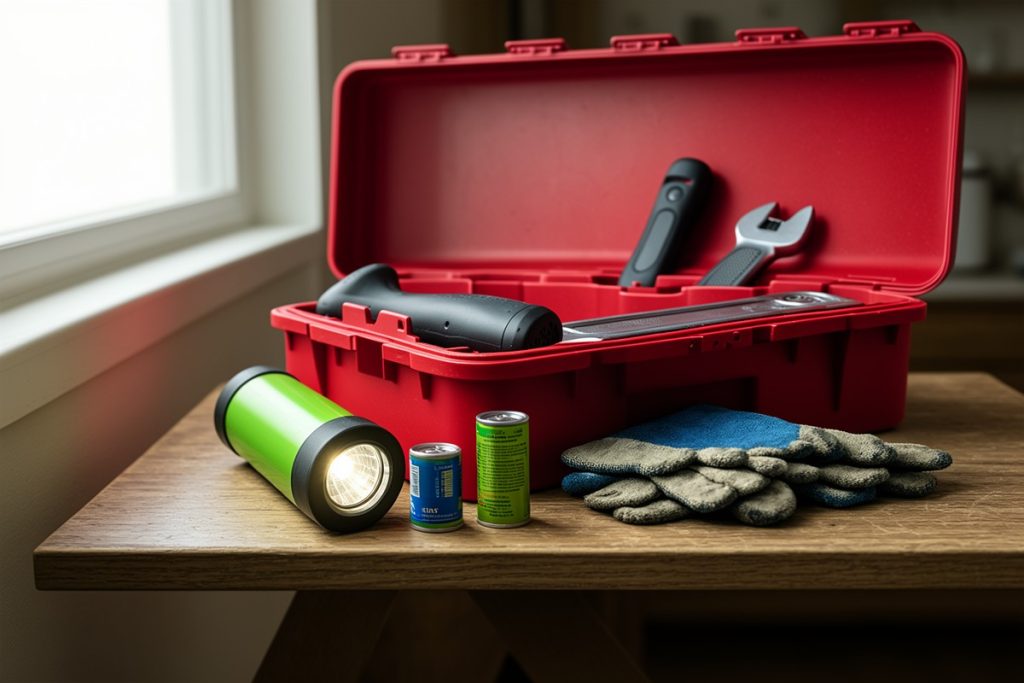
Use a sturdy toolbox or lidded tote that one person can carry. Organize it by task rather than buying a large collection of tools you will never recognize or use.
| Category | Useful contents | Why it helps |
|---|---|---|
| Basic hand tools | Phillips and flat-head screwdrivers, adjustable wrench, pliers, claw hammer, hex keys, utility knife, tape measure, and level | Handles common loose, fastened, measured, and adjusted household items |
| Leak control | Bucket, absorbent towels, flashlight, replacement washers, and a small roll of approved thread-sealing tape | Helps contain water while you locate a shutoff or arrange service |
| Temporary fixes | Duct tape, painter’s tape, cable ties, assorted screws, wall anchors, and a small assortment of nails | Secures loose items or creates a short-term hold until a proper repair |
| Safety and visibility | Safety glasses, work gloves, headlamp or flashlight, spare batteries, and a dust mask appropriate to the task | Reduces avoidable injuries and keeps both hands available when appropriate |
| Electrical awareness | Non-contact voltage tester and insulated-handled basic tools | Supports identification and inspection, but does not make live electrical work safe |
Match replacement parts to your home rather than guessing. For example, washers, anchors, and fasteners come in different sizes and materials. Keep one sample of a commonly replaced item, or photograph it for reference, but do not assume a similar-looking part is interchangeable.
Store and maintain the kit
Place the kit somewhere dry, visible, and reachable without a ladder. A utility closet, entry closet, or storage cabinet near the main living area is usually more useful than a remote garage corner. If you live in a rental, keep the kit separate from the landlord’s equipment and follow the building’s rules for utility access.
Twice a year, open the kit and run a short check. Test every flashlight, inspect tool handles for cracks or rust, replace dead batteries, and replenish tape, towels, washers, and other supplies used since the last review. Make sure the toolbox still contains the tools needed for the fasteners in your home. A kit is only useful if you can find a working tool quickly.
Use the kit in the right order during an emergency
- Pause and identify the hazard. Move people and pets away from water, smoke, broken glass, exposed wiring, or unstable objects.
- Stop the source only when the control is known and safe. For a water leak, use the appropriate shutoff if you can reach it without stepping through electrical hazards. Follow local utility instructions for gas and electricity.
- Contain secondary damage. Use a bucket, towels, or a temporary cover while avoiding contact with contaminated water, sharp materials, or damaged wiring.
- Document what happened. Note the time, affected area, shutoff used, and any visible damage. This helps a landlord, insurer, or repair professional understand the situation.
- Escalate early. Leave and contact emergency services or the relevant utility for a gas odor, smoke, sparking, burning smell, active electrical fault, major leak, or structural concern.
Never use the toolbox as a reason to work on energized wiring, open gas appliances, or load-bearing parts of a building. OSHA’s electrical safety guidance emphasizes controlling electrical hazards, and the safest homeowner decision is often to stop, isolate the area, and get qualified help.
Make the kit useful for learning, too
Tools solve only part of a home repair problem. You also need a reliable reference that explains terms, shows component differences, and emphasizes safety checks. For a structured general guide, Dare to Repair: A Do-it-Herself Guide to Fixing (Almost) Anything in the Home may be useful on a household reference shelf because its catalog description covers plumbing, electrical, and safety topics with detailed illustrations.
It is still a general book, not a substitute for local building codes, utility instructions, manufacturer manuals, or licensed assistance. Use it to understand a problem and prepare sensible questions, then stop when the work moves beyond basic, low-risk maintenance.
A twice-yearly home repair kit checklist
- Confirm the toolbox is dry, accessible, and easy to carry.
- Test flashlights, headlamps, and the voltage tester according to their instructions.
- Replace depleted batteries and expired or damaged protective equipment.
- Check that the basic tools fit the screws, bolts, and fasteners in your home.
- Replenish towels, tape, washers, anchors, and other used supplies.
- Review water, electrical, and gas shutoff locations without experimenting with hazardous controls.
- Update emergency contacts and keep appliance or utility manuals easy to find.
A small, maintained kit is more valuable than a large box of unfamiliar tools. Build for containment, visibility, and communication first. That approach helps you protect the home while making a safer decision about what happens next.
Last reviewed: 2026-10-09
Sources
- Build a Kit — Ready.gov
- Electrical Safety — Occupational Safety and Health Administration
- Home Fire Safety — National Fire Protection Association