Quick answer
To start watercolor painting, use a limited palette, proper watercolor paper, one medium round brush, and a simple 20-minute practice routine. Spend the first week learning water control, the second building washes and edges, and the final two weeks painting small subjects. Keep each exercise simple, let layers dry, and judge progress by control rather than perfection.
Key takeaways
- Start with a small set of colors and one versatile round brush.
- Use watercolor paper rather than ordinary printer or sketch paper.
- Practice washes, gradients, edges, and simple shapes before complex paintings.
- Let each layer dry before adding detail or darker values.
By Tommy Ruiz, Everyday Problem Solver
Gather a beginner watercolor setup
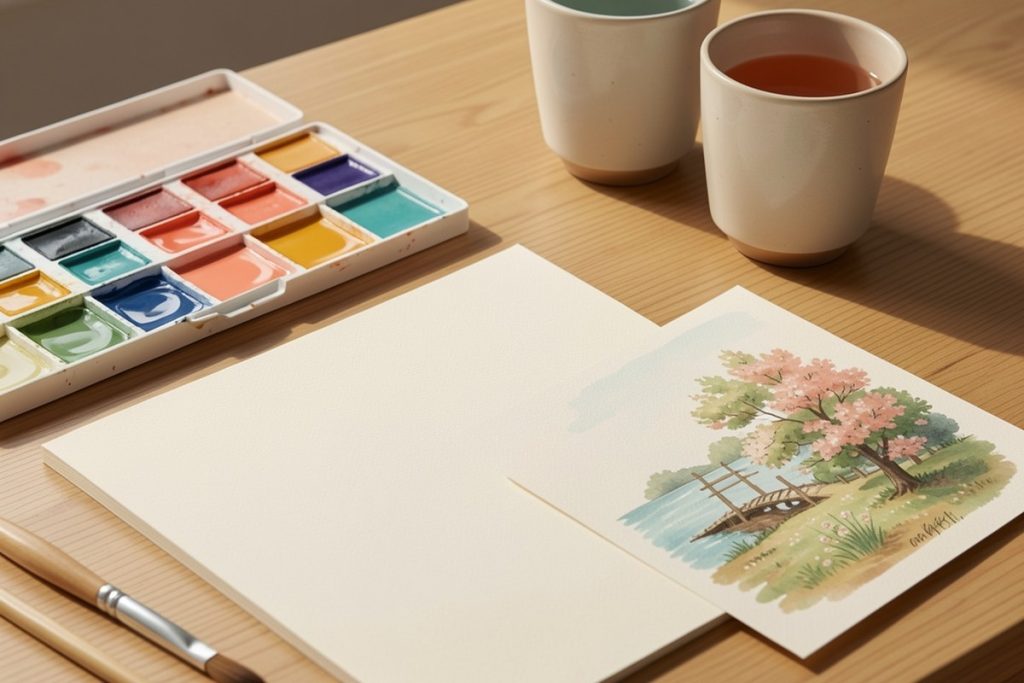
You do not need a large studio or an expensive collection of supplies. A manageable setup makes it easier to practice consistently and notice what each material does.
- Watercolor paint: Choose a compact student-grade or artist-grade set with a few transparent colors. A limited palette is easier to understand than a box full of nearly identical shades.
- Brushes: Begin with one medium round brush and, if possible, a smaller round brush for details. A medium brush can cover broad areas while still making reasonably fine marks.
- Paper: Buy paper labeled for watercolor, preferably in a pad or block. Look for a surface that feels sturdy enough to handle repeated wetting without immediately buckling or tearing.
- Water containers: Use two cups: one for the first rinse and one for cleaner water. This keeps your color mixes from becoming muddy as quickly.
- Palette and towel: A simple mixing palette and a piece of paper towel help you adjust paint and lift excess water.
Keep the first setup in a small tray or box. If preparing to paint takes only a minute, you are more likely to complete short exercises instead of waiting for a “perfect” afternoon.
Understand the three variables that control watercolor
Watercolor feels unpredictable at first because three things change at once: the amount of water on the paper, the amount of water in the brush, and the amount of pigment in the mixture. You can make the medium more predictable by changing one variable at a time.
For a pale wash, use more water and less pigment. For a darker mark, use a richer mixture rather than repeatedly scrubbing the same area. Too much brushing can disturb earlier layers and leave a patchy surface.
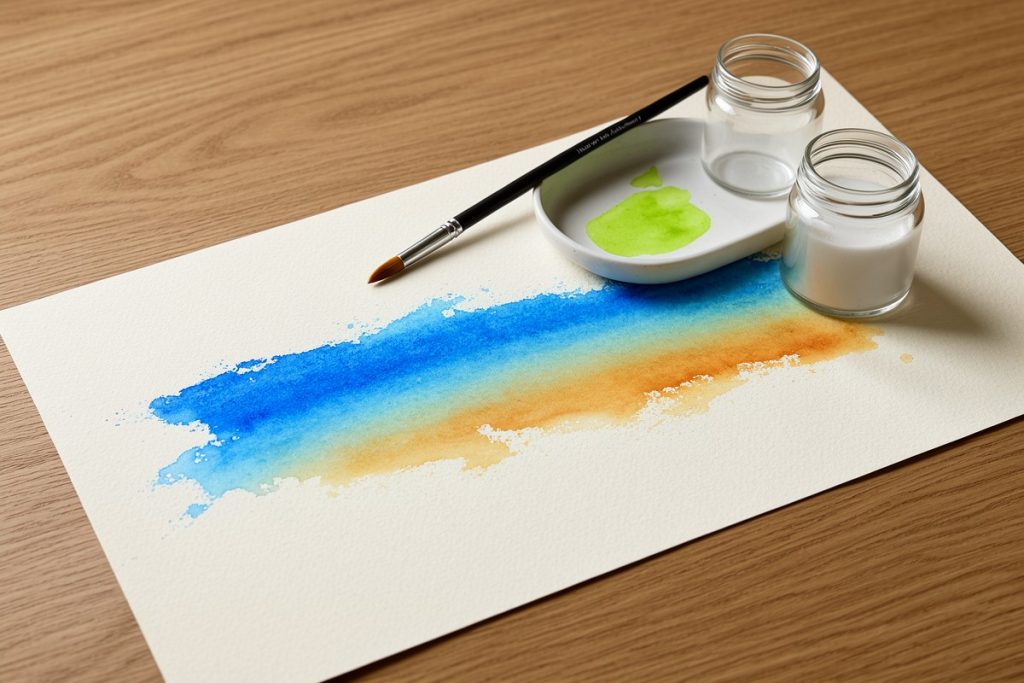
Before painting a subject, make a small test strip. Paint one mark with a wet brush, one with a damp brush, and one with a nearly dry brush. Notice how far each mark travels and how quickly its edges soften. This two-minute test can prevent many frustrating surprises.
Follow this 30-day beginner practice plan
Work for about 20 minutes a day, five days a week. If you miss a day, continue with the next exercise rather than trying to catch up with a long session.
| Days | Focus | Practice |
|---|---|---|
| 1–7 | Water control | Flat washes, damp marks, gradients, and simple circles |
| 8–14 | Edges and layers | Soft and hard edges, overlapping shapes, and value steps |
| 15–21 | Simple subjects | Leaves, mugs, fruit, stones, and basic skies |
| 22–30 | Small paintings | Complete four postcard-sized scenes from reference photos |
Days 1–7: Practice washes
Draw four rectangles lightly in pencil. Fill the first with an even color. In the second, begin with a darker mixture and gradually add water as you move across the paper. In the third, paint a shape and soften only one edge with a clean, damp brush. Leave the fourth for testing how much color your brush releases after a single rinse.
Do not worry about making the rectangles attractive. The goal is to learn how the brush, paper, and water respond.
Days 8–14: Build transparent layers
Paint three overlapping shapes in one color, allowing each layer to dry before adding the next. The bottom shape should be light, the middle shape darker, and the top shape darkest. This teaches you to create depth by layering instead of trying to mix every shade on the page.
Also practice a value scale from very pale to dark. You can use one pigment for this exercise. If the darkest area looks weak, use less water and more pigment in the mixture.
Days 15–21: Paint uncomplicated objects
Choose objects with clear silhouettes: a lemon, a leaf, a ceramic cup, or a smooth stone. Sketch the outline with only a few light lines. Paint the lightest overall color first, let it dry, then add the shadow side and one or two defining details.
Look for the largest light and dark shapes rather than trying to copy every texture. A simple painting with clear values usually reads better than a busy painting filled with nervous marks.
Days 22–30: Complete small studies
Paint on a small sheet so the project has a visible finish line. Use a reference photo with one main subject and a quiet background. Before touching the paper, decide where the lightest area will remain. Watercolor often looks brighter when the paper is left untouched in selected places.
Limit yourself to three layers: a light foundation, a middle-value layer, and final accents. Stop when the subject is clear. Adding more detail is not always an improvement.
Use a simple painting sequence
For most beginner subjects, this order works well:
- Observe: Identify the subject’s outline, largest light area, and darkest area.
- Sketch: Use light lines and avoid outlining every detail.
- Mix first: Prepare enough color before beginning a broad wash.
- Paint light to dark: Establish pale shapes before stronger shadows.
- Let it dry: Wait before judging whether a layer needs more color.
- Add accents: Reserve the darkest marks for places that clarify form or focus.
This sequence is not a rule for every style, but it prevents two common beginner problems: muddy overworking and running out of time before the painting has a clear structure.
Fix the mistakes beginners make most often
Muddy colors
Mixing too many pigments can reduce clarity. Try mixing two colors at a time, and rinse the brush thoroughly before picking up a new color. If a passage becomes dull, allow it to dry and place a cleaner transparent layer over only the necessary area.
Paper that buckles
Lightly wetting paper can make it curl, especially when using a lot of water. Work with smaller amounts of water while practicing, or secure loose paper to a firm board with low-tack tape. Avoid judging a painting while the sheet is still wet.
Details that appear too early
Small lines cannot rescue a weak large shape. Cover the major areas first, then check whether the subject is recognizable from a short distance. Add detail only where it supports the form.
Paint that dries too pale
Watercolor mixtures often look stronger when wet than when dry. Instead of repeatedly repainting a damp area, wait until it is dry and add another controlled layer. Keep a scrap of the same paper nearby for color tests.
Should you use a guided beginner book?
A structured book can help if you have trouble deciding what to practice next or tend to jump between unrelated tutorials. The Beginner’s Guide to Watercolor: Master Essential Skills and Techniques through Guided Exercises and Projects is a reasonable option for someone who wants lessons organized around exercises and projects rather than a loose collection of tips.
It is not essential: you can follow the 30-day plan above with free references and your own subjects. A book also cannot replace feedback from a teacher or a local class. Before choosing it, consider whether you prefer a linear, page-by-page learning path and whether its project style matches the kind of painting you want to make.
Keep this checklist beside your workspace
- Paper is labeled for watercolor.
- Two water cups are ready.
- Brush is clean and not overloaded with water.
- Color mixture has been tested on scrap paper.
- Lightest areas have been identified before painting.
- Each layer has dried before the next one begins.
- The session ends with one note about what to try tomorrow.
When buying art materials, read the product’s safety information and follow its handling instructions. Labeling standards address potential chronic hazards, but no label can cover every possible use or misuse.
Last reviewed: 2026-08-21
Sources
- About the Royal Watercolour Society — background on water-based painting media and watercolor practice.
- ASTM D4236-94(2021), Standard Practice for Labeling Art Materials for Chronic Health Hazards — information about precautionary labeling and safe handling of art materials.