Quick answer
Yes, a nylon meat chopper can be a practical choice for breaking up ground meat in a nonstick pan because it is generally gentler than metal utensils. It is not automatically damage-proof, however. Check the tool’s heat guidance, avoid leaving it against a hot pan, use light pressure, and inspect both the chopper and cookware regularly for wear.
Key takeaways
- Nylon is usually a better match for nonstick cookware than bare metal.
- “Non-scratch” describes intended use, not a guarantee against every type of damage.
- Heat guidance matters more than the word “heat-resistant” alone.
- Curved blades and a comfortable grip make ground meat easier to separate with controlled pressure.
- Use a food thermometer to verify that ground meat reaches the appropriate safe temperature.
Why utensil material matters in a nonstick pan
Nonstick cookware is useful because food releases easily and cleanup is often faster. Its coating can still be damaged by sharp, rough, or abrasive tools, especially when a cook scrapes aggressively across the surface. Once a coating is visibly peeling, deeply scratched, or flaking, the pan is no longer performing as intended and should be evaluated according to the manufacturer’s care guidance.
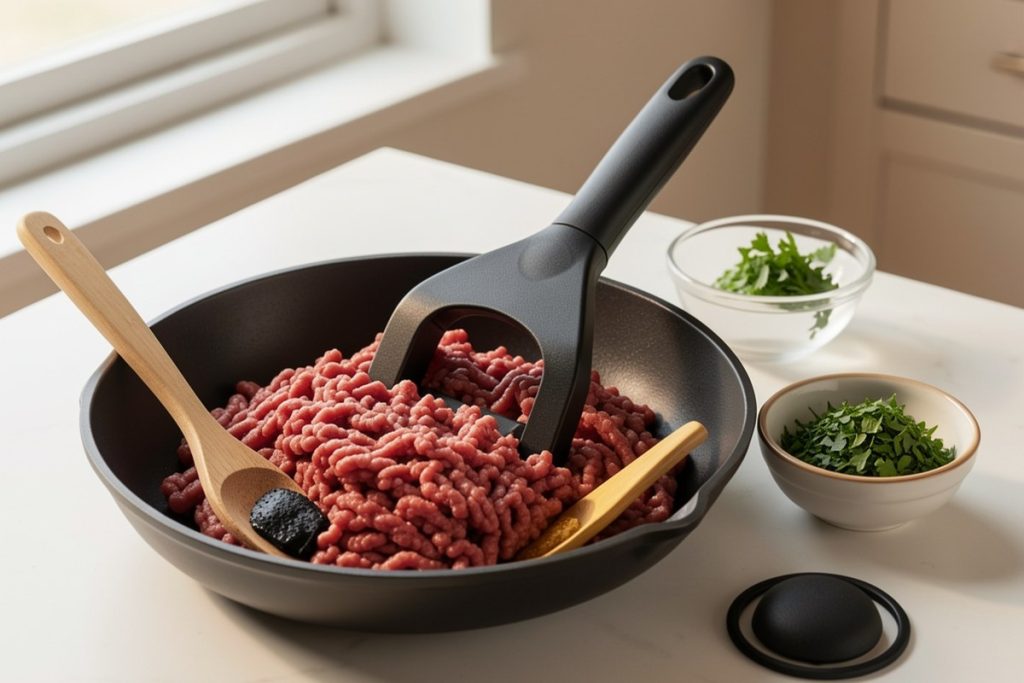
A nylon meat chopper is designed to solve a specific kitchen problem: separating ground meat into smaller pieces while it cooks. Compared with an exposed metal turner or fork, nylon has a softer contact surface and is less likely to gouge a coated pan during ordinary use. That makes it a sensible utensil category for nonstick cookware, particularly when preparing tacos, chili, pasta sauce, stuffed peppers, or meal-prep bowls.
The important distinction is between “less likely to scratch” and “impossible to damage cookware.” A dirty utensil with hardened food on its edge can still act abrasively. Excessive force can also wear a pan over time. The safest approach is to combine a compatible material with restrained technique.
What to check before buying a nylon meat chopper
Start with the contact surface. Look for a smooth nylon head without exposed metal, rough seams, or sharp corners that could drag across the pan. Curved cutting ridges are useful because they give you several contact points for breaking apart meat rather than requiring one hard scraping motion.
Next, check the heat information. A product described as heat-resistant may still have a maximum temperature or a warning against leaving it in a hot pan. If that limit is not clearly available, treat the tool conservatively: use it while actively cooking, do not rest it on the pan’s rim, and keep it away from direct burner flame or heating elements.
The handle deserves equal attention. A broad, non-slip grip helps you apply short downward presses instead of twisting the utensil sideways. That control is helpful when the pan is full or when the meat has started to firm up. A one-piece design or a securely joined head is also easier to clean than a tool with narrow gaps where grease can collect.
Finally, consider cleaning. Choose a chopper that can be washed thoroughly by hand or in a dishwasher if the manufacturer permits it. Food-contact equipment should be smooth and easy to clean; that principle is reflected in the FDA Food Code, even though the code is primarily written for retail and food-service environments.
How to use one without stressing the pan
- Choose a suitable pan. Use the chopper in a sound nonstick skillet with no exposed coating or deep scratches.
- Let the meat soften with cooking. Add the ground meat to the warmed pan and give it time to brown slightly. It will separate more readily than meat pressed into a cold, dense mass.
- Press and lift. Use short, controlled presses to divide the meat. Lift between presses instead of dragging the tool forcefully across the pan.
- Turn the meat as needed. A wooden or nylon spatula can help turn larger sections while the chopper handles separation. There is no need to make one utensil do every job.
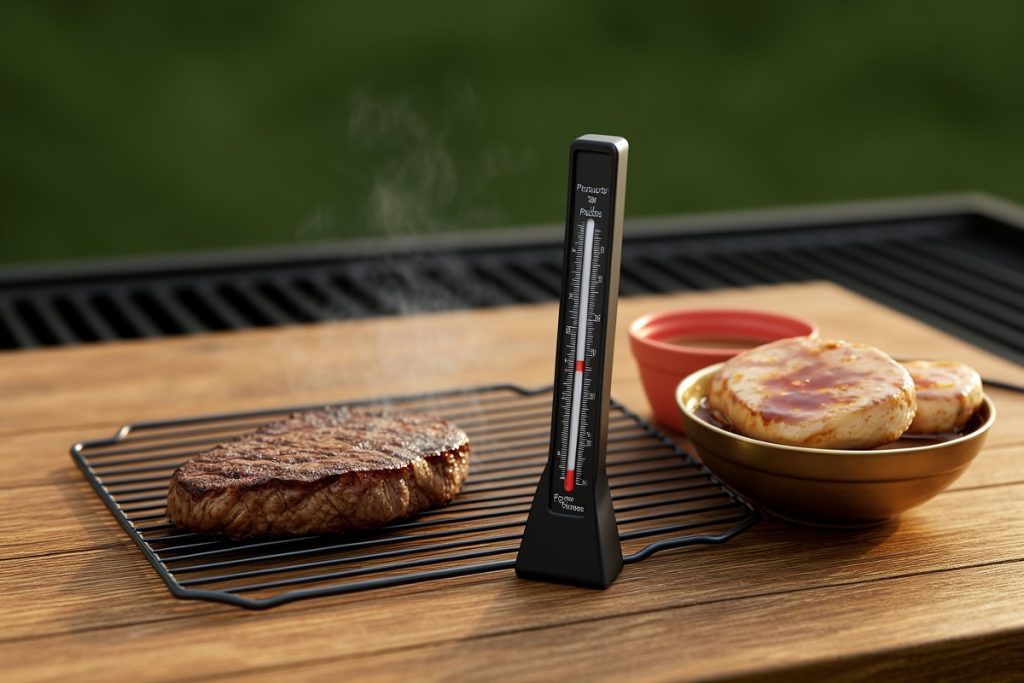
- Check doneness separately. A meat chopper is not a thermometer. For ground beef, USDA guidance recommends an internal temperature of 160°F. Follow the relevant USDA guidance for poultry when cooking ground turkey or chicken.
- Wash and inspect. Clean the tool after use and look for melted areas, cracks, rough edges, or discoloration before putting it away.
This method is faster and gentler than attacking the meat with a sharp utensil. It also reduces the temptation to scrape the bottom of the pan simply to remove a stubborn piece.
Quick buying checklist
| Feature | Why it matters | What to avoid |
|---|---|---|
| Smooth nylon head | Provides a softer contact point for coated cookware | Exposed metal, rough seams, or jagged edges |
| Curved ridges | Breaks meat apart with several short presses | A shape that forces hard scraping |
| Clear heat guidance | Helps prevent misuse around a hot pan | Assuming “heat-resistant” means unlimited heat |
| Firm, comfortable handle | Improves control and reduces sideways pressure | Loose joints or a slippery grip |
| Easy-to-clean construction | Reduces trapped grease and leftover food | Deep crevices that are difficult to reach |
Where the listed meat masher fits
The Meat Chopper Ground Beef Masher Tool for Hamburger is a reasonable option to investigate if your main need is breaking up ground meat in coated cookware. Its listing describes a black nylon utensil with curved blades and a heat-resistant design, which aligns with the features that matter most for this use.
That does not make it the right tool for every kitchen. The product information does not, by itself, establish a specific maximum temperature, guarantee compatibility with every nonstick coating, or replace the care instructions for your pan. Before buying, confirm the current manufacturer details and check whether the cleaning method suits your routine. If you regularly cook in cast iron or stainless steel, you may prefer a sturdier tool designed for those surfaces rather than choosing solely for nonstick compatibility.
It is also worth setting expectations. A meat chopper is for portioning and separating ground meat, not for finely mincing ingredients, crushing bones, or replacing a spatula. Its value comes from making one repetitive step easier while helping you avoid metal contact with a coated cooking surface.
When to replace the utensil or pan
Replace the chopper if the nylon head becomes warped, soft, cracked, chipped, or rough. A tool that once glided over the pan can become a source of abrasion after repeated high-heat exposure or heavy use. Do not try to sand down a damaged edge, since that can create more residue and an uneven surface.
For the pan, follow the cookware maker’s instructions. A small superficial mark may not immediately change how the pan cooks, but multiple scratches, bubbling, peeling, or exposed base material are signs to stop treating it as a protected nonstick surface. The lowest-risk habit is simple: use compatible utensils from the start, avoid stacking pans without protection, and wash away stuck food rather than scraping harder.
Last reviewed: 2026-08-28