Quick answer
To fix a running toilet, first close the shutoff valve and identify whether water is leaking through the flapper or flowing into the overflow tube. Adjust the chain or float if needed. If the flapper is worn, replace it with a compatible part. If water continues running after adjustment, replace the fill valve or call a plumber when the problem involves a leak outside the tank.
Key takeaways
- A loose chain or poorly seated flapper is often the simplest fix.
- Water entering the overflow tube usually points to a fill-valve or float problem.
- Match replacement parts to the toilet’s existing size and design.
- Shut off the water before removing tank components.
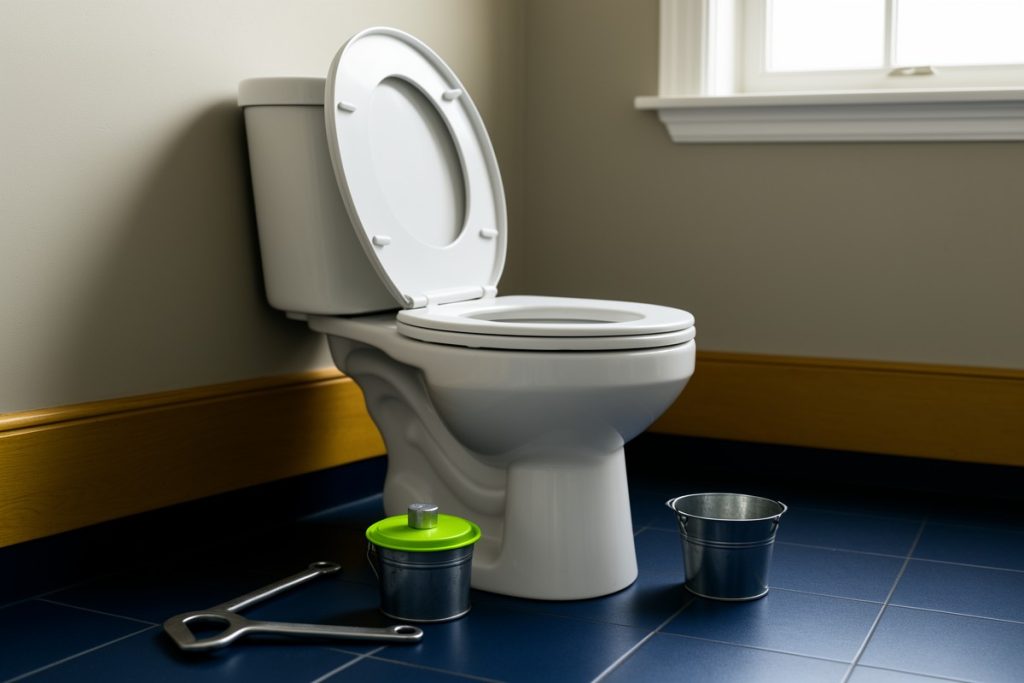
A running toilet is easy to ignore because the sound may be faint, especially overnight. But a constant trickle means water is moving when nobody is flushing. The good news is that many tank problems can be diagnosed in a few minutes with basic tools. Work slowly, keep the parts organized, and stop if you find a cracked tank, a leaking supply connection, or water on the bathroom floor.
Last reviewed: 2026-09-14
What causes a toilet to keep running?
Most running toilets have a problem inside the tank. When you press the handle, the flapper lifts and allows water to leave the tank. The tank then refills through the fill valve. Once the water reaches the correct level, the fill valve should shut off and the flapper should seal the opening.
If the seal is incomplete, water slowly drains into the bowl and the fill valve keeps replacing it. If the fill valve does not shut off properly, water may rise too high and spill into the overflow tube. A chain that is too tight, a worn rubber flapper, mineral buildup, or a misadjusted float can interrupt this cycle.
Diagnose the problem before buying parts
Remove the tank lid carefully and observe what happens after a flush. Keep fingers and tools away from moving parts while the water is flowing. The table below can help narrow down the cause.
| What you notice | Likely cause | First check |
|---|---|---|
| Water runs intermittently | Flapper is leaking | Check whether it sits flat over the flush opening |
| Water flows into the overflow tube | Fill valve or float is set too high | Adjust the water level according to the valve instructions |
| Handle feels loose or sticks | Chain or handle mechanism is misaligned | Look for excess chain slack or a chain catching on another part |
| Water is outside the tank | Supply, tank, bowl, or base leak | Close the shutoff valve and investigate before continuing |
Step 1: Shut off the water and inspect the tank
Find the shutoff valve on the wall or floor behind the toilet. Turn it clockwise until it stops, but do not force it. Flush the toilet to lower the tank water. If the valve will not close or begins leaking around the stem, leave it alone and contact a plumber.
With the tank mostly empty, check the chain, flapper, overflow tube, and fill valve. The chain should have a little slack when the flapper is closed. If it is pulled tight, the flapper may never seal. If it is excessively loose, the handle may not lift the flapper fully.
Step 2: Adjust the chain and flapper
Start with the easiest repair. Make sure the chain is connected to the handle arm and the flapper without twisting around another component. Move the chain to a different hole in the handle arm if necessary, leaving enough slack for the flapper to settle completely.
Inspect the rubber flapper for warping, cracks, stiffness, or mineral deposits. Clean away light residue with a soft cloth. Do not scrape the sealing surface aggressively, because scratches can make the leak worse. Reopen the shutoff valve and flush once. Watch the flapper as it drops; it should land evenly and remain sealed while the tank refills.
Step 3: Replace a worn flapper
If adjusting the chain does not stop the leak, the flapper may be worn out. Close the shutoff valve again, flush the tank, and disconnect the chain. Most flappers lift off the mounting tabs on the overflow tube, but designs vary, so avoid forcing the part.
Take the old flapper with you when choosing a replacement, or check the toilet and replacement-part instructions for compatibility. Size, mounting style, and flush-valve design can differ. Install the new flapper, reconnect the chain, and check that it opens fully when the handle is pressed but closes without tension.
Turn the water back on and allow the tank to refill. Flush several times while checking the tank and the floor around the toilet. A replacement flapper that does not fit correctly may create the same symptom as the old one.
Step 4: Adjust or replace the fill valve
If water continues pouring into the overflow tube, inspect the float and fill valve. Depending on the design, the float may be a ball attached to an arm or a cup that slides along the valve. Adjust it only as directed by the manufacturer. The goal is for the valve to shut off before water reaches the top of the overflow tube.
If the float adjustment has little effect, the fill valve may be worn or clogged. A replacement valve must fit the tank and connect correctly to the water supply. Turn off the water, drain the tank, disconnect the supply line, and remove the mounting hardware only if you are comfortable working beneath the tank. Follow the replacement part’s instructions rather than relying on a generic adjustment.
After installation, check every connection for drips. Hand-tighten plastic connections first, then make only a small additional turn if needed. Overtightening can damage threads or seals.
When a running toilet needs professional help
Stop the repair and seek help if the porcelain is cracked, the toilet rocks at the floor, the shutoff valve cannot stop the water, or the leak appears around the base. A toilet that overflows because of a blockage is also a different problem from a tank that runs continuously. Do not keep flushing an overflowing bowl.
Hardwired equipment is not involved in a typical toilet repair, but water damage can spread quickly. If water reaches flooring, trim, or a ceiling below, close the shutoff valve and document the damage. A plumber can determine whether the issue is a failed seal, supply line, drain connection, or damaged fixture.
A practical toilet-repair checklist
- Close the shutoff valve before removing parts.
- Confirm whether water is leaking into the bowl or overflow tube.
- Check chain slack and flapper alignment.
- Match any replacement part to the existing toilet mechanism.
- Run several test flushes and inspect all connections for drips.
For a broader home-repair reference, The Complete Do-it-Yourself Manual from Family Handyman may be useful for learning about related household projects. It is a general reference, not a substitute for the specific instructions supplied with replacement parts or for professional help when a repair involves structural damage, concealed leaks, or unsafe conditions.
How to prevent the problem from returning
Do not use the toilet tank as storage, and avoid putting cleaning products inside the tank unless the toilet manufacturer specifically allows them. Some chemicals can damage rubber components over time. Check the tank occasionally for unexpected ripples in the bowl, listen for periodic refilling, and inspect the floor around the fixture.
When replacing a part, keep the old component until the repair is complete. It provides a useful reference if the new part needs to be exchanged. A few minutes of observation after each repair can prevent a small adjustment from becoming a hidden water leak.