Quick answer
To assemble dorm furniture without stripping screws, use the correct bit, keep it straight, start with low torque, and tighten only until the joint is secure. Lay out hardware before beginning, support panels on a clear surface, and check stability at the end. A compact electric screwdriver can help with repetitive fasteners, but hand-tightening is safer for final snugness.
Key takeaways
- Match the screwdriver bit to the screw head before applying pressure.
- Keep the bit aligned with the screw and use the lowest effective torque setting.
- Do not fully tighten every fastener until the furniture frame is aligned.
- Check wobble, loose hardware, and tip-over risks before using the finished piece.
What to do before opening the furniture box
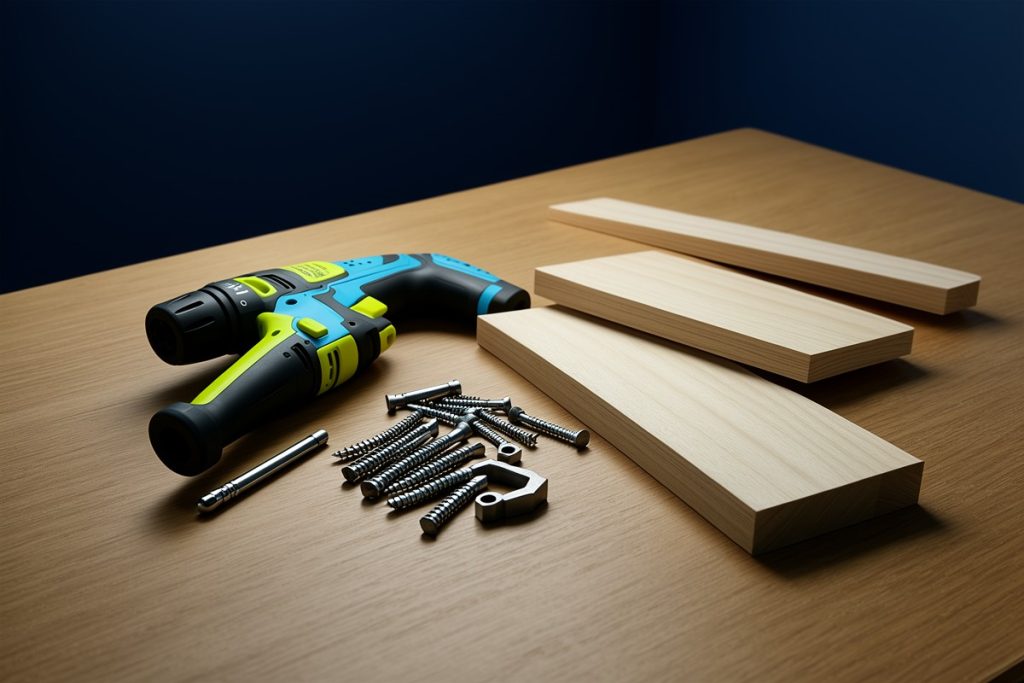
Most frustrating assembly problems begin before the first screw goes in. Clear a work area large enough for the panels, preferably on a rug, blanket, or flattened cardboard box that will not scratch the floor or furniture finish. Good lighting matters because small screws and predrilled holes are easy to misread in a dim dorm room.
Read the instruction booklet once from beginning to end. Look for the hardware map, the order of assembly, and any warning about which panels face inward or outward. Separate screws, dowels, washers, and caps into small containers or groups. Do not rely on appearance alone: two screws may look similar while having different lengths or threads.
Before assembling, inspect the panels for cracks, crushed edges, or blocked holes. If a part appears damaged or a screw does not fit the specified hole, pause instead of forcing it. A replacement part or clarification from the furniture maker is safer than improvising with a longer screw.
Choose the right tool and bit
A Phillips-head screw requires a Phillips bit, while a hex socket screw requires the matching hex key or bit. The bit should sit deeply and evenly in the screw head. If it rocks, slips, or only touches the edges, it is probably the wrong size.
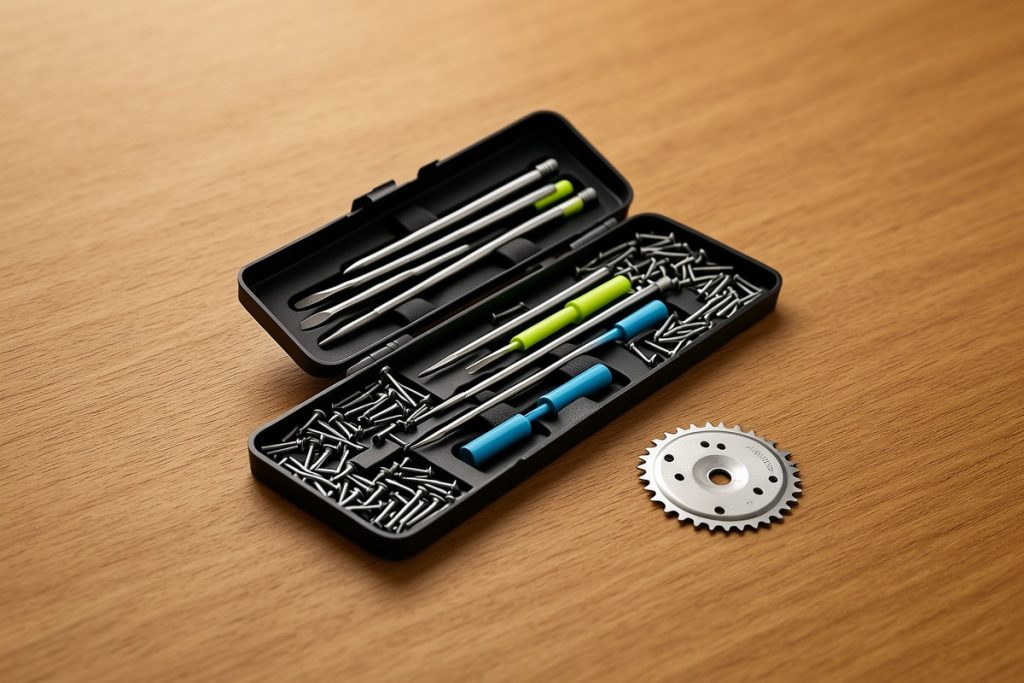
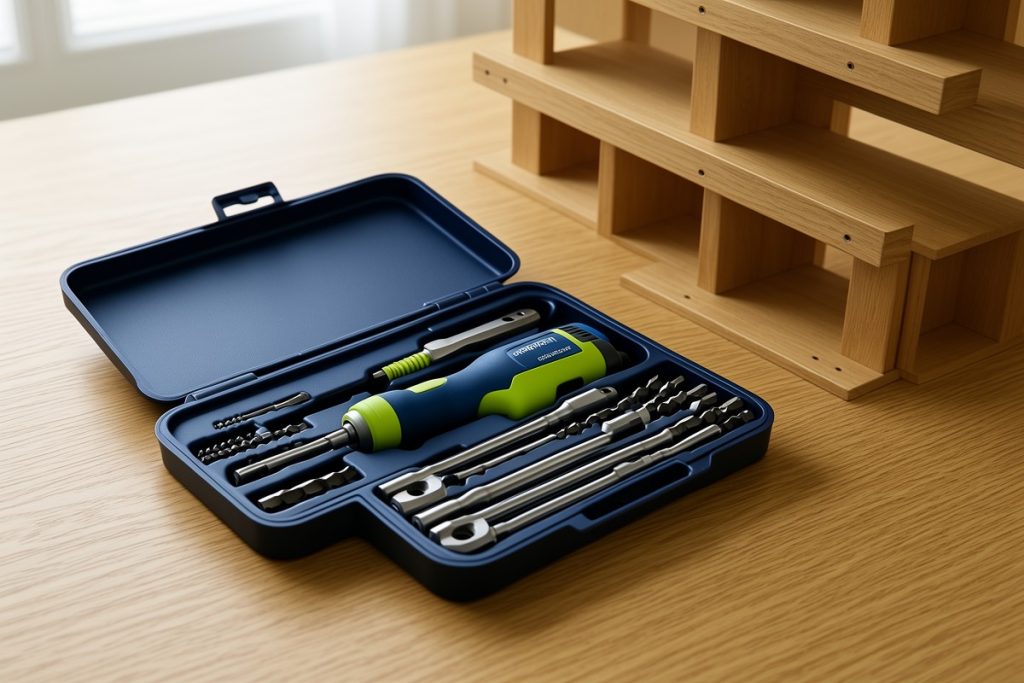
For a compact option suited to dorm rooms and small DIY jobs, the HOTO 18-Piece Home Tool Kit with Electric Screwdriver & LED, 3 Torque Modes includes an electric screwdriver, 10 bits, three torque modes, and a portable kit design. Those features can be useful when a project has many repeated fasteners. It is still important to confirm that one of its included bits matches the furniture hardware before starting.
Use a manual screwdriver for delicate finishing work or when the instructions specifically call for hand-tightening. An electric screwdriver saves time, but speed is not a substitute for alignment. The tool should make the job more controlled, not encourage you to drive every screw as tightly as possible.
Use this screw-driving technique
Start by placing the screw into the hole by hand for a turn or two. This helps confirm that the threads are engaging correctly and reduces the chance of driving the screw at an angle. Position the bit directly over the screw so the shaft and bit form a straight line with the fastener.
Apply steady downward pressure while driving slowly. Begin with the lowest torque setting on an electric screwdriver. If the screw stops before the joint closes, stop and check the bit, hole, and panel alignment rather than immediately increasing power.
Stop when the screw head is seated and the joint is snug. Driving farther can crush particleboard, enlarge the hole, damage a soft wood edge, or strip the screw head. If the furniture uses cam locks, dowels, or threaded inserts, follow the supplied instructions instead of treating every fastener like a standard wood screw.
When removing a stubborn screw, use the same straight alignment and low speed in reverse. If the bit slips repeatedly, stop before the head becomes damaged. A larger matching bit, better pressure, or a manual screwdriver may solve the problem more safely than extra force.
Align the frame before final tightening
For shelves, desks, bed frames, and cabinets, do not fully tighten the first fasteners immediately. Install each screw loosely enough for the connected panels to move slightly. Once the frame is assembled, place it on a flat surface and check that edges meet evenly.
Tighten the fasteners in stages, alternating between sides or opposite corners. This helps the frame settle into alignment instead of pulling itself crooked. If a panel looks twisted, loosen the nearby screws, realign the parts, and tighten again. Never use a screw to force two badly misaligned panels together.
Leave decorative caps and covers until the end. They can hide a loose screw or make it harder to access hardware if you discover an alignment problem.
Simple dorm furniture assembly checklist
| Stage | Check |
|---|---|
| Before assembly | Clear the floor, read the instructions, sort hardware, and confirm the bit fits. |
| First fasteners | Start screws by hand, keep the tool straight, and use low torque. |
| Frame alignment | Keep connections slightly loose until all major panels are in place. |
| Final tightening | Work around the frame gradually and stop when each joint is snug. |
| Final inspection | Check for wobble, exposed sharp edges, missing hardware, and loose joints. |
Check stability and safety before using it
Push gently against the completed furniture from several directions. A desk or shelf should not rock, shift, or make a cracking sound. Recheck the relevant fasteners if it moves, but do not simply overtighten every screw; movement can also indicate an incorrectly placed panel, missing connector, or uneven floor.
Keep heavier items on lower shelves and avoid loading a piece beyond the maker’s instructions. Tall or narrow furniture deserves extra attention because it can become unstable if bumped or loaded unevenly. If the instructions provide an anchoring method, use it where permitted by your dorm or rental agreement. The U.S. Consumer Product Safety Commission’s Anchor It! guidance explains why anchoring furniture can reduce tip-over hazards.
Follow basic power-tool precautions as well. Keep the bit and work area clear, avoid loose clothing near moving parts, and remove the battery or disconnect power before changing bits or clearing a jam. The Occupational Safety and Health Administration provides general guidance for hand and power tools, including inspecting tools and using them as intended.
When to stop and ask for help
Stop the project if the instructions are missing, a structural panel is cracked, a screw spins without tightening, or a hole does not match the diagram. Do not substitute random hardware just because it appears to fit. The wrong length can damage a panel or fail to hold the joint securely.
Ask the furniture manufacturer for replacement parts or clarification. For a heavy bed frame, loft, or tall storage unit, having another person stabilize the panels during assembly is sensible, even if the actual fastening is straightforward. If the finished furniture remains unstable after rechecking the instructions, do not use it until the problem is resolved.
The goal is not to finish as quickly as possible. It is to create a square, secure piece of furniture without damaging the fasteners or panels. Correct bit selection, moderate torque, gradual tightening, and a careful final inspection solve most avoidable assembly problems.
Last reviewed: 2026-09-25