Quick answer
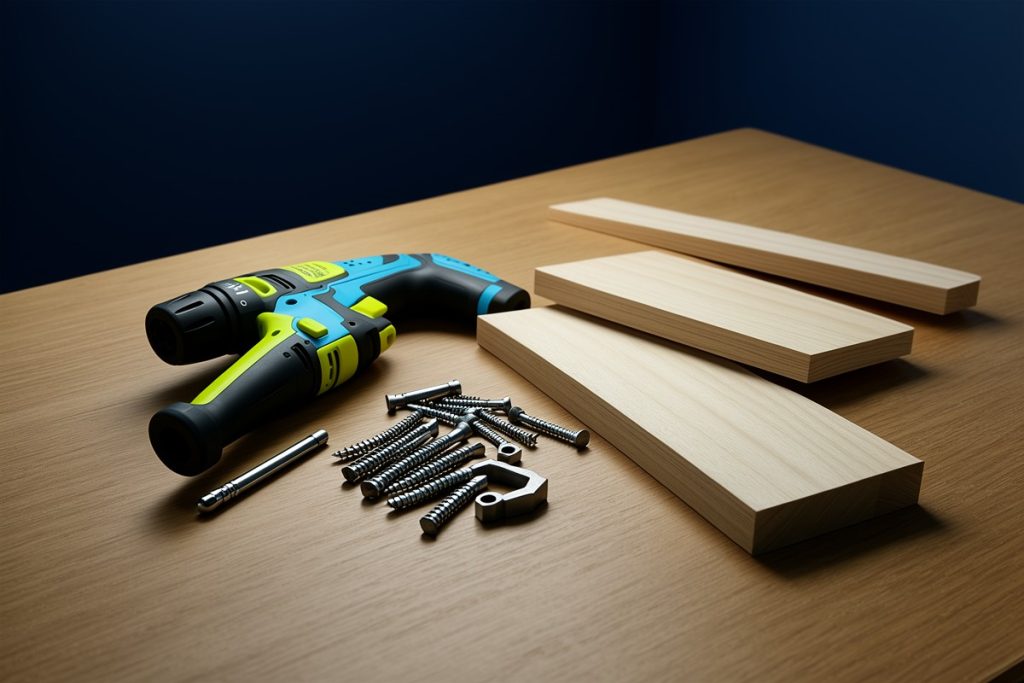
If you’re assembling flat-pack furniture, use a cordless drill as a low-speed, low-torque screwdriver—not as a tool for forcing every fastener. Inventory the hardware, match each screw to the manual, start by hand, and stop when the head is flush. Keep the final tightening gentle until the frame is aligned; this prevents stripped heads, crooked panels, and damaged particleboard.
Key takeaways
- Sort every screw, dowel, cam, and washer before starting.
- Use the correct bit, the lowest useful clutch setting, and slow speed.
- Start fasteners by hand and never force a screw into the wrong hole.
- Leave joints slightly loose until the furniture is square and aligned.
- Anchor tall or unstable furniture according to the manufacturer’s instructions.
By Grace Kim, Clarity-Focused Explainer
Last reviewed: 2026-08-17
Why a cordless drill helps—and where it can hurt
A cordless drill can make flat-pack assembly faster, especially when a project has dozens of screws. It also makes it easier to work in a room without searching for an outlet. The problem is that a drill has more force than most furniture hardware needs. If you keep pulling the trigger after a screw has seated, you can strip the head, crush a soft board, or drive the screw too deeply.
The safest approach is to treat the drill as a controlled screwdriver. Let the furniture manual determine which fasteners belong in which holes, and let the drill handle only the repetitive turning. For delicate parts, a conventional screwdriver is often the better finishing tool.
Prepare the furniture and hardware first
Clear enough floor or table space to lay panels flat without dragging them across the surface. A folded blanket or clean cardboard can protect finished edges. Open the instructions before opening every hardware bag, because some manufacturers identify screws by size or bag number.
Group the fasteners in small containers or shallow dishes. Separate screws by length, not just by appearance. Two screws may have similar heads but differ enough in length to damage the opposite side of a panel. Keep dowels, cam locks, washers, and specialty bolts in their own groups.
Next, check the drill. Charge the battery, make sure the bit is not worn, and select a driver bit that fits the screw head completely. If the furniture uses hex bolts, use the correctly sized hex bit or the supplied hand key. A loose-fitting bit is more likely to slip and damage the fastener.
Match each fastener before you drive it
Flat-pack instructions often show a sequence rather than explaining why it matters. Follow that sequence. Panels may look interchangeable but have different finished sides, predrilled holes, or edge treatments. Confirm the orientation of each piece before inserting hardware.
Before using the drill, place the screw in the hole and turn it one or two rotations by hand. This confirms that the threads have started straight. If the screw resists immediately, remove it and recheck the hole, panel orientation, and fastener type. Do not use the drill to push a questionable screw through resistance.
For wooden dowels and cam fittings, press the parts together gently and check that the fittings are facing the direction shown in the instructions. A drill is not a substitute for understanding how the joint works. If a panel needs unusual force to meet another panel, stop and look for a misplaced component.
Set the drill for controlled driving
Start with the lowest clutch setting that will turn the screw. Use the slower speed range, keep the drill straight in line with the fastener, and squeeze the trigger gradually. You want steady rotation, not maximum speed.
As the screw head approaches the surface, release the trigger. The head should be seated according to the instructions, usually flush with the fitting or gently snug. Do not automatically countersink every screw. Some furniture fasteners are designed to remain slightly proud or to connect with another fitting.
If the clutch clicks before the screw is fully seated, increase the setting by one step and try again. If the screw still will not move, stop rather than jumping immediately to maximum torque. Check for a cross-threaded screw, a blocked hole, or the wrong fastener. Use a hand screwdriver for the last small adjustment when you need more control.
Keep the frame loose until it is aligned
One of the most common assembly mistakes is tightening the first joints completely. That can pull the frame out of square and make later panels difficult to fit. Install the major fasteners until they are secure but still allow slight movement. Once the sides, shelves, and back panel are in place, check the alignment.
Look at the gaps along the edges. They should be reasonably even, and the corners should meet as the instructions show. If the item has a back panel, use it as a reference for squareness rather than forcing the front edges to match first. Tighten opposing fasteners in turns instead of finishing one corner all at once.
Never use a screw to pull badly misaligned panels together. That places unnecessary stress on the board and may leave the furniture unstable. Disassemble the joint enough to find the cause, then reconnect it correctly.
When an all-in-one tool kit makes sense
If you do not already own a drill and basic hand tools, an all-in-one kit can reduce the number of separate purchases for occasional furniture assembly and minor home repairs.
As an Amazon Associate, GetWitty may earn from qualifying purchases.
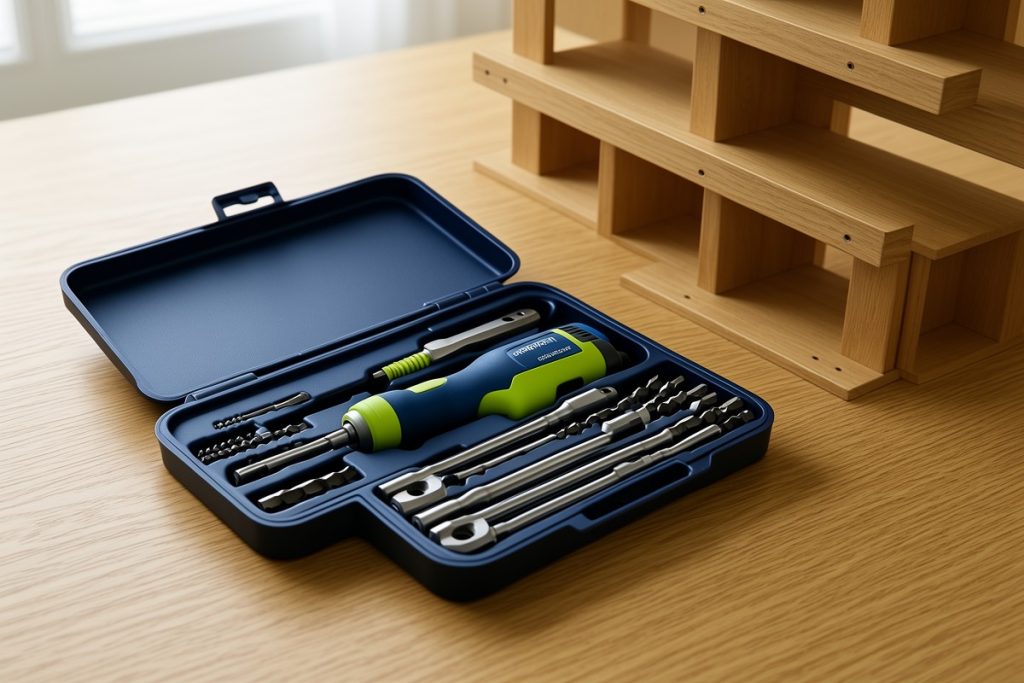
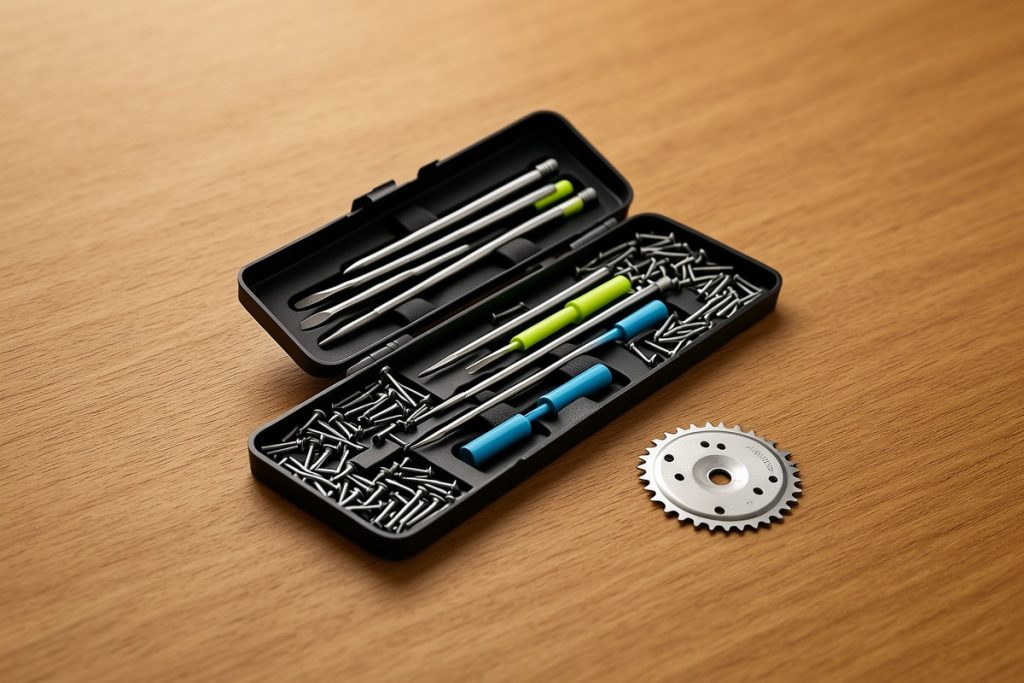
One possible option is the 8V Cordless Drill Set, 132-Piece Home Tool Set for DIY & Home Improvement | Rechargeable Drill with LED Light & Accessories for Women, Men, Homeowners, Beginners, Furniture Assembly, Repairs. The listing describes an 8V rechargeable drill, an LED light, and a 132-piece accessory set. That may be convenient for common furniture hardware, but check the included bits against your project instructions. An accessory count does not guarantee that every fastener type is covered or that the drill is suitable for high-demand work.
This type of kit is best considered for light assembly and routine household tasks. For masonry, structural work, long heavy-duty fasteners, or repeated construction projects, choose a tool specifically rated for that job. Also check the manual for the drill’s charging, storage, and operating instructions before use.
Finish with a safety and stability check
Inspect the completed furniture before loading it. Confirm that no screw head is protruding, no panel is cracked, and no joint has opened during tightening. Test drawers and doors gently to make sure they move without rubbing. If the unit rocks, do not solve the problem by overtightening one corner; check the floor, feet, panel alignment, and instructions.
Keep the drill pointed away from your body when changing bits, and disconnect or secure the battery according to the tool instructions during adjustments. Wear eye protection when drilling into materials, and keep loose clothing, cords, and children away from the work area.
Tall, narrow, or top-heavy furniture should be secured to the wall when the manufacturer recommends it. The U.S. Consumer Product Safety Commission’s Anchor It guidance explains why furniture tip-over prevention matters, particularly in homes with children. Treat anchoring hardware as part of the assembly, not as an optional finishing touch.
Five-minute assembly checklist
- Before starting: Read the manual, clear the work area, charge the drill, and sort the hardware.
- Before each screw: Confirm its length, match the bit, and start the threads by hand.
- While driving: Use slow speed, low torque, a straight angle, and light trigger pressure.
- Before final tightening: Check that panels, corners, doors, and shelves are aligned.
- Before use: Test stability, inspect every joint, and install the recommended wall anchor.
The goal is not to make the drill do all the work. A good assembly goes smoothly because the right fastener enters the right hole, the tool applies only the force needed, and alignment is checked before everything is locked in place.
Sources
- Hand and Power Tools — Occupational Safety and Health Administration