
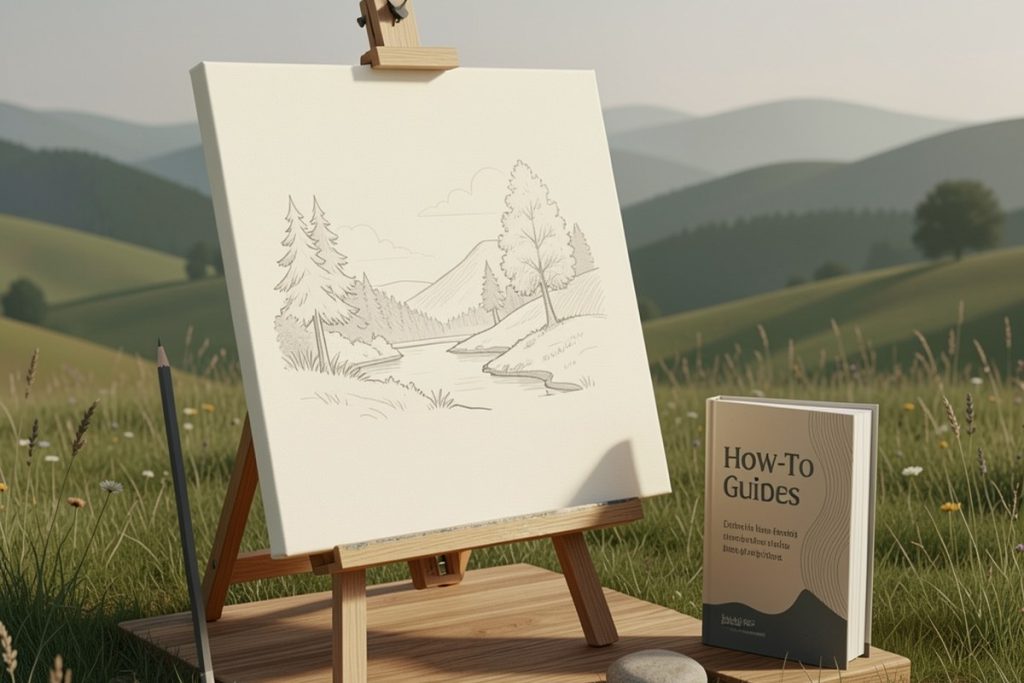
Quick answer
To draw a landscape as a beginner, simplify the scene into three parts: large shapes, light and dark values, and a few defining details. Start with a simple horizon, block in the sky and land, check the proportions, then add overlapping trees, rocks, or buildings. Work from light marks to darker ones, and stop before every area becomes equally detailed.
Key takeaways
- Choose a scene with three to five major shapes instead of copying every visible detail.
- Place the horizon and largest forms before drawing trees, grass, rocks, or windows.
- Use overlapping shapes and smaller details to create distance.
- Squint at the reference to identify the lightest, middle, and darkest areas.
- Practice short studies regularly rather than waiting for a perfect drawing session.
By Tommy Ruiz, Everyday Problem Solver
Last reviewed: 2026-08-14
What you need to start drawing landscapes
You do not need a large art supply collection. A beginner can make useful progress with:
- Plain drawing paper or a sketchbook
- A sharpened HB or 2B graphite pencil
- A soft eraser, preferably one that can lift graphite without damaging the paper
- A firm surface to draw on
- A simple landscape reference, such as a view from a window, a backyard, or a photograph
Use one pencil at first. Limiting your materials makes you pay attention to shape, proportion, and value instead of searching for a different tool every few minutes. If you draw outdoors, choose a safe place where you can sit without blocking a trail or disturbing plants and wildlife.
Choose a simple landscape, not a spectacular one
A dramatic mountain range may look inspiring, but it is often a frustrating first subject. Too many peaks, trees, shadows, and overlapping forms create decisions before you have a clear method.
Instead, choose a scene with a readable structure: a horizon, one large foreground shape, one middle-ground shape, and a background. A fence leading toward a hill, a tree beside an open field, or a path between two groups of trees works well. The goal is not to copy everything. The goal is to understand how a few shapes suggest an entire place.
Before touching the paper, study the reference for one minute. Ask:
- Where is the horizon?
- What is the biggest shape?
- Which object overlaps another?
- Where is the darkest area?
- What can be left out without changing the scene?
Step 1: Frame the scene and place the horizon
Lightly mark the outer boundaries of your drawing. These do not need to be a heavy rectangle; they simply help you keep the scene at a manageable size. Then place the horizon with a light horizontal line.
A high horizon gives more space to the sky. A low horizon emphasizes the land, trees, or foreground. Avoid automatically putting the horizon in the exact center. Compare its position with your reference and make a deliberate choice.
Next, lightly indicate the largest landforms. Think of hills as broad, connected silhouettes rather than individual blades of grass. At this stage, your drawing should look plain. That is useful: large proportion problems are easier to fix before detail hides them.
Step 2: Block in the three main areas
Divide the scene into broad value groups: the sky, the distant landscape, and the foreground. A value is simply how light or dark something appears. You can test your judgment by squinting at the reference. Squinting reduces distracting detail and makes the main light-and-dark pattern easier to see.
Use very light graphite for the first pass. Shade the broad areas with the side of the pencil rather than pressing hard with the tip. Keep the sky lighter than the land if that matches your reference, but do not assume every sky should be white or every foreground should be dark.
Leave the brightest areas of the paper untouched when possible. Erasing highlights later can work, but preserving them from the beginning usually produces cleaner light.
Step 3: Create depth with overlap and scale
Landscape depth comes from relationships, not from drawing more detail. Objects closer to you generally appear larger and show stronger edges. Distant objects tend to be smaller, lighter, and less distinct. These are helpful observations, not rigid rules, so compare them with the scene in front of you.
Use overlap deliberately. Let a foreground tree cover part of a hill, or let a rock interrupt the edge of a path. When one form sits in front of another, the viewer reads the space between them.
Be careful with repeated objects. A row of trees that all have the same height and outline can look like a pattern. Vary their size, spacing, and shape. Keep the smallest marks for the distance and reserve clearer, more specific marks for the foreground.
Step 4: Draw trees, rocks, and paths as simple forms
Do not begin a tree by drawing dozens of leaves. Start with its overall silhouette and trunk direction. Add a few large masses of foliage, then place only the darker openings and selected branch lines. A tree becomes convincing through its structure and value pattern, not through a high number of tiny marks.
For rocks, draw the outside shape first. Add one plane facing the light and another plane facing away from it. A few angled edges will usually communicate more than a web of random lines.
For a path or river, use two lines that gradually change direction as they move into the distance. Keep the gap between them wider in the foreground and narrower farther away. Avoid making both edges perfectly parallel; slight variation makes the route feel more natural.
A practical beginner landscape checklist
- Composition: Is the horizon in the right place?
- Structure: Are the largest shapes in the correct positions?
- Depth: Do foreground forms overlap middle-ground forms?
- Value: Is there a clear darkest area and a clear lightest area?
- Focus: Is one part more detailed than the rest?
- Editing: Can you remove any mark that does not help the scene?
Check the drawing from a distance or view it in a mirror. This makes proportion problems easier to notice. If the image feels flat, do not immediately add texture. First check whether the foreground is large enough, the background is light enough, and the overlapping forms are clear.
Common mistakes that slow beginners down
Starting with details
Small leaves and blades of grass are satisfying, but they can lock in an incorrect composition. Finish the large shapes first. Details should support the structure, not rescue it.
Making every edge equally dark
Heavy outlines around every object flatten the scene. Let some edges remain soft or disappear into neighboring values. Darker edges work best where you want attention or where two forms strongly overlap.
Using the same pressure everywhere
Pressing hard from the start makes corrections difficult and leaves little room for darker accents. Begin lightly, build tone gradually, and use firmer pressure only after you are satisfied with the placement.
Trying to finish one object before the rest
Landscape drawings develop more evenly when you move around the page. Work on the sky, land, and foreground in several passes. This lets you compare values and prevents one tree from becoming highly finished while the rest of the drawing remains underdeveloped.
Should you use a beginner drawing book?
A book can be useful when you want a sequence of exercises instead of choosing every practice subject yourself. Drawing Nature for the Absolute Beginner: A Clear & Easy Guide to Drawing Landscapes & Nature is a relevant option to consider if your main goal is guided practice with landscapes and nature.
Keep the recommendation in perspective: a book is a reference, not a substitute for observing real shapes and practicing consistently. It may suit you if you prefer printed instruction and a dedicated landscape focus. If you learn better by experimenting, the steps in this guide and a small collection of reference scenes may be enough to begin.
A 30-minute practice plan
Set a timer and make the session deliberately small:
- Minutes 1–3: Study the reference and identify the horizon, largest shape, and darkest area.
- Minutes 4–8: Lightly place the frame, horizon, and major landforms.
- Minutes 9–16: Block in the sky, background, middle ground, and foreground values.
- Minutes 17–25: Add two or three identifying features, such as a tree, path, fence, or rock.
- Minutes 26–30: Deepen selected shadows, soften unnecessary edges, and remove distracting marks.
Save the drawing even if it feels unfinished. Write down one specific observation afterward: perhaps the horizon was too high, the foreground needed more contrast, or the trees were too similar. A precise note gives your next practice session a job to do.
Practice outdoors without damaging the place
Nature is an excellent source of reference, but sketching should not come at the expense of the setting. Stay on established trails or durable surfaces, pack out scraps and other waste, avoid collecting rocks or plants, and keep a respectful distance from wildlife. The National Park Service summarizes these principles through Leave No Trace guidance. A quiet observation habit helps both your drawing and the landscape you are studying.
Sources
- Drawing Lessons and Activities — National Gallery of Art educational resources.
- Leave No Trace Seven Principles — National Park Service.