Quick answer
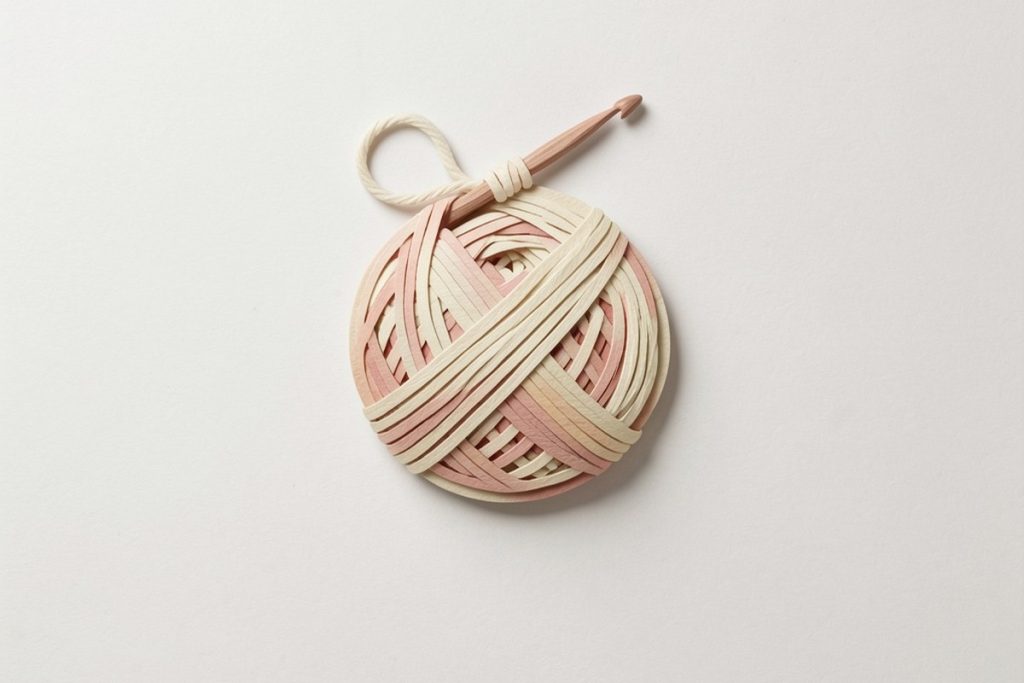
To start crocheting, gather a size H/8 (5.0 mm) hook and medium-weight acrylic yarn in a light color. Learn the slip knot, chain stitch, and single crochet. Practice by working a simple 4-inch square dishcloth to build tension control and confidence before attempting larger projects.
Key takeaways
- Start with a medium-weight yarn and an H/8 (5.0 mm) hook—the most forgiving combination for beginners.
- Master the slip knot, chain stitch, and single crochet before moving to complex patterns.
- Practice tension by working a simple 4-inch square dishcloth as your first project.
- Count your stitches at the end of every row to avoid uneven edges.
- Use a beginner-specific reference guide to decode pattern abbreviations and diagrams quickly.
Start With the Right Supplies
One of the biggest myths about crochet is that you need a craft-room full of gadgets. You do not. A beginner only needs four items: a hook, a ball of yarn, a pair of scissors, and a yarn needle with a large eye. Stitch markers are helpful but optional; a spare bobby pin or safety pin works until you decide to stick with the hobby.
Buy an aluminum or ergonomic hook rather than bamboo for your first attempts. Aluminum lets yarn glide with less friction, which makes it easier to feel where to insert the hook. Acrylic yarn is the best fiber for learning. It is inexpensive, machine-washable, and comes in light colors that make stitches easy to see. Avoid dark navy or black until you can identify stitches by touch. Also avoid textured or novelty yarns—fuzzy, sequined, or ribbon yarns—because they hide the stitches and make corrections frustrating.
Yarn and Hook Sizes for Beginners
Yarn is categorized by weight, which really means thickness. As a beginner, you want a weight that is thick enough to see but not so bulky that it feels unwieldy in your hands. Medium-weight yarn, labeled “Category 4” or “worsted weight,” is the sweet spot. It works up quickly, the stitches are visible, and it is the most common weight used in beginner tutorials.
| Weight Number | Category | Ideal First Projects | Recommended Hook |
|---|---|---|---|
| 3 | Light (DK) | Scarves, baby blankets | 4.0 mm (G/6) |
| 4 | Medium (Worsted) | Dishcloths, hats, bags | 5.0 mm (H/8) |
| 5 | Bulky | Cowls, thick afghans | 6.5 mm (K/10.5) |
Pair that medium-weight yarn with a size H/8 (5.0 mm) hook. This pairing creates stitches that are neither too tight nor too loose, giving you room to correct errors without fighting the fabric. If you tend to crochet tightly, move up to a 5.5 mm (I/9) hook; if your work is loose and holey, move down to a 4.5 mm (G/7).
When shopping, look at the yarn label for a number inside a yarn-ball symbol. That number corresponds to the Craft Yarn Council weight system. Also check the dye lot number: buy enough yarn from the same lot for your first project so the color stays consistent. Nothing is more discouraging than finishing a scarf that shifts from sky blue to baby blue halfway through because the lots mismatched.
Master the Foundation Stitches
Every crochet project, from a coaster to a cardigan, builds on three fundamentals: the slip knot, the chain stitch, and the single crochet. Do not rush past these. Spend an evening making nothing but chains until your tension feels even. Then practice rows of single crochet until the motion becomes muscle memory.
The slip knot. Make a loop with the yarn, insert the hook, grab the working yarn, and pull it through the loop. This adjustable knot secures the yarn to your hook without jamming.
The chain (ch). Yarn over and pull through the loop already on your hook. Each chain looks like a sideways “V.” Count the Vs to keep track.
The single crochet (sc). Insert the hook into the chain, yarn over, pull up a loop (two loops now on hook), yarn over again, and pull through both loops. That is one single crochet.
The phrase “yarn over” simply means wrapping the working yarn over the hook from back to front. It is not a knot; it is a temporary catch that the hook pulls through existing loops. If you forget which direction to wrap, remember that the hook should face the yarn like a cup waiting to be filled. Practice the yarn-over motion without worrying about making fabric. Hook, wrap, pull through. When that feels rhythmic, you are ready to form actual stitches.
Your First Project: A Simple Dishcloth
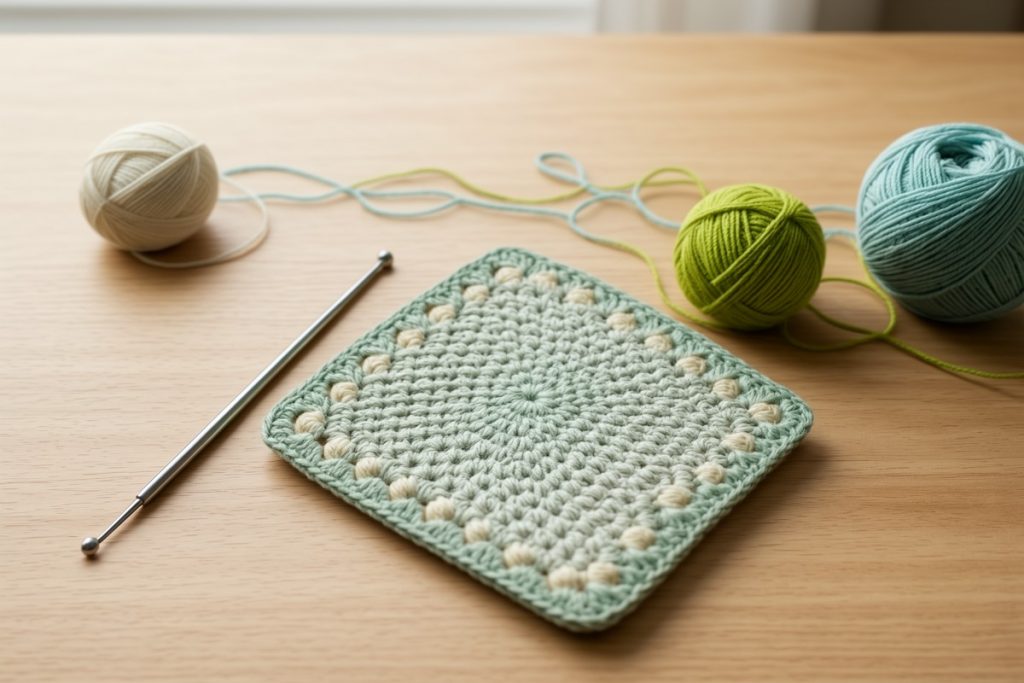
A dishcloth is the ideal first project. It is small, square, useful, and lets you practice turning at the end of each row without committing to a blanket. Use cotton yarn for the dishcloth rather than acrylic if you want it to function as an actual kitchen cloth. Cotton absorbs water and withstands heat. A simple sugar-and-cream cotton in a light shade costs very little and is durable. If you only have acrylic, make the square anyway; it still counts as a finished object and gives you the confidence boost of completion.
Here is a dead-simple pattern:
- Start with a slip knot and chain 26.
- Single crochet in the second chain from the hook and in each chain across. You now have 25 stitches.
- Chain 1 and turn your work.
- Single crochet in each stitch across the row.
- Repeat step 4 until the piece measures roughly 6 inches square.
- Cut the yarn, leaving a 6-inch tail. Pull the tail through the last loop and tighten.
- Thread the tail onto a yarn needle and weave it through the stitches to hide it.
Work slowly. Count stitches at the end of every row. If you have 24 or 26 stitches, you added or skipped one at the edge. That is normal; simply unravel the row and try again.
Avoid the Most Common Beginner Errors
New crocheters run into the same predictable problems. Knowing them in advance saves hours of frustration.
- Death grip. Holding the hook like a dagger creates hand cramps and tight stitches. Hold it like a pencil or a knife—whichever feels lighter—and shake out your hands every ten minutes.
- Ignoring the turning chain. When you reach the end of a row, you chain one and turn. That chain-one does not count as a stitch in single crochet, so do not work into it. Work your first single crochet into the very last single crochet of the previous row.
- Working into the wrong part of the chain. When making your foundation row, insert the hook under both top loops of the chain. If you stab into only one strand, the bottom edge will be wavy.
- Giving up during the first hour. The first twenty stitches will look awkward. By the end of the first evening, the motion will feel dramatically smoother.
Reading Patterns and Building Skills
Once you can crochet a square, you will want to follow a written pattern. Patterns use standard abbreviations: ch (chain), sc (single crochet), st (stitch), rep (repeat), and sl st (slip stitch). Most patterns also list gauge—the number of stitches per inch—so you can check whether your tension matches the designer’s. If your square is larger than specified, use a smaller hook; if smaller, use a larger one.
After you finish the dishcloth, repeat the pattern in a rectangle to make a scarf. Then learn the double crochet stitch—twice the height of single crochet—which builds fabric faster and introduces the concept of stitch height. From there, a simple beanie in the round is the logical next challenge. Each project adds one new technique rather than overwhelming you with five at once.
If you prefer a physical reference that walks through each stitch with photos, Crochet for Newbies: An Absolute Beginner’s Guide to Crafting With Yarn offers a structured, no-assumptions approach that complements free video tutorials. Keep it next to your practice basket and treat it like a workbook.
Last reviewed: 2026-08-10