Quick answer
Start a backyard homestead as a small, manageable food project rather than a complete farm. Check local rules, sunlight, water, drainage, soil, and wildlife before buying supplies. Grow a few dependable crops in one or two beds, track your results, and consider poultry or food preservation only after you understand the daily work and costs involved.
Key takeaways
- Verify zoning, HOA, utility, fencing, shed, compost, and poultry rules first.
- Begin with one 4-by-8-foot bed and crops your household actually eats.
- Buy basic tools only after identifying a real site or maintenance problem.
- Use tested food-preservation instructions, especially for low-acid foods.
Check your site and local rules first
Before ordering seeds or building anything, contact your local planning office and review your property documents. Check zoning, HOA restrictions, property lines, easements, buried utilities, fence limits, compost rules, shed permits, and whether chickens are allowed. Requirements can vary between neighboring towns, so a setup that works nearby may not be legal on your property.
Spend several days observing the yard. Look for six to eight hours of direct sunlight, standing water after rain, strong wind, deer or rabbit activity, and convenient access to a hose. A garden near the kitchen and visible from the house is easier to maintain. Test the soil through a local laboratory or extension service before adding amendments. The USDA Web Soil Survey can provide useful background, but it does not replace a site-specific test.
- Sunlight and drainage are adequate.
- Water access is practical and safe for edible crops.
- Soil test results are available.
- Rules and utility locations are confirmed.
Build a small first-season plan
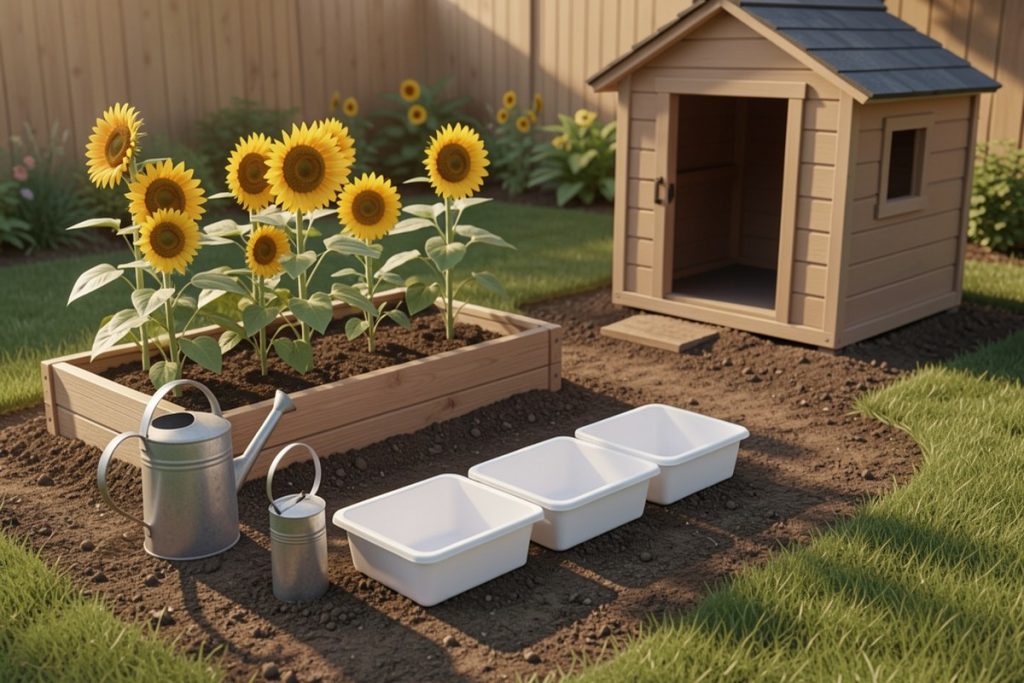
For your first year, choose one or two raised or in-ground beds instead of converting the entire backyard. One 4-by-8-foot bed plus a few herb containers is enough to learn planting, watering, pest control, harvesting, and cleanup without creating a second full-time job.
Pick crops based on your climate and cooking habits. Lettuce, radishes, bush beans, kale, basil, and cherry tomatoes are approachable choices, although planting dates vary by region. Use the USDA Plant Hardiness Zone Map for perennial planning and a local planting calendar for sowing dates. Grow small batches at two- or three-week intervals rather than planting everything at once.
Leave paths between rows, mulch after seedlings establish, and water the root zone deeply when the soil begins to dry. Check plants twice a week for wilting, holes, disease, and ripe produce. Harvest regularly, especially beans and herbs, and keep notes about varieties, yields, weather, pests, and what your household used. Those notes will guide next year’s decisions better than an oversized seed collection.
Consider poultry and preservation separately
Adding backyard chickens
Chickens can provide eggs and manure, but they add daily responsibilities rather than eliminating grocery costs. Confirm flock limits, setbacks, noise rules, predator requirements, and feed-storage expectations before buying birds. Budget for a secure, ventilated coop, covered run, bedding, feeders, waterers, replacement supplies, and possible veterinary care. Start small only when you have a plan for travel, illness, extreme heat, cold weather, and protection from wild birds. Follow current USDA APHIS biosecurity guidance.
Preserving what you grow
Freezing herbs, berries, blanched vegetables, and prepared meals is often the simplest first preservation method. For canning, follow tested recipes and processing times from the USDA or National Center for Home Food Preservation. Low-acid foods require pressure canning; boiling-water processing is not a substitute. Do not improvise acidity, ingredients, jar sizes, or processing times. Discard jars that leak, bulge, spurt, or smell unusual, and never taste suspicious food.
Control your budget and avoid overbuying
Buy only equipment that solves a confirmed problem: a durable hose, hand trowel, pruners, stakes, row cover, containers, and compost or mulch based on your soil results. Borrow a wheelbarrow or larger tools before purchasing them. Keep three budget columns—planned, spent, and saved—and include recurring costs such as water, feed, bedding, seeds, and replacement parts.
The most common beginner mistake is purchasing the homestead fantasy before proving the routine. Delay the greenhouse, incubator, dehydrator, premium raised-bed system, bulk seed collection, and large flock. At season’s end, compare harvests, food used, hours worked, failures, and ongoing costs. Expand one variable at a time—another bed, a new crop, or poultry—so you can identify what genuinely improves your household’s food supply.
Last reviewed: 2026-08-15
A broad guide can help you compare possible projects
A single overview can be useful when you are deciding whether to begin with gardening, food preservation, poultry, or another practical skill. The Homesteading: A Backyard Guide to Growing Your Own Food, Canning, Keeping Chickens, Generating Your Own Energy, Crafting, Herbal Medicine, and More (Back to Basics Guides) offers a broad starting reference. Use it to organize questions, then confirm safety instructions and local requirements with the appropriate extension service or government source.