Quick answer
For a small hotel-room remote work setup, treat the desk as a temporary workstation: choose a stable surface, raise the laptop, add a separate keyboard and mouse when possible, put power within reach, and keep work gear in defined zones. A compact organizer can reduce setup friction, but the room layout and connection plan matter more than any accessory.
Key takeaways
- Choose the room’s best work surface before unpacking your technology.
- Raise the laptop so your neck is not angled downward for hours.
- Separate power, work, and personal items to make interruptions easier to manage.
- Test the internet, outlets, lighting, and backup connection before an important call.
By Casey Blake, Realistic Remote Work Advisor
Start with the room, not the gear
A hotel room rarely gives you a purpose-built office. You may get a narrow desk, a low chair, harsh overhead lighting, and one conveniently placed outlet that is already occupied by a lamp. Trying to force your normal home setup into that space usually creates clutter and discomfort.
Instead, spend two minutes assessing the room. Look for the widest stable surface, the nearest outlet, the strongest natural light, and a chair that lets your feet rest flat on the floor. If the desk is too shallow, a dining table, dresser, or small table near the window may work better. Keep the bed as a last resort; it encourages poor posture and makes it harder to finish work.
Your goal is not to recreate a permanent office. It is to create a reliable temporary station that can support the next work block without making the room feel like a warehouse.
Build three simple zones
Small spaces become easier to use when every item has a job. Divide the workstation into three zones:
- Power zone: charger, adapter, and the outlet nearest your seat.
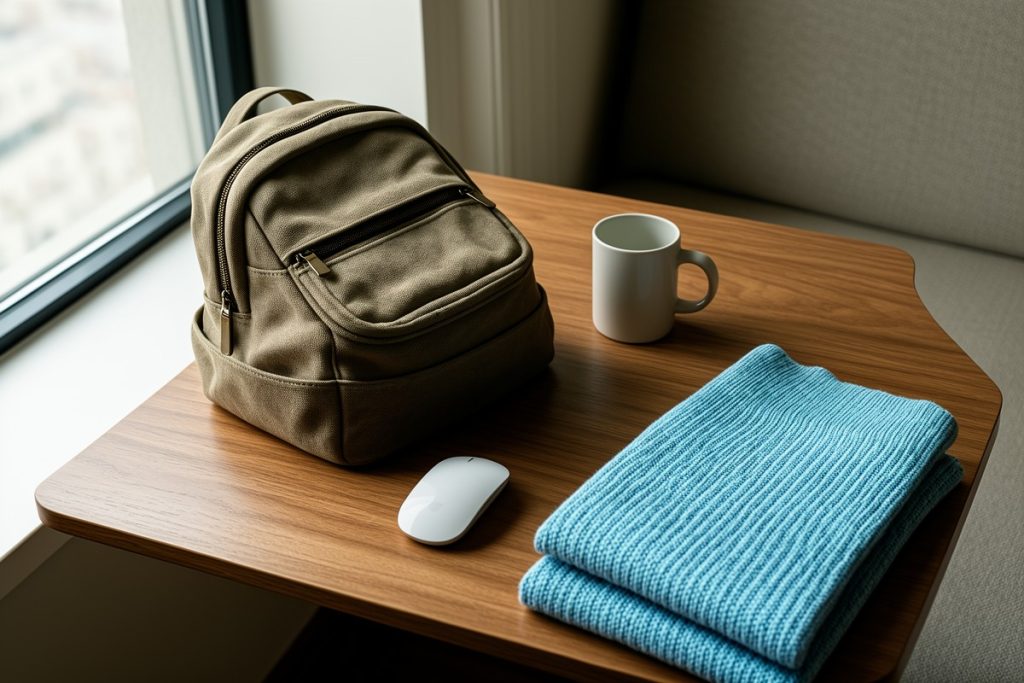
- Work zone: laptop, keyboard, mouse, notebook, and any item needed for the current task.
- Personal zone: water, coffee, medications, headphones, and anything you do not want mixed into work equipment.
Keep the power zone at the back or side of the desk, where cords are less likely to cross your typing area. Put only today’s work essentials in front of you. Everything else can stay in a drawer, luggage compartment, or organizer. This small separation makes it quicker to clear the desk for a meal, housekeeping visit, or video call.
Raise the laptop and protect your posture
A laptop is convenient because it combines a keyboard and display, but its screen and keys are attached. If the screen is high enough for comfortable viewing, the keyboard is usually too high for relaxed shoulders. If the keyboard is comfortable, the screen often sits too low.
For work lasting more than a short email session, raise the laptop with a stand or a stable substitute and connect a separate keyboard and mouse if you have them. Aim for a screen position that allows your head to remain relatively level rather than continuously tilted toward your chest. Keep the keyboard close enough that your elbows stay near your sides.
Do not use an unstable stack of books, toiletries, or soft luggage as a makeshift stand. A wobbling laptop is distracting and can slide when you adjust the desk. If you do not have a stand, use the lowest stable elevation available and take more frequent movement breaks.
Make lighting work for you
Hotel lighting is often designed for relaxing, not sustained computer work. A bright window behind you can create reflections and make your face look dark on calls. A window directly in front of you may be comfortable for your eyes but can make video difficult if the light is intense.
Position the desk so daylight reaches the side of your workstation rather than shining directly into the display. For calls, face a window or a soft lamp when possible, but avoid placing a strong light directly below your face. Close curtains partially if the sunlight changes sharply during the day.
If the room has only an overhead fixture, use it as general illumination and add a small portable lamp if you regularly work at night. A consistent, moderate light level is usually more useful than dramatic brightness.
Use a repeatable 10-minute setup
A short sequence prevents you from spending the first half-hour improvising. Follow the same order whenever you arrive at a new room:
- Clear the surface. Move hotel materials, food, and unused items away from the work area.
- Check the chair and outlet. Adjust your seat before connecting anything.
- Place the laptop. Center it and leave room for a keyboard or mouse if applicable.
- Route power to the side. Keep cords visible enough to avoid pulling them accidentally.
- Set the light. Check the display for glare and test how your face appears on a call.
- Run a connection check. Open the tools you need, confirm the network, and identify your backup option.
- Remove distractions. Put luggage, shopping, and personal items outside the work zone.
The final step is important: take a photograph of your setup only if it helps you remember the arrangement. Do not leave expensive equipment unattended while you are out of the room.
Choose an organizer for access, not just storage
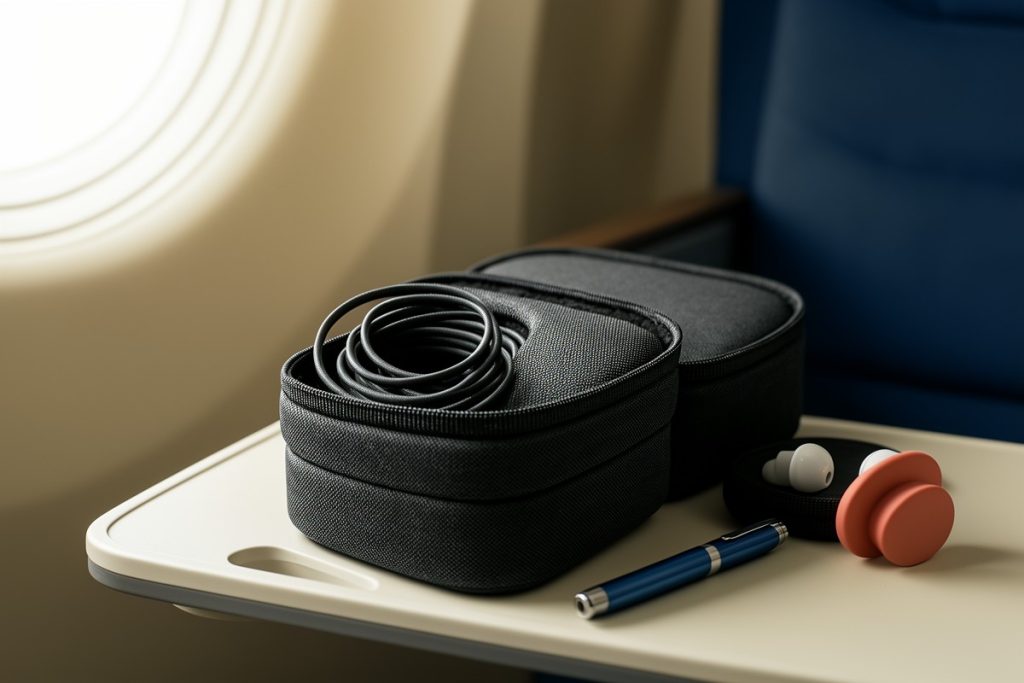
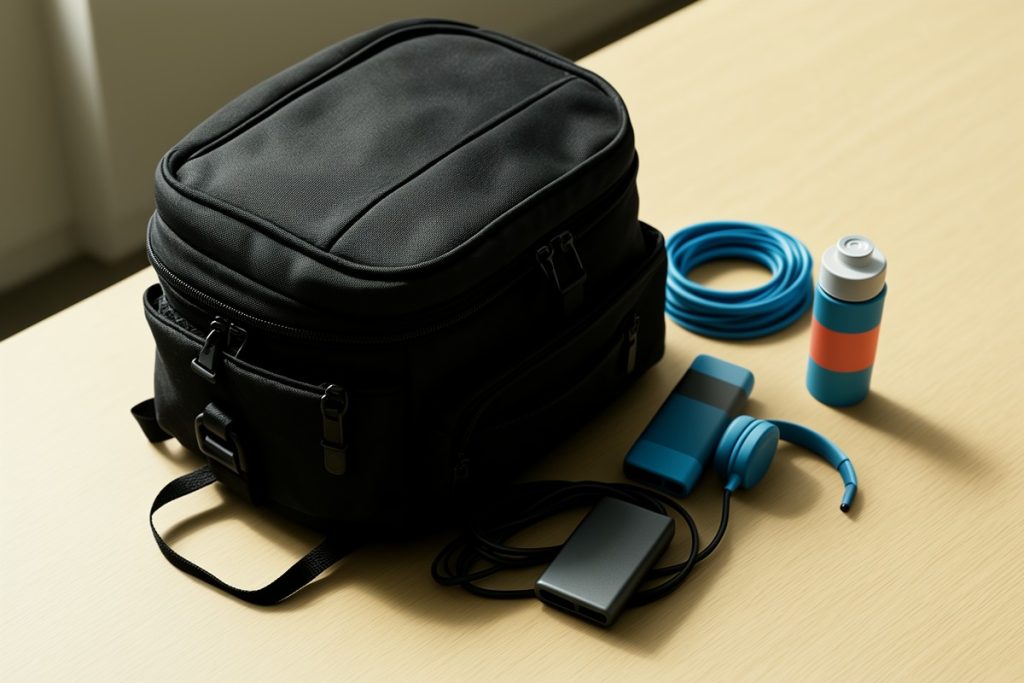
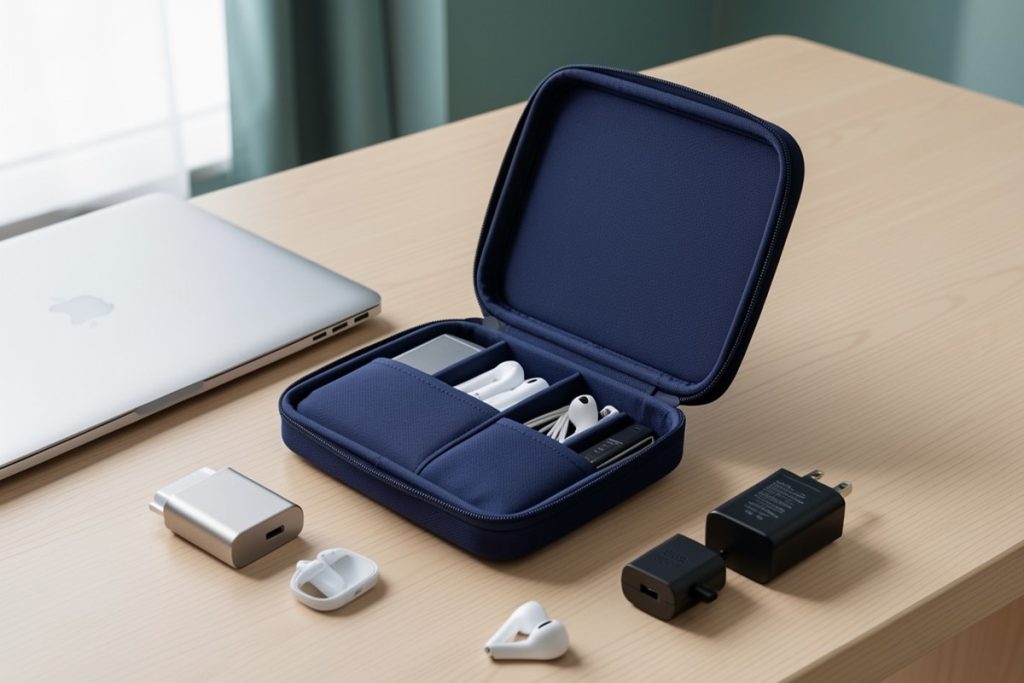
An electronic organizer is most useful when it reduces the number of small decisions you make between locations. A case with separate compartments can keep charging accessories, adapters, and audio items together while your main luggage is being moved. That is different from carrying every possible accessory; the purpose is faster access to the few items you already use.
Disclosure: As an Amazon Associate, GetWitty may earn from qualifying purchases.
One possible fit is the Electronic Organizer Travel Case, Upright Laptop Charger Bag, Nylon. Its listing describes a water-resistant nylon design, eight pockets, and space for MacBook Pro 96W/140W chargers. Those features may suit a traveler who moves between hotel rooms, cafés, and coworking spaces, but the case will not create desk space, improve internet speed, or replace an ergonomic keyboard and mouse. Check the current listing dimensions and compatibility with your own equipment before buying. This is a feature-based recommendation, not a hands-on test.
Plan for unreliable internet before the deadline
A comfortable desk does not help if a meeting fails at the wrong moment. Before an important call, test the hotel network from the actual workstation rather than assuming the lobby connection represents the room. Confirm that your required services load, your audio works, and your device can reconnect after sleep.
Keep one backup route available, such as a phone hotspot or a nearby coworking space. Know where the room’s signal is strongest, and save essential files locally when your work permits it. Avoid handling sensitive work casually on open public networks; use your organization’s approved security tools, keep software updated, and confirm that file-sharing settings are appropriate.
Also prepare a nontechnical backup for meetings: headphones with a built-in microphone, a quiet location outside the room, and a short message you can send if the connection drops. A backup plan is more valuable when it is specific enough to use immediately.
Use a shutdown ritual at the end of the day
Remote work in a hotel can blur the boundary between work and rest. End each session by closing active applications, disconnecting equipment safely, returning accessories to their assigned zone, and clearing the desk. Put the laptop away if you are finished rather than leaving it open as a visual reminder.
Before checking out, inspect outlets, bedside tables, and the area beneath the desk. Small accessories are easy to leave behind when they are separated from the main computer bag. A consistent setup and shutdown routine lets you work from unfamiliar rooms without turning every arrival into a new logistics problem.
Small-room workstation checklist
- Stable surface selected and cleared
- Chair adjusted with feet supported
- Laptop raised as much as practical
- Power routed beside, not across, the typing area
- Glare and video-call lighting checked
- Primary and backup internet options confirmed
- Work gear separated from personal items
- Equipment accounted for before leaving the room
Last reviewed: 2026-08-17
Sources
- Computer Workstations eTool — Occupational Safety and Health Administration guidance on workstation arrangement and posture.
- Guide to Enterprise Telework, Remote Access, and Bring Your Own Device Security — National Institute of Standards and Technology publication on remote-access security.