Quick answer
To organize a small pantry for holiday baking, remove expired items, group ingredients by task, and reserve the easiest-to-reach shelves for frequently used staples. Use airtight containers for opened dry goods, a simple first-in, first-out rotation, and vertical storage for lightweight items. The goal is a clear baking workflow, not a perfectly styled pantry.
Key takeaways
- Audit ingredients before buying seasonal baking supplies.
- Group items by how you use them, not only by food type.
- Keep heavy containers low and lightweight items in vertical storage.
- Create a small holiday baking zone that is easy to reset.
By Autumn Cole, Seasonal Lifestyle Curator
Start with an honest pantry audit
Before purchasing organizers or stocking up on holiday ingredients, take everything out of the pantry or the section you plan to improve. Wipe the shelves, then check each item for its condition, date, and likely use. This prevents a common seasonal mistake: buying a second jar of cinnamon or another bag of flour when the original is hidden behind everyday groceries.
Separate the contents into four groups: keep, use soon, relocate, and discard. “Use soon” items should move toward the front so they are visible during your next meal or baking session. Relocate items that belong in another area, such as serving pieces, candles, or cleaning products. Discard anything damaged, damp, leaking, or showing signs of pests.
Package dates require judgment. A “best if used by” date generally relates to quality rather than automatically indicating that food is unsafe, but damaged packaging, unusual odors, moisture, or visible spoilage are reasons to throw an item away. For uncertain foods, check current guidance from the USDA and FDA rather than relying on appearance alone.
Build zones around your baking workflow
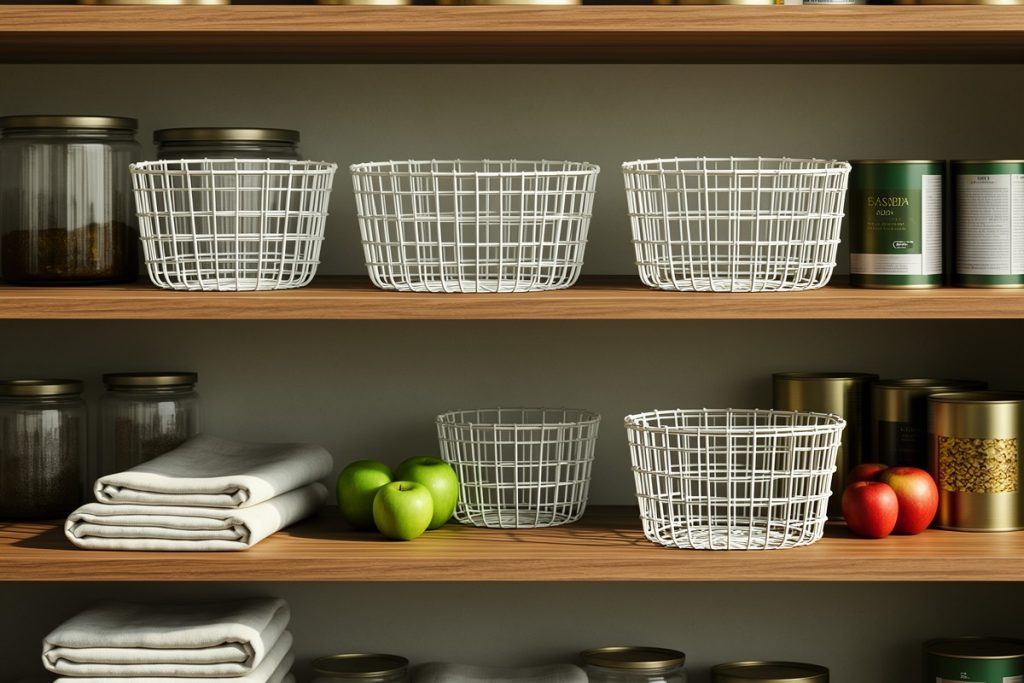
A small pantry works better when its layout follows the way you cook. Instead of placing all cans together and all bags together, create practical zones that reduce reaching and searching. For holiday baking, you may need a dry-goods zone, a flavoring zone, a decorating zone, and a backup zone.
| Pantry zone | Useful contents | Best location |
|---|---|---|
| Core baking | Flour, sugar, oats, cocoa, baking powder | Eye-level shelf or pull-out bin |
| Flavor builders | Spices, extracts, dried fruit, nuts | Easy-to-reach narrow shelf |
| Decorating | Sprinkles, piping supplies, cutters, liners | Small labeled container or drawer |
| Backups | Unopened duplicates and occasional ingredients | Higher or lower storage area |
Keep ingredients that are used together close together. For example, baking powder, baking soda, vanilla, and common spices should not be scattered across three shelves. If you bake several recipes in one session, place a shallow bin nearby for the ingredients currently in use. That temporary staging area keeps opened bags and measuring tools from spreading across the counter.
Use vertical storage without overloading the door
In a narrow pantry, the back of the door can provide valuable storage without taking shelf space from larger containers. A door-mounted basket system can hold lightweight, frequently used items such as spice containers, small packets, cupcake liners, or unopened decorating accessories. It is especially helpful when your shelves are deep and small items tend to disappear behind taller packages.
One option to consider is the Moforoco 9-Tier Over The Door Pantry Organizer. Its listed format is designed for vertical pantry organization with multiple tiers and baskets. It may suit a renter-friendly or space-conscious setup, but it is not automatically the best choice for every door. Measure the door and surrounding clearance first, check the current listing for dimensions and weight guidance, and confirm that the shelves or hinges will not be obstructed.
Use door storage for lighter items rather than loading it with heavy glass jars or large bags. A crowded door can become awkward to open, and poorly balanced weight may make items shift. Store the heaviest pantry staples on low, stable shelves. If the door-mounted system leaves too little clearance for the pantry frame, choose shelf risers, stackable bins, or a slim rolling cart instead.
Choose containers that make ingredients easier to manage
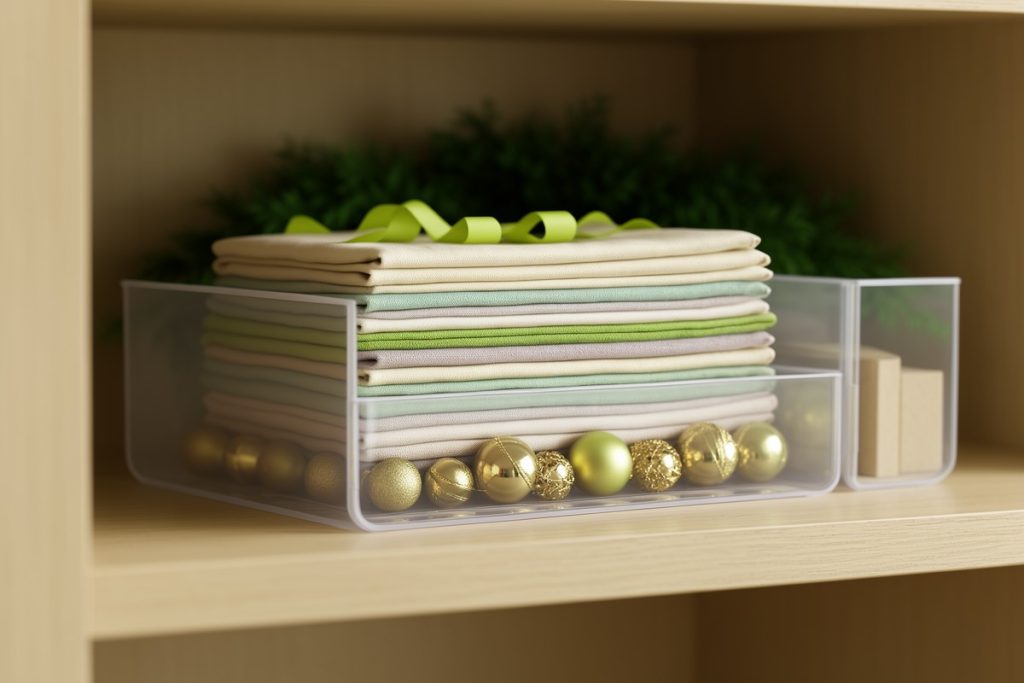
Clear, airtight containers are useful for opened flour, sugar, rice, oats, and other dry goods because they show how much remains and help limit exposure to moisture. Choose shapes that match your shelf depth. A short, wide container is often easier to scoop from, while a tall container can make better use of vertical space. Do not decant every ingredient simply for visual uniformity; keep original packaging or lot information available when it matters for cooking instructions or recalls.
Label containers with the ingredient name and the date opened if that information will help you use food in a timely way. For ingredients with shorter quality windows, such as nuts, whole-grain flours, or dried fruit, buy quantities you can realistically use. If a recipe calls for a small amount of an infrequent ingredient, consider whether a smaller package will prevent waste.
Use the first-in, first-out method: place newer items behind older ones and bring the older item forward. This is more reliable than trying to remember what is hidden at the back. Once a week during the holiday season, take two minutes to scan for low supplies, open packages, and ingredients nearing the end of their best quality.
Create a seasonal baking station that resets easily
Holiday baking becomes less stressful when the pantry is prepared for the actual work, not just arranged for a photograph. Keep a small basket or tray for the season’s most-used items. Depending on your recipes, that might include cookie cutters, parchment supplies, extracts, spices, and decorating tools. The station should be removable so the pantry can return to its everyday layout afterward.
Before a large baking day, make a short inventory from the recipes you plan to prepare. Mark each ingredient as “on hand,” “opened,” or “buy.” Check duplicates before shopping, and group the shopping list by store section rather than by recipe. This reduces impulse purchases and helps you notice when several recipes rely on the same staple.
- Measure pantry shelves, door clearance, and available bin space.
- Move older ingredients to the front.
- Gather related baking items into one zone.
- Store heavy goods low and lightweight accessories high.
- Leave enough room to remove one item without unloading a shelf.
Keep the system useful after the holidays
Seasonal organization only works if it survives the busy weeks. After baking, return unopened staples to their normal zones and remove empty containers immediately. Combine duplicate items only when their condition and dates are clear. Move specialty decorations into a clearly defined seasonal bin rather than allowing them to occupy prime pantry space year-round.
At the end of the season, note which ingredients you overbought and which tools you reached for repeatedly. That small record will improve next year’s shopping list. A successful pantry is not the one with the most matching containers; it is the one where you can find what you need, store it safely, and put it away without creating another problem.
Last reviewed: 2026-09-21
Sources
- Food Product Dating — USDA Food Safety and Inspection Service
- FoodKeeper App — FoodSafety.gov