
Quick answer
To film a solo tutorial, place your camera at eye level, mark a clear movement area, test tracking before recording, and keep a backup fixed angle. A hands-free tracking stand can help when you need to move, demonstrate a process, or stay centered without a camera operator. It will not replace good lighting, clear audio, stable framing, or a simple recording plan.
Key takeaways
- Plan the camera path and speaking area before turning on tracking.
- Use a fixed backup angle for mistakes, pauses, or tracking failures.
- Keep your face or main demonstration area well lit and uncluttered.
- Test gesture and remote controls before recording the full tutorial.
- Review the finished video for framing, focus, audio, and unwanted movement.
By Derek Holt, Data-Driven Analyst
Last reviewed: 2026-10-05
Why hands-free tracking helps solo creators
Recording alone is easy when the subject stays seated in one place. It becomes more difficult when a tutorial involves standing up, moving between a desk and a workbench, showing a physical demonstration, or stepping back to reveal a finished result. A fixed tripod keeps the camera stable, but it can leave you walking out of frame. Handheld filming keeps you mobile, but it often creates distracting movement and makes precise demonstrations harder to follow.
A tracking stand sits between those two options. It can keep a phone aimed toward a moving subject while the creator concentrates on explaining the task. That makes it useful for cooking demonstrations, craft projects, product walkthroughs, home workouts, classroom explanations, and short educational videos.
The important distinction is that tracking solves a framing problem, not every production problem. It does not automatically produce good lighting, clean sound, strong pacing, or accurate instruction. Think of it as a quiet camera assistant: helpful during movement, but still dependent on a thoughtful setup.
Choose the right recording method for the tutorial
| Recording method | Best use | Main trade-off |
|---|---|---|
| Fixed tripod | Desk tutorials, interviews, and demonstrations in one small area | Simple and stable, but the subject must stay within a narrow frame |
| Tracking stand | Solo presentations that involve walking, turning, or changing position | More flexible, but movement and framing need testing |
| Handheld camera | Fast informal clips and changing locations | Mobile, but more difficult to keep steady and consistently composed |
Use a tracking setup only when movement adds value. If the entire tutorial happens at a desk, a stable fixed tripod may produce a cleaner result with less to manage. The tracking feature is most useful when the viewer benefits from seeing the presenter or demonstration from more than one position.
Set up the room before you record
Start by choosing the area where the important action will happen. Remove anything that competes with the subject, especially bright lights, reflective surfaces, moving people, or objects that could be mistaken for the subject. A plain background does not need to be empty, but it should support the explanation rather than distract from it.
Position the camera close to eye level for a talking tutorial. For a standing demonstration, leave enough space above the head and around the shoulders for natural movement. If the video includes a tabletop activity, angle the camera so the work surface remains visible without forcing the presenter to bend forward.
Light the subject from the front or slightly to one side. A window can work well if it remains consistent during the recording, but direct sunlight may create harsh changes as clouds pass. Avoid placing a bright window directly behind the presenter, because the camera may expose for the background and make the subject appear too dark.
Audio deserves its own check. A quiet room and a close microphone generally matter more than an elaborate background. Turn off noisy fans, silence nearby devices, and record a short sample before making the full tutorial.
Use a simple solo recording workflow
- Define the movement zone. Decide where you will stand, sit, or walk. Keep the area small enough for reliable framing and large enough for the demonstration.
- Place the stand. Set it on a firm, level surface. Do not put it where a cable, pet, chair, or other object could interfere with movement.
- Frame the opening shot. Leave modest space around the subject instead of filling every edge of the frame. This gives the tracker room to adjust.
- Run a silent test. Move slowly through the full presentation area. Check whether the camera follows smoothly, loses the subject, or turns toward an unwanted object.
- Record an introduction separately. A short opening can be filmed while stationary. This gives you a clean start and makes editing easier if the tracking sequence needs to be trimmed.
- Explain in sections. Pause between steps rather than trying to deliver the entire tutorial in one take. Clear sections are easier to repeat and edit.
- Capture a backup angle. Record a short fixed shot of the key demonstration whenever possible. It can cover a tracking error or provide a useful cutaway.
For phone-based recording, browser and operating-system camera permissions can affect whether an application can access the camera. The W3C Media Capture and Streams specification provides the underlying technical reference. In practical terms, confirm that the camera is available to the recording app before troubleshooting the stand itself.
Where the Auto Face Tracking Tripod fits
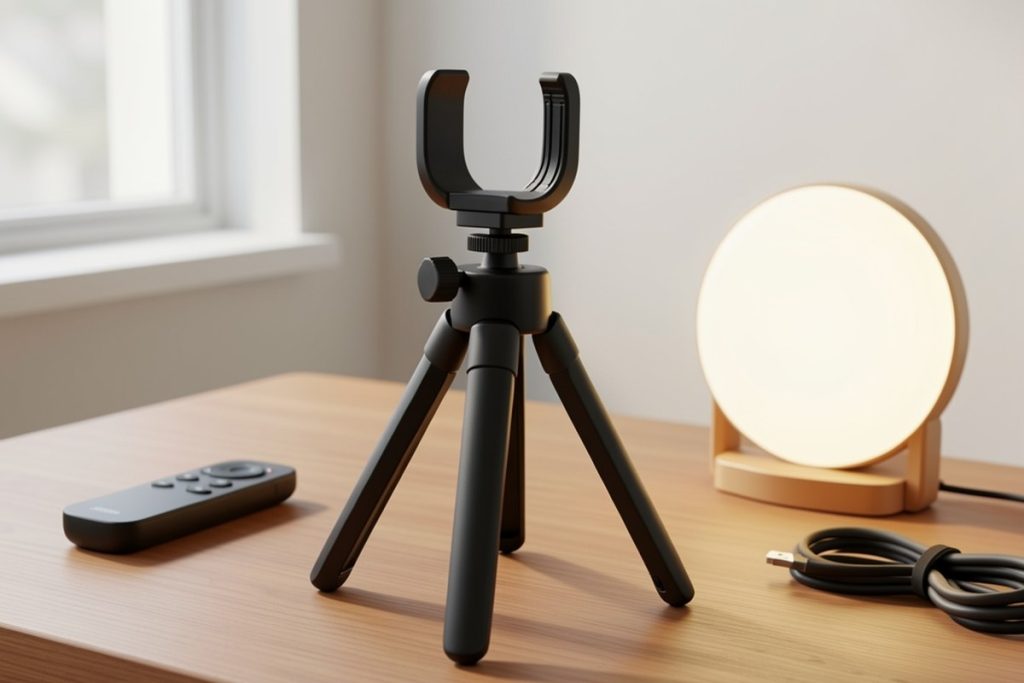
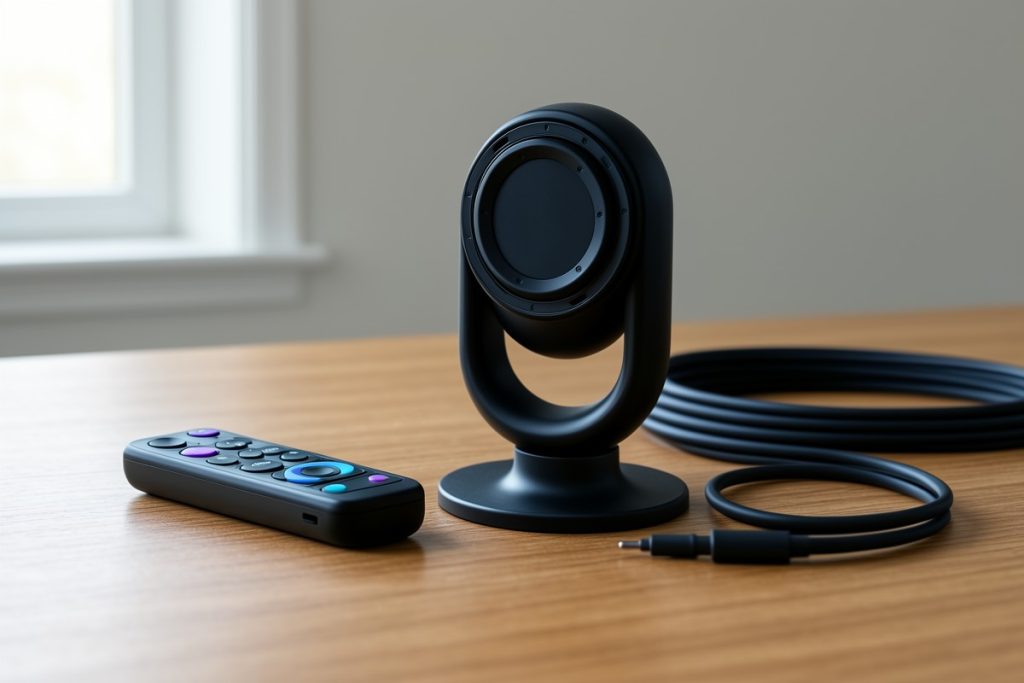
The Auto Face Tracking Tripod 360° Rotating Cell Phone Photo and Video Kits Stand is relevant when the main challenge is keeping a solo presenter in view. Its listing describes a no-app setup with remote and gesture control, 360-degree rotation, and a rechargeable design. Those features could make it convenient for a creator who wants to start or adjust a recording without repeatedly touching the phone.
That is a reason to consider it, not a guarantee that it will suit every workflow. Before relying on it for an important tutorial, check whether the phone fits securely, whether the stand remains stable on your intended surface, and whether the tracking behavior matches the distance and lighting in your room. A stand that follows movement is less useful if it crops demonstrations, reacts to background motion, or cannot hold the desired composition.
Because this article is about recording workflow rather than product rankings, the sensible test is practical: run the same short movement sequence three times, review the framing, and decide whether the saved time outweighs the extra setup. Do not assume that a feature described in a listing will perform identically in every room or with every phone.
Fix the most common tracking problems
- The camera loses you: slow down, increase the light on your face, simplify the background, and reduce the distance between you and the camera.
- The frame feels too tight: move the stand farther away or reduce the amount of movement. A wider frame is usually safer for demonstrations.
- The camera follows the wrong object: remove reflective or moving distractions and test with the room arranged as it will be during the final take.
- The video looks restless: use a fixed opening and closing shot, keep movements deliberate, and cut unnecessary repositioning during editing.
- The tutorial sounds uneven: record voiceover or short replacement explanations after filming rather than forcing a noisy take to remain unchanged.
Automated tools should be treated as assistants, not authorities. NIST’s AI Risk Management Framework emphasizes managing risk through testing, monitoring, and evaluation. The same principle works here: review the output, identify failure points, and keep a backup plan instead of assuming the system will behave perfectly.
A final pre-recording checklist
- Is the phone secure and the lens clean?
- Is the main subject evenly lit?
- Can the viewer see the demonstration clearly?
- Has the full movement path been tested?
- Is there a fixed backup shot or repeatable opening?
- Are the controls accessible without interrupting the explanation?
- Have you reviewed a short sample for audio, focus, and framing?
The best hands-free recording setup is the one that reduces interruptions without making the video harder to understand. Use tracking when movement is central to the lesson, keep the composition deliberately simple, and verify every important take before moving on.
Sources
- Media Capture and Streams — World Wide Web Consortium
- AI Risk Management Framework — National Institute of Standards and Technology