
Quick answer
Build a portable workspace around three zones: power, work, and reset. Choose a stable surface, place your screen at a comfortable height, keep charging essentials together, and remove anything unrelated to the current task. A repeatable five-minute setup helps you work consistently in an Airbnb, coworking space, library, or hotel room without turning every location into a new logistical problem.
Key takeaways
- Use the same three-zone layout wherever you work: power, work, and reset.
- Prioritize a stable chair, clear desk, and comfortable screen position over attractive surroundings.
- Keep your small accessories in one place, but check compatibility and dimensions before buying an organizer.
- Separate work setup from security habits: lock your device, use multi-factor authentication, and follow employer rules for remote access.
Working while traveling is easier when your setup does not depend on a perfect room. A beautiful café can have an awkward table. An Airbnb may offer a desk but poor lighting. A hotel room may have neither. The practical solution is not carrying every possible accessory; it is creating a small system you can rebuild quickly.
Start with a three-zone workspace
Before unpacking anything, identify three areas on the available surface:
- Power zone: charger, adapter, cable, and backup battery if you use one.
- Work zone: laptop, mouse, keyboard, notebook, or other tools needed for the current task.
- Reset zone: water, headphones, personal items, and anything you will pack away before leaving.
This arrangement prevents a common travel-work problem: accessories spreading across the room until you cannot tell what belongs in your bag. Keep power close to the outlet, work items in front of you, and nonessential objects to one side. If the desk is small, the reset zone can be a chair, shelf, or the inside of your bag.
Choose the best available surface, not the most obvious one
Look for a surface that is stable, deep enough for your laptop, and close to an outlet. A dining table is often better than a bed, sofa, or low coffee table because it supports a more neutral working position. If the only option is a kitchen counter, test the height before settling in. A counter may be useful for short tasks but uncomfortable for a full workday.
Workstation guidance from the U.S. Occupational Safety and Health Administration emphasizes a neutral body position, appropriate screen placement, and support for the back and feet. You do not need a perfect office to apply the basic idea. Sit so your shoulders can relax, keep your wrists from bending sharply, and raise the screen or change your seating position when necessary. If the room forces a compromise, plan regular movement breaks rather than pretending the setup is ergonomic.
Use a five-minute setup sequence
A fixed sequence is more useful than relying on memory. Try this order when you arrive:
- Inspect the space. Check the outlet, chair height, available light, noise level, and whether the surface wobbles.
- Clear the work area. Move food, toiletries, shopping bags, and unrelated travel items away from the main surface.
- Connect power. Plug in only what you need for the first work block. Keep extra cords contained instead of leaving them loose.
- Place the laptop. Position it directly in front of you, with the top of the display near eye level when practical. If you use a separate keyboard, raise the laptop only when the arrangement remains stable.
- Set a work boundary. Put your phone on silent or in another part of the room, then choose one task for the first focused block.
The final step matters. A workspace becomes distracting when every object signals a different obligation. Starting with one defined task makes the environment feel simpler, even when the location is unfamiliar.
Match your setup to the length of the work session
| Work session | Minimum setup | Useful adjustment |
|---|---|---|
| Under 30 minutes | Laptop, charger, stable seat | Choose a bright, quiet corner and avoid unnecessary unpacking |
| 30 minutes to 2 hours | Clear surface, comfortable chair, water | Raise the screen or change position before discomfort builds |
| More than 2 hours | External keyboard or mouse if available, reliable power | Schedule movement breaks and reassess lighting and posture |
This prevents overbuilding. A short email session does not require the same setup as a full day of meetings. Conversely, trying to work for six hours with a laptop balanced on your knees is usually a poor tradeoff, even if it saves five minutes at the start.
Keep small accessories organized without overpacking
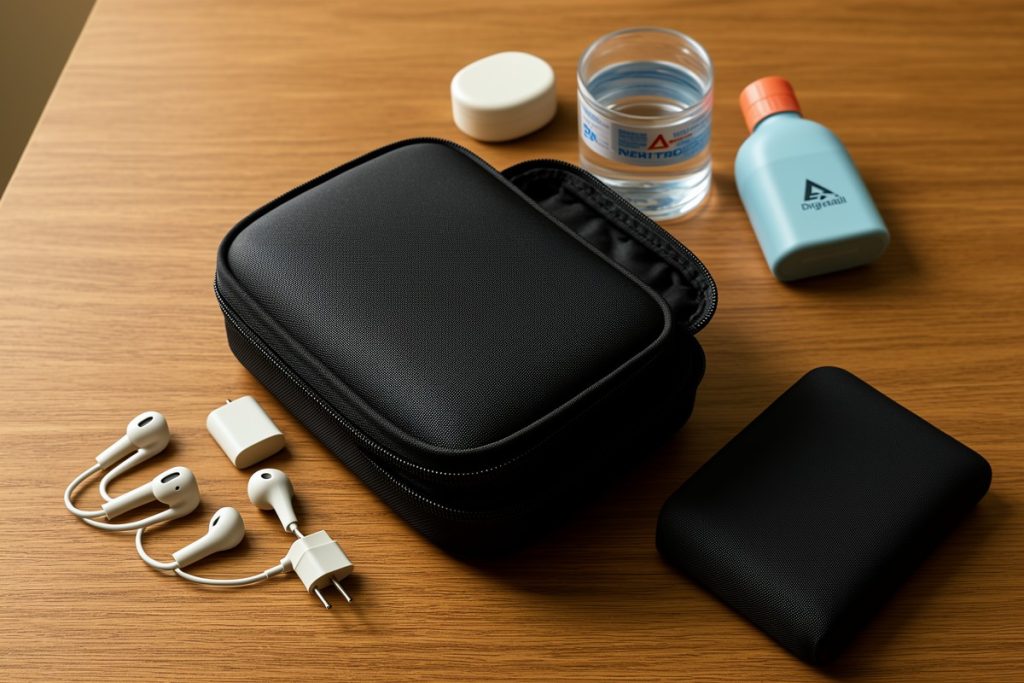
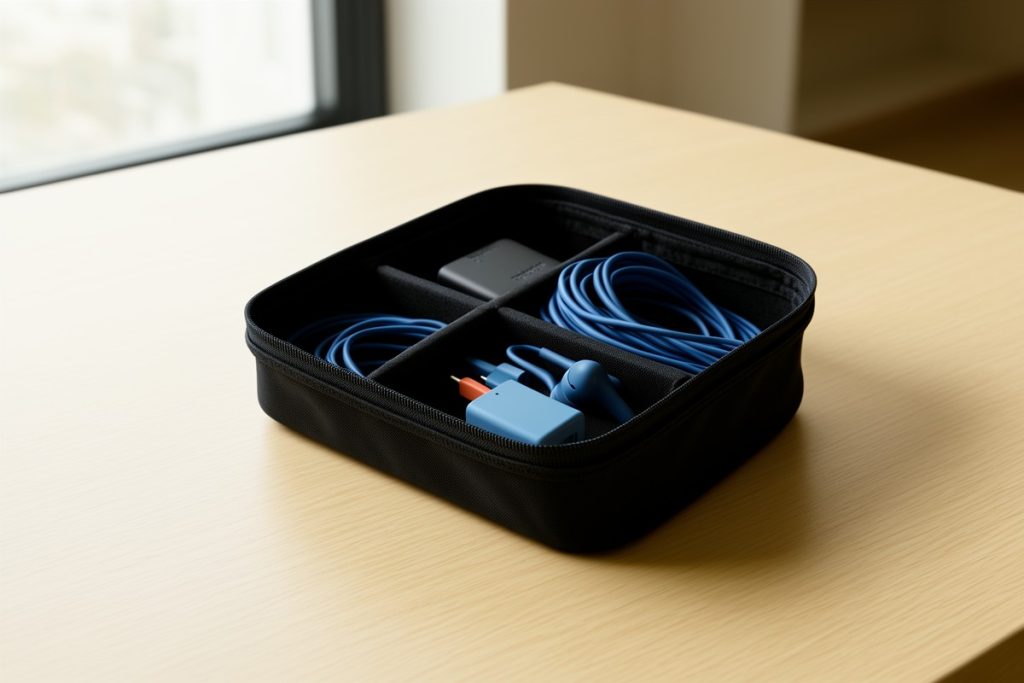
Loose accessories are easy to misplace when you move between rooms and cities. A compact organizer can make the power zone more predictable, especially if it has separate spaces for cords, adapters, storage cards, and small personal items. The Lanola Travel Cable Organizer Bag is one option to consider for this purpose; its listed double-layer case format may suit travelers who want small accessories grouped together.
That does not make it essential for every nomad. If you carry only one charger and one cable, a simple pouch may take less space. Before choosing any organizer, compare its dimensions with your largest adapter, check whether the internal layout fits your actual gear, and consider the weight of the case itself. Organization is helpful only when it reduces friction instead of becoming another item to manage.
Build a reliable shutdown routine
A portable workspace should be easy to close as well as easy to open. At the end of a session, save your work, disconnect power, and check the surface, outlet, chair, and floor for small items. Put accessories back in the same compartments each time. This “reset” habit reduces the chance of leaving a charger behind and makes the next setup faster.
It also creates a useful boundary between work and travel. Once the desk is clear, close the laptop and physically move away from the work surface when possible. In a small room, even a short walk outside or a change of lighting can signal that the workday has ended.
Protect the workspace and your connection
Convenience should not replace basic security. Lock your device whenever you step away, avoid leaving it unattended in shared spaces, and use multi-factor authentication on important accounts. For employer systems, follow the organization’s approved remote-access process rather than improvising with unfamiliar tools. NIST’s telework guidance recommends treating remote work as part of an organization’s security environment, not as an exception to it.
Keep sensitive conversations private in cafés and coworking spaces, and position your display so passersby cannot easily read it. These habits cost little, work in almost any location, and are more dependable than trying to find a completely private room every time.
Portable workspace checklist
- Stable surface and comfortable seat identified
- Nearest outlet located and charger connected
- Screen positioned without neck strain
- Only current-task items placed in the work zone
- Device locked and sensitive information kept private
- Accessories returned to their usual storage place before leaving
The best digital nomad workspace is not the one that looks most impressive in a photo. It is the one you can recreate quickly, adjust when conditions are imperfect, and pack away without losing anything. A simple three-zone layout, a short setup sequence, and a consistent reset routine are enough to make unfamiliar spaces feel workable.
Last reviewed: 2026-09-28
Sources
- Computer Workstations eTool — Occupational Safety and Health Administration
- Guide to Enterprise Telework, Remote Access, and Bring Your Own Device Security — National Institute of Standards and Technology
- Secure Our World — Cybersecurity and Infrastructure Security Agency