Quick answer
Start by diagnosing the problem, then choose the smallest safe fix before buying tools or parts. Shut off electricity, water, or gas when necessary, follow manufacturer instructions, and test the repair carefully. Beginners can handle many loose, clogged, worn, or adjustable household items, but structural, gas, major electrical, and persistent water problems usually need a qualified professional.
Key takeaways
- Identify the source of a problem before replacing parts or taking anything apart.
- Keep a basic toolkit, but treat safety equipment and shutoff knowledge as equally important.
- Try simple, reversible repairs first: tighten, clean, adjust, reset, or replace a clearly worn component.
- Stop when a repair involves gas, live wiring, hidden water damage, structural damage, or uncertainty about what you are seeing.
Diagnose the problem before reaching for a tool
The most useful beginner repair skill is not turning a screwdriver. It is separating the visible symptom from the actual cause.
Begin by describing what changed. Is the faucet dripping continuously, or only after use? Is a door difficult to close because the hinges shifted, or because the frame has swollen? Does an appliance fail completely, or does it work intermittently? These details narrow the possible causes and prevent unnecessary disassembly.
Look for simple explanations first. Check whether a plug is secure, a switch is on, a filter is blocked, a fastener is loose, or a drain stopper is collecting debris. Photograph the arrangement before removing parts, especially if several washers, screws, or wires are involved. Put small components in a cup rather than on the floor.
Use the repair instructions for the specific product whenever possible. Model numbers, replacement parts, and safe access points vary, even between products that look nearly identical.
Use a safety gate before making any repair
Pause before starting and ask three questions: What energy or force is involved? What could leak or fall? Can I return the item to its original condition if the repair does not work?
For a water fixture, locate the local shutoff valve and know where the main water shutoff is. For electrical work, switch off the correct circuit and verify that power is absent; do not rely only on the position of a breaker. Never work on wiring you do not understand. If you smell gas, leave the area and contact the gas utility or emergency services from a safe location rather than trying to find the leak.
Wear eye protection when drilling, cutting, or working under a sink. Use a stable step ladder instead of a chair. Keep children and pets away from the work area, and disconnect an appliance before cleaning or inspecting it unless its instructions specifically say otherwise.
Water damage deserves extra caution. A small stain can indicate a slow leak behind a wall or under flooring. Mold cleanup also depends on the size and source of the affected area; the Environmental Protection Agency provides guidance on when cleanup may be appropriate and when professional help is warranted.
Match the first step to the household problem
| Problem | First check | Beginner-safe next step | Stop and call for help when |
|---|---|---|---|
| Dripping faucet | Handle position, aerator, and visible connections | Clean the aerator or replace an accessible washer or cartridge identified for the faucet model | The shutoff will not close, a connection is corroded, or water continues leaking inside the cabinet |
| Slow drain | Hair, food, or debris near the opening | Remove the stopper and clean it; try a plunger suited to the fixture | Multiple drains are slow, sewage backs up, or chemical cleaner has already been used |
| Loose cabinet handle | Mounting screws and the condition of the door | Tighten evenly with the correct screwdriver | The wood is split or the screw no longer holds |
| Door that sticks | Hinge screws, rubbing points, and seasonal swelling | Tighten hinge screws and identify where the door rubs before making adjustments | The frame is shifting, the door cannot close securely, or damage suggests a structural issue |
| Outlet or appliance failure | Plug, power switch, and circuit breaker | Reset the breaker once if there is no visible damage or burning smell | The breaker trips again, an outlet is warm, or you see sparks, smoke, or discoloration |
Build a small toolkit that solves common problems
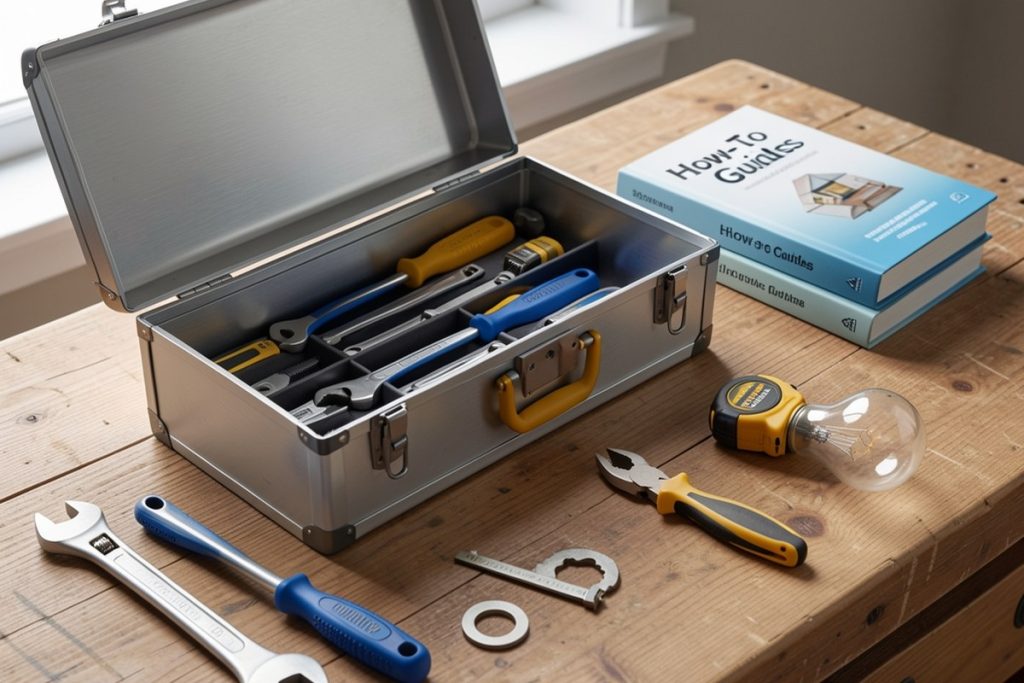
A beginner does not need a workshop full of specialty equipment. Start with tools that help you inspect, grip, measure, fasten, and clean:
- Phillips and flat-head screwdrivers in several sizes
- Adjustable wrench, slip-joint pliers, and a small set of hex keys
- Tape measure, utility knife, flashlight, and inspection mirror
- Plunger, bucket, rags, work gloves, and safety glasses
- Painter’s tape, replacement batteries, assorted screws, and wall anchors
Buy replacement parts only after identifying the old part’s size, shape, and connection. A universal-looking washer or fitting may not seal correctly. Keep receipts and packaging until the repair works, but do not assume a part is suitable simply because it fits physically.
Follow a repeatable repair process
- Document the starting condition. Take a photo and note which parts are loose, blocked, noisy, or damaged.
- Read the relevant instructions. Check the product manual, manufacturer support page, or a reputable repair guide.
- Isolate the hazard. Shut off water or power, clear the area, and protect nearby surfaces.
- Make one change at a time. Tighten one fastener, clean one component, or replace one identified part.
- Test gradually. Restore water or power slowly and watch for leaks, heat, unusual sounds, or repeated failure.
- Clean up and record the fix. Save the model number and replacement part information for future maintenance.
This method makes troubleshooting easier. If the problem remains, you know what changed and can explain it clearly to a technician.
Use a beginner guide without treating it as a substitute for judgment
A broad reference can be useful when you are unsure what a household problem is called or which basic tools are involved. How to Fix Everything For Dummies is a beginner-oriented reference for exploring common repair tasks and practical starting points. Its broad scope may help you frame a problem, but use the manual for your specific appliance or fixture when the two differ.
Before following any guide, confirm that the instructions match your home and equipment. Older plumbing, unusual fasteners, recalled appliances, and previous DIY work can change the risk. A book or online tutorial can explain a process; it cannot inspect concealed damage or certify that a repair is safe.
Know when a professional repair is the practical choice
Call a qualified professional for gas lines, major electrical faults, active leaks inside walls, suspected sewage contamination, structural movement, roof damage, or work that requires permits or specialized testing. Also stop if you cannot identify the part, cannot isolate the hazard, or would need to defeat a safety feature.
Repeated failure is information, not an invitation to keep replacing parts. A breaker that trips again, a drain that repeatedly backs up, or a leak that returns after tightening may point to a larger issue. Continuing can increase damage and make the eventual repair more expensive.
The goal of beginner DIY is not to fix everything alone. It is to solve straightforward problems carefully, maintain what you own, and recognize the boundary between a manageable task and a risky one.
Last reviewed: 2026-08-28