Quick answer
A portable coworking workstation works best when you create the same setup wherever you land: choose a stable seat, raise the laptop when possible, keep your keyboard and mouse close, and store small accessories together. The goal is not carrying every office convenience. It is reducing setup friction while keeping your screen, shoulders, wrists, and lower back in a comfortable position.
Key takeaways
- Build a repeatable five-minute setup instead of improvising at every café or coworking desk.
- Prioritize screen height, relaxed shoulders, supported feet, and enough room for your input devices.
- Use one small organizer for adapters and daily accessories, but keep it separate from your laptop protection.
- Choose your workspace based on the task: deep work needs stability, while short calls can tolerate a lighter setup.
By Casey Blake, Realistic Remote Work Advisor
Why a portable workstation matters for digital nomads
Moving between cafés, coworking spaces, libraries, and short-term rentals gives remote workers freedom, but it also creates a recurring problem: every desk asks you to start over. One table is too low. Another has harsh window glare. A third has barely enough space for a laptop and coffee.
That inconsistency can make a normal workday feel harder than it needs to be. You may spend ten minutes searching for an adapter, work with your shoulders raised, or accept a cramped position because you expect to leave soon. A portable workstation solves this by turning setup into a routine rather than a daily design project.
This does not mean recreating a full office in your backpack. A good mobile setup uses a few flexible items and a clear order of operations. It should be quick enough for a two-hour café session but reliable enough for a full workday.
Use the five-minute arrival routine
Before opening your laptop, scan the workspace. Look for a table that does not wobble, a chair that lets your feet rest on the floor, and enough depth to keep your laptop from sitting at the edge. If the only available surface fails one of those tests, moving seats is often more effective than trying to compensate with accessories.
- Face away from direct glare. Position yourself so bright windows are to your side rather than directly behind or in front of the screen.
- Clear a work zone. Move cups, bags, and spare accessories away from the area where your keyboard and mouse will sit.
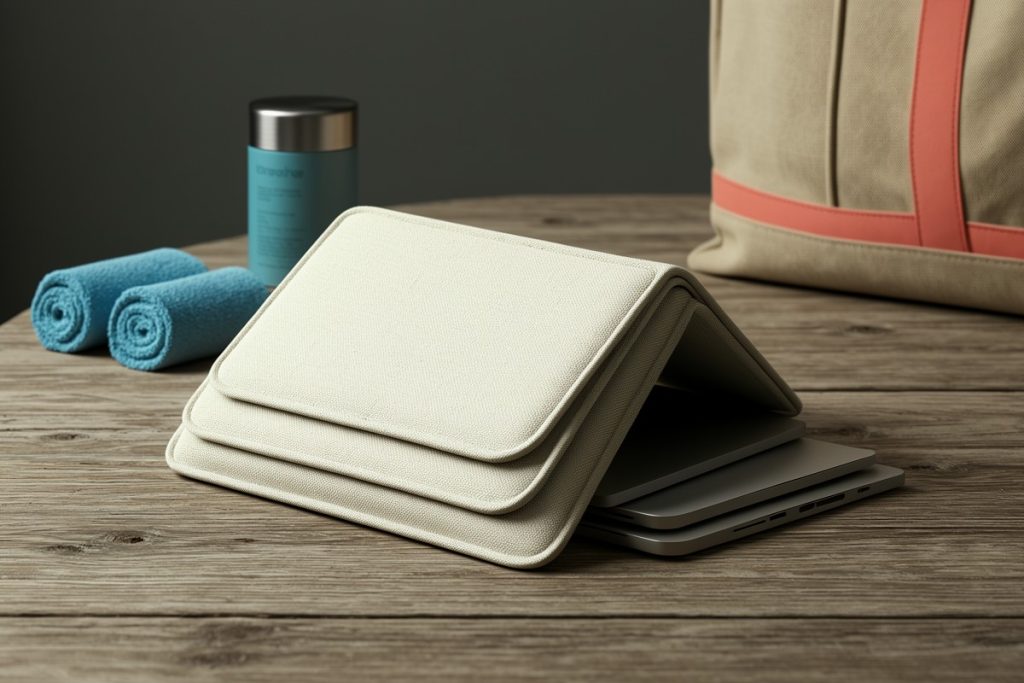
- Set the screen position. If you have a laptop stand or a stable substitute, raise the display so you are not continually bending your neck.
- Place input devices close. An external keyboard and mouse can let you keep the screen higher without reaching forward.
- Keep essentials within reach. Put your charger and most-used adapter beside the workstation, not buried in your main bag.
OSHA’s computer workstation guidance emphasizes a balanced head and neck, relaxed shoulders, supported elbows, aligned wrists, lower-back support, and feet that can rest flat. These are useful design goals for a temporary desk, even though no single arrangement fits every person.
Build the setup around four practical zones
1. Body zone
Start with the chair and your feet. If your feet do not reach the floor, use a firm bag or small footrest rather than letting your legs dangle. Sit close enough to the desk that your elbows can stay near your sides. A portable setup becomes uncomfortable quickly when you have to lean forward to reach the keyboard.
2. Screen zone
A laptop-only setup is convenient but often forces a tradeoff between screen height and keyboard position. For short sessions, you may accept that compromise. For longer work, raise the laptop and use a separate keyboard and mouse if you can carry them comfortably.
Do not chase a perfectly rigid posture. Change position during the day, stand for a few minutes, and take your eyes away from the display periodically. Comfort comes from a workable starting position plus regular movement, not from holding one pose indefinitely.
3. Input zone
Keep your keyboard and mouse on the same surface and close enough that your shoulders stay relaxed. If you use a trackpad, place the laptop where you can reach it without leaning or twisting. A compact wireless mouse can be helpful, but it is only worth carrying if it improves your actual work rather than adding another item to manage.
4. Power zone
Power problems are often organization problems in disguise. Separate the accessories you use every day from the items you carry “just in case.” Your daily power zone might contain one charger, one primary cable, and the adapter required for your current laptop or phone. Occasional accessories can stay packed until needed.
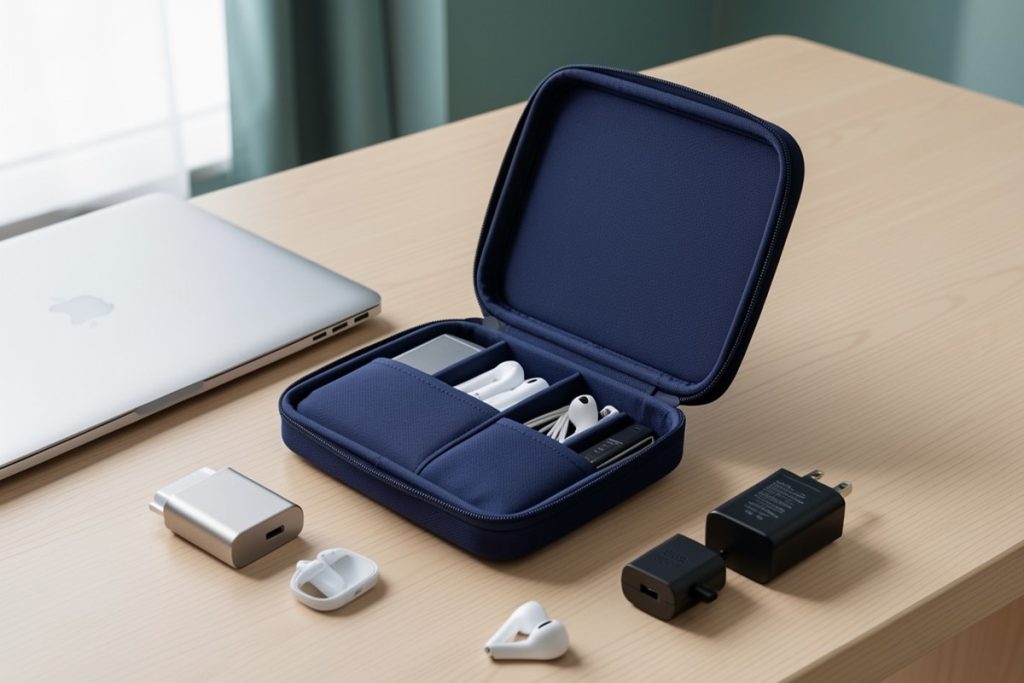
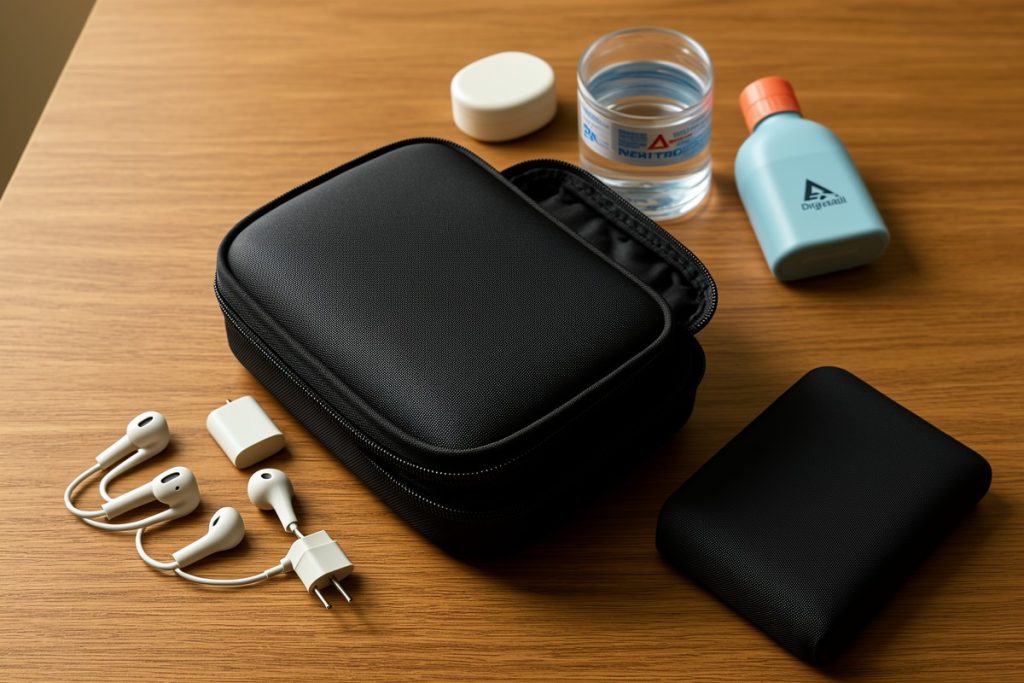
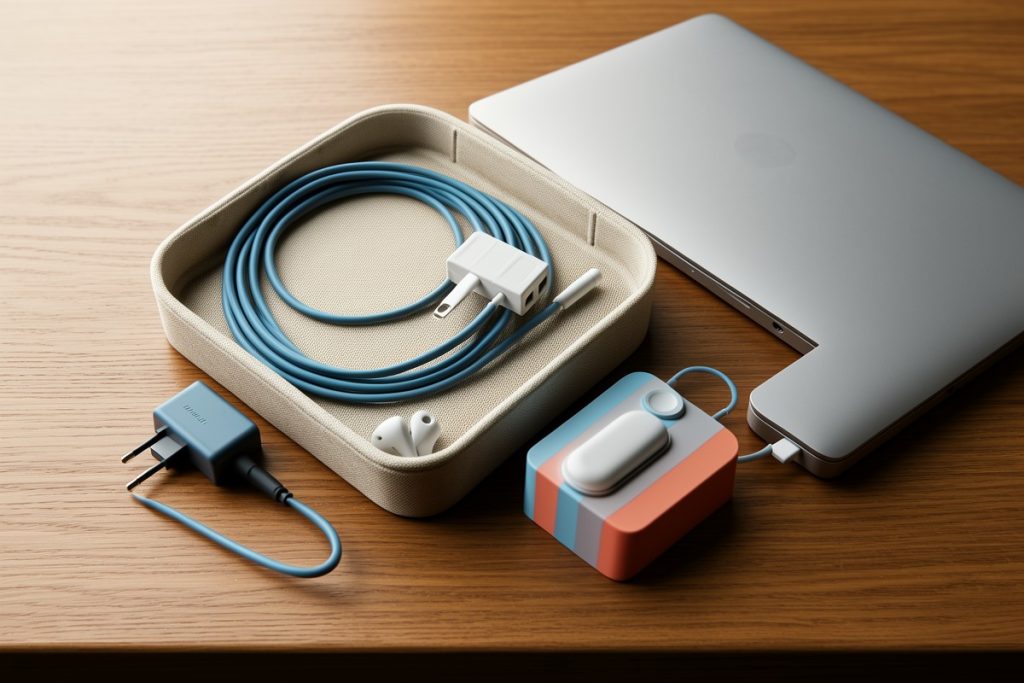
A small BAGSMART Electronics Organizer Travel Case can be a reasonable option for keeping chargers, cables, phones, and compact adapters together while moving between workspaces. Its padded organizer format is aimed at small tech accessories, not laptop protection, so treat it as a compartmentalized accessory pouch rather than a complete travel case. Check the dimensions against your own equipment, and skip it if your current pouch already keeps everything accessible.
Match the setup to the type of work
| Work situation | Prioritize | Keep the setup simple by |
|---|---|---|
| Focused writing or editing | Stable table, comfortable screen position, external keyboard if available | Choosing a quiet desk before unpacking |
| Video meetings | Reliable connection, decent lighting, privacy, and a neutral background | Testing audio before settling into deep work |
| Short admin session | Fast access to power and a clear surface | Using the laptop directly and carrying fewer extras |
| Full workday | Chair support, breaks, food and water access, and room to move | Choosing the workspace for comfort rather than scenery |
The best location is not always the most photogenic one. An ocean view may be inspiring, but a shaded table with dependable power can produce better work. Treat the view as a bonus and the physical setup as infrastructure.
A compact workstation checklist
- Stable table and comfortable chair
- Feet supported and shoulders relaxed
- Screen positioned to reduce prolonged neck bending
- Keyboard and mouse within easy reach
- Charger and essential adapter accessible
- Glare, noise, and call privacy checked
- Exit time and next destination known
Before leaving, do a one-minute reset. Check the floor, chair, outlets, and nearby surfaces for small accessories. Put charging items back in the same compartment every time. That final habit matters because a missing adapter can turn tomorrow’s carefully chosen workspace into a search exercise.
Make portability sustainable
Review your workstation after a week of travel. Which item did you use every day? Which item stayed packed? Which accessory solved a real problem, and which one only seemed useful in theory? Remove the items that add weight without improving comfort, speed, or reliability.
A sustainable digital nomad setup is deliberately ordinary. It gives you enough structure to work well without making every move feel like a relocation. Keep the routine consistent, adapt it to the desk in front of you, and let your gear support your travel rather than dominate it.
Last reviewed: 2026-09-25
Sources
- Computer Workstations eTool, U.S. Occupational Safety and Health Administration
- Working safely with display screen equipment, U.K. Health and Safety Executive