By Coach Amy Lin, Sustainable Fitness Coach
Last reviewed: 2026-09-11
Quick answer
A weighted vest can make simple home exercises more challenging without requiring a large gym setup, but it should be added gradually. Begin with bodyweight movements you already control, use the lightest comfortable load, and stop if your walking, squatting, breathing, or posture changes noticeably. A vest is useful for progression, not a shortcut around good technique, recovery, or consistent training.
Key takeaways
- Build a reliable bodyweight foundation before adding external load.
- Start with a light setting and increase only one training variable at a time.
- Use a weighted vest for controlled squats, step-ups, lunges, carries, and walks before trying high-impact movements.
- Remove the vest when it causes pain, altered mechanics, excessive breathlessness, or loss of control.
- Progressive overload works best when paired with rest and a balanced weekly routine.
Why use a weighted vest at home?
A weighted vest is a practical way to increase resistance when you have limited space or equipment. It leaves your hands free, so you can perform movements such as squats, step-ups, split squats, incline push-ups, and walking intervals without holding dumbbells.
The main reason to use one is progression. If three sets of bodyweight squats feel consistently easy and your technique remains steady, adding a small amount of load can create a new challenge. That does not make the exercise automatically better. It simply gives you another way to adjust difficulty when increasing repetitions would make the workout too long or repetitive.
For general health, the vest should support—not replace—a varied routine. The U.S. Physical Activity Guidelines recommend regular aerobic activity and muscle-strengthening work each week. A vest can fit into either type of training, depending on the exercise and effort, but wearing one does not automatically turn every activity into vigorous exercise.
Who should start with a lighter approach?
Weighted vest training is not a requirement for getting fit. It may be useful if you enjoy walking, want a compact home-training option, or have outgrown beginner bodyweight exercises. It is less suitable as a first step if you are new to exercise, returning after a long break, recovering from an injury, or unsure how to control basic movements.
Before loading a vest, test the movement without it. You should be able to breathe steadily, keep your knees and feet aligned during lower-body exercises, and maintain a stable trunk. If you have a current injury, a medical condition affected by exercise, or symptoms such as chest pain, dizziness, or unusual shortness of breath, seek qualified medical guidance before adding load. The Centers for Disease Control and Prevention’s physical activity guidance also supports starting gradually and choosing activity appropriate to your current fitness level.
How to choose and use a vest
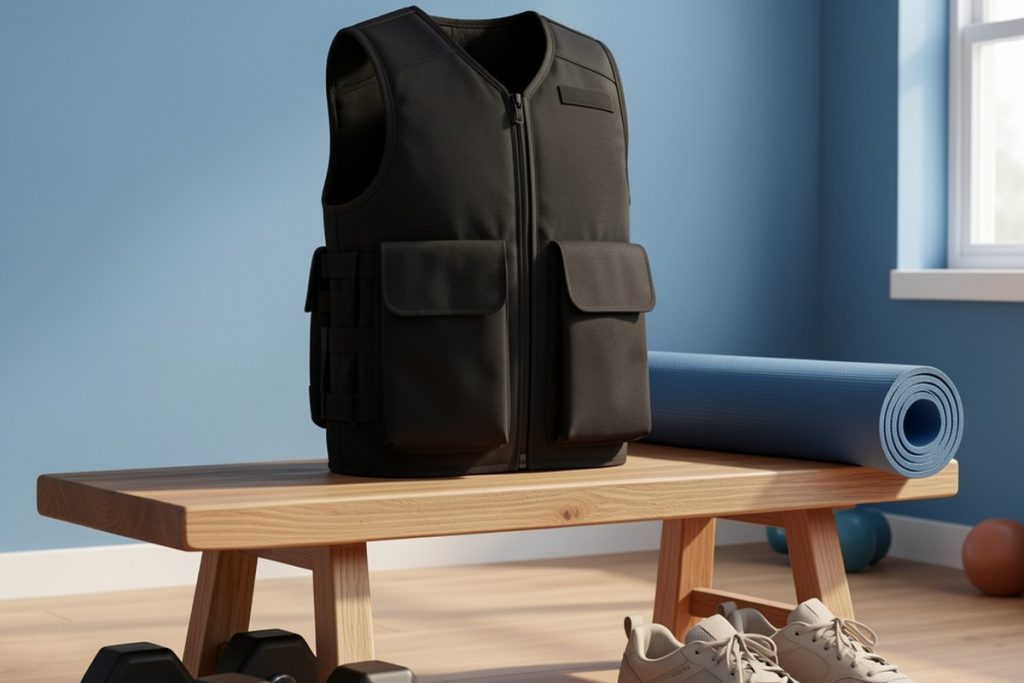
Fit matters more than having the heaviest available option. Look for a vest that sits securely against your torso, allows full breathing, and does not interfere with your arm swing or hip movement. Adjustable loading is useful because your legs, upper body, and conditioning may progress at different rates.
For home users who want to change resistance without buying several pieces of equipment, the MVRK Weighted Vest is one adjustable option to compare. Check the listed size range, adjustment method, total load, and return terms before buying. No vest can guarantee a perfect fit for every body, so use the product information alongside your own comfort and movement quality.
Put the vest on over a shirt that will not bunch or rub. Walk around for a few minutes before exercising. If the vest shifts, presses sharply into your shoulders, restricts your breathing, or creates rubbing, adjust it or remove it. A secure fit should feel close to the body rather than loose and bouncing.
A beginner weighted vest workout
Use this session once or twice per week at first, with at least a day between challenging workouts. Complete the warm-up without the vest, then add it only if your movement feels controlled.
| Exercise | Starting dose | What to watch |
|---|---|---|
| Bodyweight or loaded squat | 2 sets of 8–10 | Keep the whole foot grounded and stop before form breaks down. |
| Step-up to a low platform | 2 sets of 6–8 per side | Use a stable surface and control the lowering phase. |
| Incline push-up | 2 sets of 6–10 | Keep ribs and hips moving together rather than sagging. |
| Loaded walk | 5–10 minutes | Maintain a natural stride and relaxed shoulders. |
Rest about one to two minutes between sets, or longer if you need it. The final repetitions should feel challenging but repeatable. If you are holding your breath, leaning heavily, rushing, or using momentum, the load is too high for that exercise.
Progress without overdoing it
Change only one variable at a time: vest load, repetitions, sets, exercise difficulty, or duration. For example, keep the same vest setting for two or three sessions while you improve control. Then add a small amount of weight or one repetition per set—not both at once.
A simple readiness check is more useful than chasing a particular number. Keep the same load if your technique is stable, you recover normally by the next day, and the workout feels appropriately challenging. Reduce the load or return to bodyweight if soreness affects normal movement, joint pain appears, or the vest makes your usual walking pattern feel awkward.
Weighted walking deserves particular care. Begin on a flat, predictable route and keep the pace conversational. Hills, stairs, fast intervals, and uneven ground all increase the challenge, so introduce them separately. There is no benefit to turning every walk into a maximal effort.
Common mistakes to avoid
- Starting too heavy: The heaviest setting is not the best starting point. It can hide weak movement patterns and make recovery harder.
- Using the vest for everything: Alternate loaded and unloaded sessions so your body has room to adapt.
- Adding impact too soon: Jumping, running, and burpees place different demands on your joints and may not be the right first progression.
- Ignoring discomfort: Muscle effort is expected; sharp, worsening, or joint-centered pain is a reason to stop and reassess.
- Skipping the basics: Sleep, regular meals, warm-ups, and rest days still matter more than any single piece of equipment.
A sustainable way to fit vest training into your week
Keep the plan simple. You might perform two short strength sessions, take several unweighted walks, and include another activity you enjoy. The CDC’s activity guidance emphasizes that some movement is better than none and that activity can be built in manageable amounts.
Think of the vest as a dial, not a test. Turn the challenge up only when your current setting feels familiar, then turn it back down when stress, sleep, soreness, or schedule demands it. That approach makes home training more repeatable—and consistency is what gives progressive exercise its value.
Sources
- Physical Activity Guidelines for Americans, 2nd edition — U.S. Department of Health and Human Services
- About Physical Activity — Centers for Disease Control and Prevention