Quick answer
Use a weighted vest for push-ups only after you can perform consistent, pain-free bodyweight reps with full control. Start with the lightest practical load, complete two or three sets of five to eight repetitions, and stop with one or two good reps still available. Add repetitions before weight, and remove the vest when your alignment, breathing, or range of motion breaks down.
Key takeaways
- Build a reliable bodyweight push-up base before adding resistance.
- Start with the smallest vest load that allows controlled repetitions.
- Progress by adding reps before increasing weight.
- Train loaded push-ups on two or three nonconsecutive days each week.
Why add a weighted vest to push-ups?
Push-ups train your chest, shoulders, triceps, and core as one coordinated movement. Once regular push-ups become easy, a weighted vest can make the same exercise more challenging without requiring a partner to place a plate on your back or switching immediately to a barbell or dumbbells.
That makes a vest useful for home workouts, but extra resistance is not automatically better. The load should increase the challenge while allowing you to keep your hands planted, ribs controlled, hips aligned, and elbows moving consistently. If your lower back sags or your hips rise to compensate, the vest is exceeding your current capacity.
A weighted vest also is not a guaranteed fat-loss tool. It can make a strength session harder, but body composition depends on your overall activity, nutrition, sleep, and consistency. Use the vest to progress your pressing strength, not as a shortcut for a specific calorie-burning result.
Know when you are ready for loaded push-ups
Before adding weight, test your unweighted technique. You should be able to complete three sets of eight to twelve push-ups with a similar depth on every repetition. Your body should move as a unit, your wrists should remain comfortable, and you should not need to rest excessively between repetitions.
If you cannot yet meet that standard, use an incline variation with your hands on a stable bench, kitchen counter, or sturdy table. A higher surface reduces the amount of bodyweight you press while preserving the same general movement pattern. Gradually lower the surface as you become stronger.
If floor push-ups are already consistent, begin with the lightest vest setting available. Do not choose a load because it sounds impressive. The right starting point is one that lets you complete five to eight clean repetitions while feeling you could perform one or two more with good form.
How to progress without sacrificing form
Use a simple progression model instead of testing your maximum every workout:
| Stage | Exercise | Progression target |
|---|---|---|
| Build the pattern | Incline push-up without a vest | Three sets of 10–15 controlled reps |
| Build the base | Floor push-up without a vest | Three sets of 8–12 consistent reps |
| Add resistance | Floor push-up with a light vest | Three sets of 5–8 clean reps |
When you can complete three sets of eight loaded repetitions for two workouts without losing depth or alignment, increase the load slightly if your vest allows it. If the next weight jump is too large, add one repetition per set or slow the lowering phase modestly instead. Change one variable at a time so you can identify what is helping.
Keep approximately one or two good repetitions in reserve. Training to complete failure can make technique difficult to judge, especially when the vest shifts or fatigue changes your trunk position. A challenging but repeatable set is more useful than one dramatic effort followed by several days of soreness.
Use this weighted push-up workout
Begin with five minutes of easy movement, such as marching, arm circles, and gentle shoulder mobility. Follow that with one or two unweighted practice sets of three to five push-ups. The warm-up should prepare you, not exhaust you.
For the main work, perform three sets of five to eight weighted push-ups. Rest two to three minutes between sets. Place your hands just outside shoulder width, brace your midsection, and lower your chest under control. Your elbows can angle backward slightly rather than pointing directly sideways. Press the floor away and finish with your head, shoulders, hips, and legs aligned.
Train this variation two or three times per week on nonconsecutive days. Your chest and triceps may feel recovered before your wrists, shoulders, and connective tissues are ready for more loading. Use the days between sessions for lower-body training, easy cardio, or mobility rather than repeating hard weighted pressing.
Check the vest before you buy
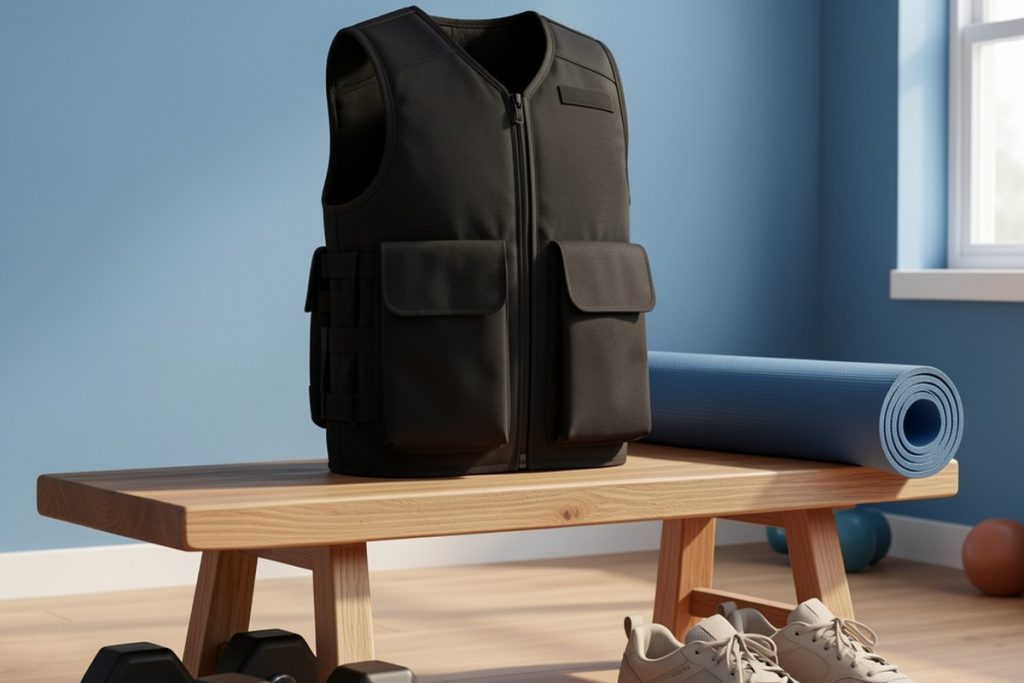
A vest needs to remain secure during floor-based exercise. Look for a close fit, adjustable fastening, and a load that stays centered rather than pulling toward your neck or lower back. It should not restrict breathing, rub your ribs, or shift noticeably as you lower toward the floor.
The ZELUS Weighted Vest is one option to evaluate. Its listing describes versions ranging from 6 to 30 pounds and includes a reflective stripe. For weighted push-ups, the most relevant question is whether the lightest suitable version fits your torso securely. A vest with a high maximum load is not necessarily the best choice if it moves during repetitions.
Review the current product specifications, dimensions, fastening design, and return terms before purchasing because fit varies by body shape. I have not personally tested this product, so the listed features should not be treated as proof of comfort, durability, or exercise performance.
Five-point form checklist
- Perform a plank and two slow push-ups to check whether the vest shifts.
- Keep your hands and feet stable throughout each repetition.
- Lower to a repeatable depth rather than shortening the movement.
- Keep your breathing steady and your ribs controlled.
- Stop if you feel sharp pain, numbness, dizziness, or sudden loss of control.
When to skip the added weight
Do not load a movement that already causes pain. Wrist discomfort may improve with an elevated push-up or neutral-grip handles, while shoulder symptoms may require a temporary change in training and advice from a qualified professional. If you have a recent injury, surgery, or medical condition affected by exercise, seek individualized guidance before adding resistance.
It is also sensible to skip the vest when fatigue is forcing compensations. Ten controlled bodyweight repetitions are more productive than a heavy set with a sagging back, flared elbows, or an abbreviated range of motion. The purpose of progression is to make the target muscles work harder while preserving the movement quality that makes push-ups useful.
The practical takeaway
A weighted vest can be a straightforward way to progress home push-ups, but it works best as a small, controlled increase in difficulty. Establish clean bodyweight repetitions first, choose the lightest sensible load, keep one or two repetitions in reserve, and progress gradually. If your technique changes, reduce the load and rebuild rather than forcing a heavier set.
Last reviewed: 2026-09-11
Sources
- Physical Activity Guidelines for Americans, 2nd edition — U.S. Department of Health and Human Services
- Progression Models in Resistance Training for Healthy Adults — American College of Sports Medicine position stand
- Adult Activity: An Overview — Centers for Disease Control and Prevention