
Quick answer
Build a small-apartment winter drying station near the entrance, but outside the main walking path and away from direct heat. Use a washable tray for dripping footwear, hooks or a rail for coats, and open shelves or baskets for items that are already mostly dry. The goal is controlled airflow and a simple reset routine, not a pile of wet gear by the door.
Key takeaways
- Choose a ventilated spot near the entrance, not directly beside a heater.
- Separate dripping items from damp clothing and dry accessories.
- Use a tray below wet footwear to protect floors and walls.
- Keep only daily winter gear at the station; store extras elsewhere.
Why a winter drying station is worth the space
Snow, rain, and road slush create a small but persistent household problem: wet coats and footwear arrive faster than they can dry. Without a designated place for them, moisture travels onto flooring, furniture, and other clothing. The usual result is a crowded entrance, damp-smelling fabric, and a morning scramble to find gloves that are still wet from the previous day.
A drying station gives that moisture a controlled destination. It also makes the next departure easier because the items you use most often remain together. This is especially useful in a studio, dorm, or small apartment where the entryway may be only a few feet wide.
The station does not need to look like a mudroom. A narrow shelf, a few sturdy hooks, a washable tray, and one basket can be enough. The best setup is the one you can reset in less than a minute.
Choose the safest and most practical location
Start by observing where wet gear naturally lands after you come home. That spot is usually the right starting point, but it may need a small adjustment. Keep the station close enough to the door for convenience while leaving the door swing, hallway, and emergency exit route clear.
Look for gentle air movement rather than intense heat. A nearby vent can help damp items dry, but do not drape coats over a radiator, portable heater, lamp, or other heat-producing appliance. The National Fire Protection Association recommends keeping anything that can burn well away from heating equipment. Follow the clearance guidance for your specific appliance.
Avoid placing the station against a wall that already shows condensation or dampness. The U.S. Environmental Protection Agency recommends addressing moisture promptly and improving ventilation where moisture accumulates. If the same wall repeatedly feels wet, fix that underlying issue instead of trying to conceal it with baskets or furniture.
Build the station in three moisture zones
A useful setup separates items according to how wet they are. This prevents dripping footwear from soaking dry accessories and keeps the station easy to manage.
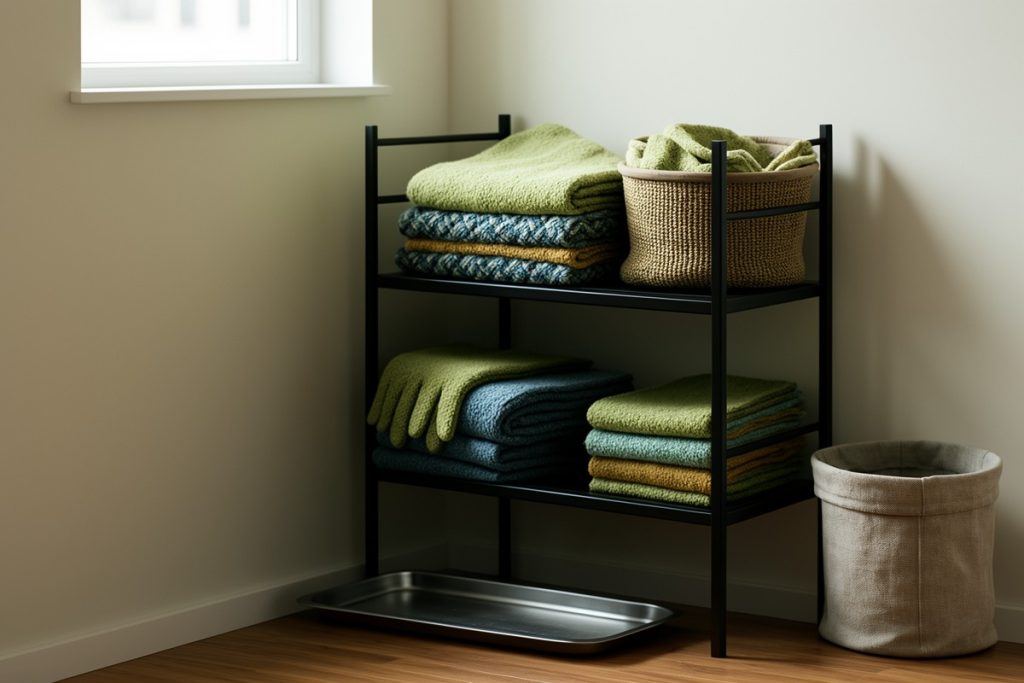
- Wet zone: Place a shallow, waterproof tray on the floor for footwear and other items that may drip. Choose a tray with a raised edge and enough room to remove wet items without spilling water. Empty and wipe it regularly.
- Damp zone: Add hooks or a short rail for coats, rain shells, and scarves that need airflow. Leave space between garments rather than stacking them tightly. If possible, use wide hooks that do not crush wet fabric.
- Dry zone: Reserve a shelf or basket for mostly dry hats, gloves, umbrellas, and spare liners. These items should not share an enclosed container with dripping gear because trapped moisture slows drying and can make odors linger.
This three-zone approach works better than one large basket because each item has a clear next step: drain, air out, or put away.
Use a narrow shelf without creating another clutter pile
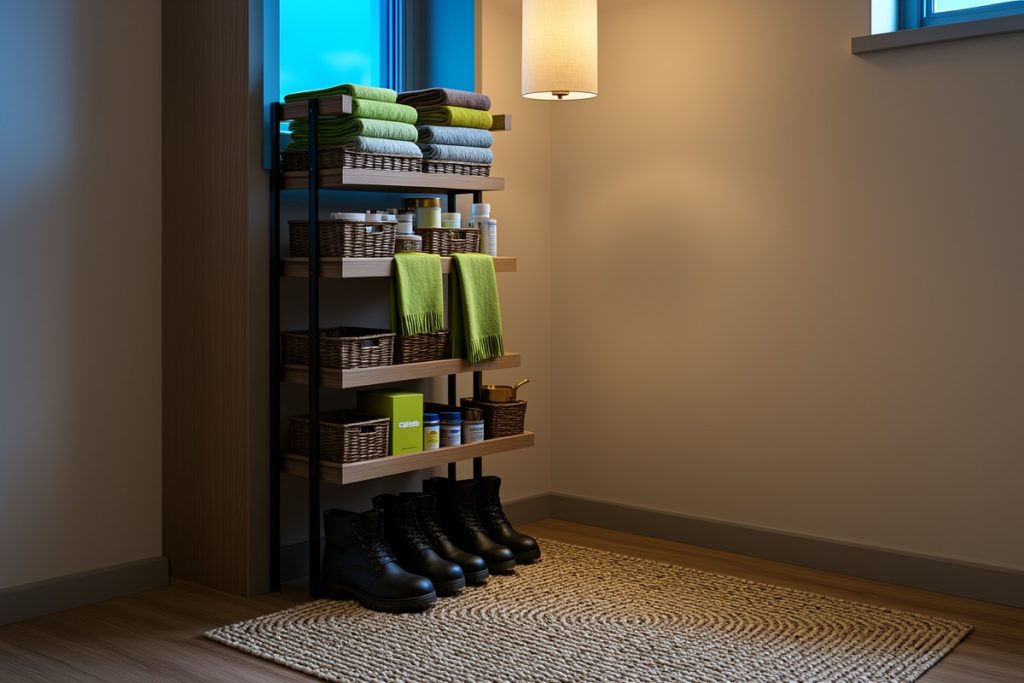
A compact shelf can provide the vertical storage a small entryway lacks, but it should support the drying process rather than become a catchall. Keep the lowest level open for airflow or use it for a removable tray. Use the upper levels for dry accessories and small care items, such as a lint brush or spare hat.
The Kitsure Shoe Rack – Non-Woven Shoe Rack Shelf is listed as a 27.5-inch-wide, three-tier black shelf, so it may work as a compact base for the dry zone in a small apartment. It is not a drying appliance, and the non-woven shelves are not a reason to place dripping items directly on them. Pair it with a separate waterproof tray, keep wet gear off the fabric surfaces, and confirm that its size and stability suit your space before buying.
Do not fill every level. Leaving some open space makes it easier to see what is damp and helps prevent the station from becoming a second storage closet. A shelf that holds only the gear used during the current week is more useful than one packed with every seasonal accessory.
Small-apartment winter drying station checklist
- Location: Near the entrance, with the walking path and door swing clear.
- Floor protection: Waterproof tray with a raised edge.
- Airflow: Hooks or a rail with room between hanging garments.
- Storage: Open shelf or breathable basket for mostly dry items.
- Heat safety: No coats, scarves, or baskets touching heaters or lamps.
- Cleaning: A planned place to empty the tray and wipe splashes.
If you cannot provide all six, prioritize the tray, airflow, and heat clearance. Those three choices prevent the most common problems: wet floors, slow drying, and unsafe placement near heat.
Create a one-minute reset routine
The station stays useful when it has a closing routine. After coming inside, place dripping footwear on the tray, hang the outer layer with space around it, and move small accessories to the damp or dry zone. Shake out an umbrella over the tray or outside rather than leaving it closed and wet in a basket.
Before bed, check whether anything is still damp. Separate items that need more airflow, and move fully dry gear to its normal storage location. Wipe visible water from the tray and floor. In a very small apartment, this is also a good time to open a window briefly when outdoor conditions allow and indoor humidity is high.
Once or twice a week during wet weather, remove everything from the station and clean the tray, shelf surfaces, and nearby floor. Look for trapped grit or salt residue, especially if footwear comes in from treated sidewalks. Regular cleaning takes less time than dealing with a persistent smell or damaged flooring.
Common setup mistakes to avoid
The biggest mistake is trying to dry too much in one place. A crowded rack blocks airflow, hides damp items, and makes the station difficult to reset. Another is using a sealed plastic bin for wet gloves or hats; it stores moisture instead of helping it escape. Finally, avoid placing the station wherever it is convenient if that means narrowing a hallway or putting fabric close to a heater. A slightly smaller setup in a safer location will serve you better all winter.
Think of the station as a temporary landing area, not permanent storage. When winter conditions ease, remove the tray and extra hooks, clean the shelf, and return the space to its normal use.
Last reviewed: 2026-10-05
Sources
- A Brief Guide to Mold, Moisture and Your Home — U.S. Environmental Protection Agency.
- Heating Safety — National Fire Protection Association.