Quick answer
Digital nomads can move through airport security faster by separating security-sensitive items before reaching the checkpoint: keep laptops and larger electronics easy to remove, place power banks and spare batteries in carry-on luggage, and follow the airport’s instructions rather than relying on one universal rule. A dedicated organizer helps consolidate small accessories, but it does not replace airline or security-agency requirements.
Key takeaways
- Keep laptops, tablets, and larger electronics accessible instead of burying them under clothing.
- Carry power banks and spare lithium batteries in the cabin, protected from damage.
- Use one organizer for small accessories, but keep items that may need separate inspection easy to reach.
- Check both your airline’s battery policy and the departure airport’s screening instructions before travel.
By River Nakamura, Global Nomad Storyteller
Why electronics create airport delays
For a digital nomad, the problem at security is rarely the laptop itself. It is the collection of small items surrounding it: charging cables, adapters, a mouse, earbuds, memory cards, power banks, and backup devices. When those pieces are scattered through a backpack, the checkpoint becomes a small excavation project.
That creates three avoidable risks. You may hold up the line while searching for a device. A loose accessory can fall into a tray or remain behind. You may also pack a power bank or spare battery in the wrong place, creating a compliance issue that has nothing to do with organization.
The goal is not to build a perfect “security bag.” It is to create a predictable routine that works even when you are tired, rushing between connections, or traveling through an airport with different screening equipment.
Set up your carry-on before leaving for the airport
Start with the security checkpoint in mind, not with the deepest pocket of your backpack. Your main laptop should sit in a sleeve or compartment that opens quickly. If you carry a tablet, e-reader, camera, or other larger electronic device, place it where you can access it without unpacking your entire bag.
Small accessories can stay together in a single case. The useful distinction is between “small accessories” and “items that may need special handling.” Cables, adapters, earbuds, and a mouse are good candidates for an organizer. A power bank and spare batteries should remain in your carry-on and be protected against short circuits or physical damage. If an airline has specific watt-hour or quantity limits, its policy takes priority.
Before you leave, charge essential devices enough to turn them on if requested. This is not a guarantee that an officer will ask you to demonstrate anything, but a dead device is less useful when you need to work during a delay and may create an avoidable complication at some checkpoints.
Use a five-minute airport security routine
- Pause before joining the line. Take out your passport and boarding pass only when needed, then identify the checkpoint instructions. Do not assume the process is identical to your last airport.
- Move electronics to the access zone. Place the laptop and any other device that may need removal near the top of your bag or in a separate sleeve.
- Empty loose metal and pocket items. Put keys, coins, and other small objects into a pouch before reaching the trays. This keeps them from spreading across multiple bins.
- Separate only what the instructions require. Some screening lanes allow electronics to remain packed, while others ask travelers to remove larger devices. Follow the officer’s direction for that lane.
- Repack at the designated area. After screening, move away from the conveyor before reorganizing. Check the tray, seat pockets, and the bottom of your bag before leaving.
This routine is deliberately flexible. Screening technology, airport procedures, trusted-traveler programs, and local regulations can change how much you need to remove. A consistent packing layout helps, but it should support the checkpoint rather than encourage you to ignore its instructions.
Choose an organizer for access, not just storage
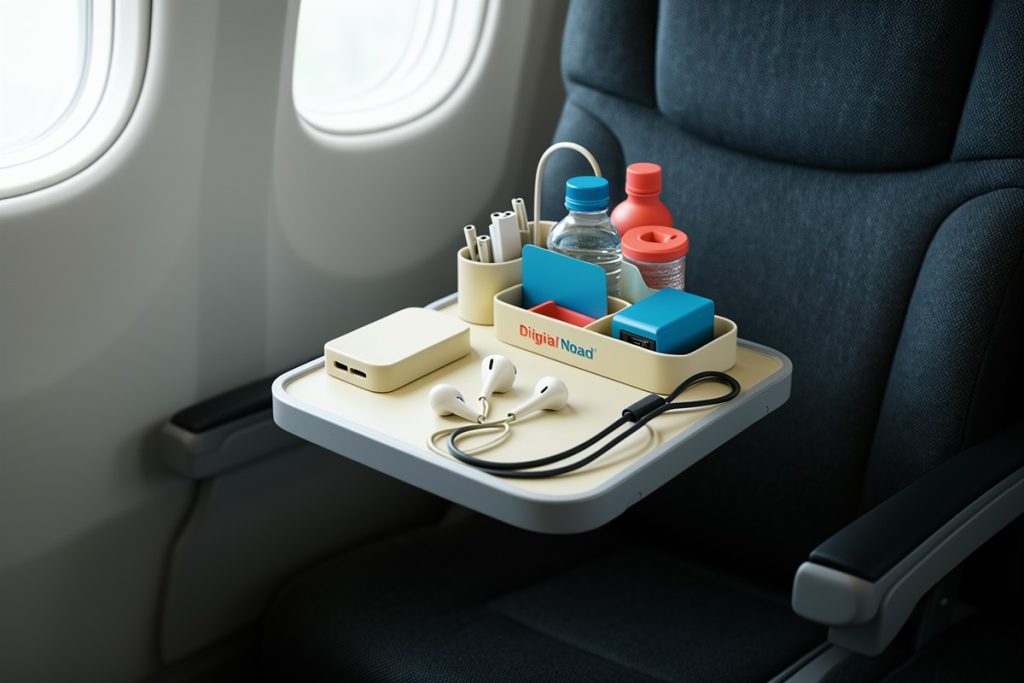
A tech organizer is most useful when it reduces searching. Look for a layout that lets you identify the contents quickly and keeps frequently used items together. The right size depends on how much equipment you carry; an oversized case can simply become another bulky object inside your personal item.
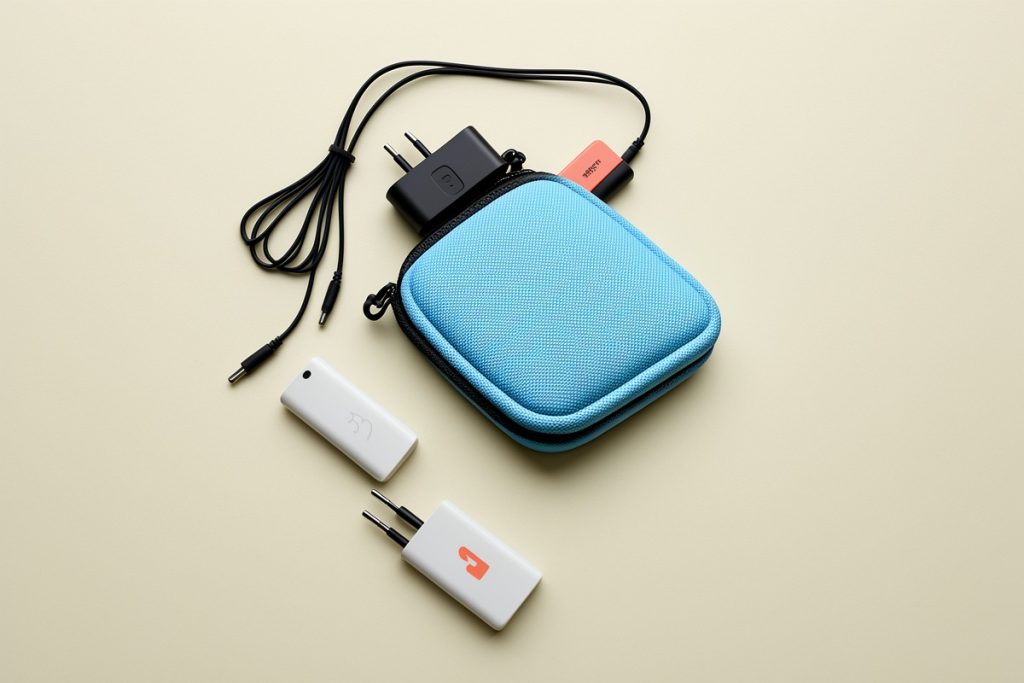
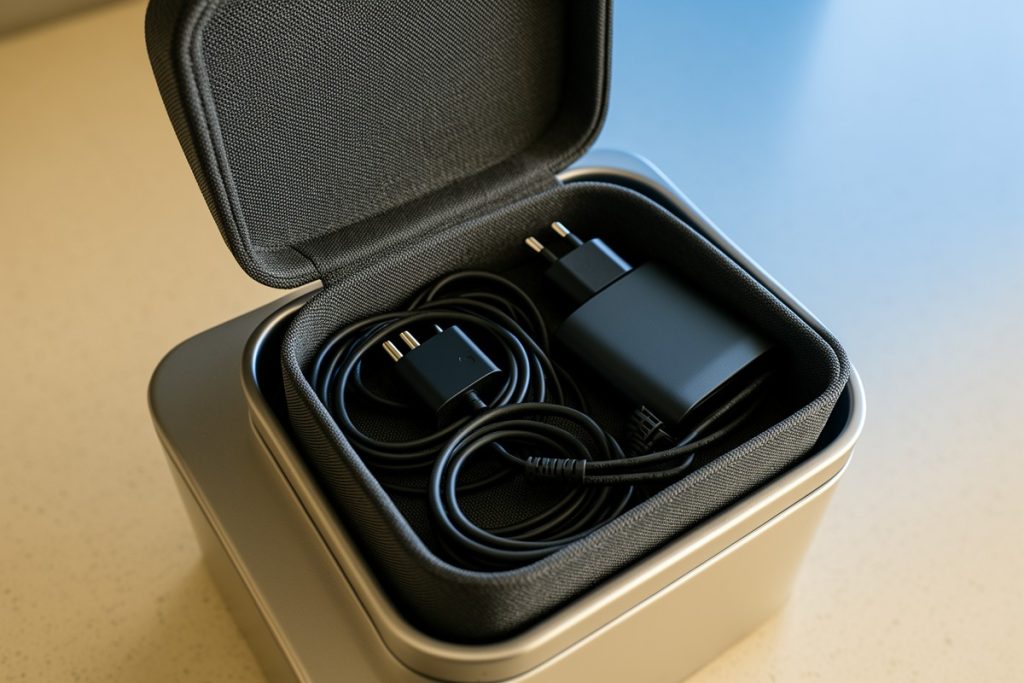
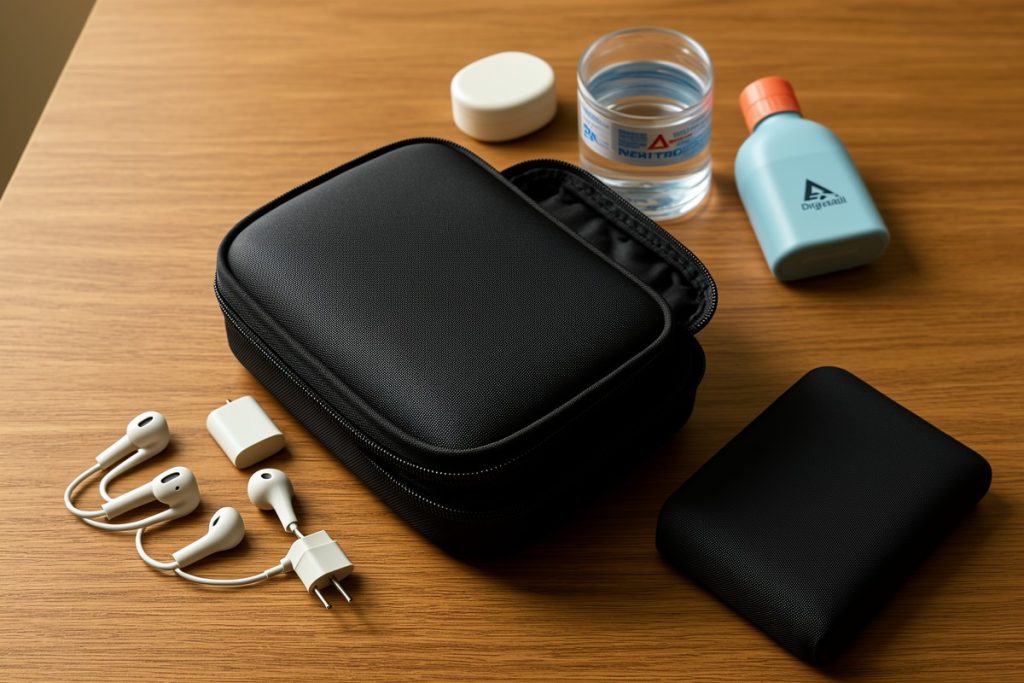
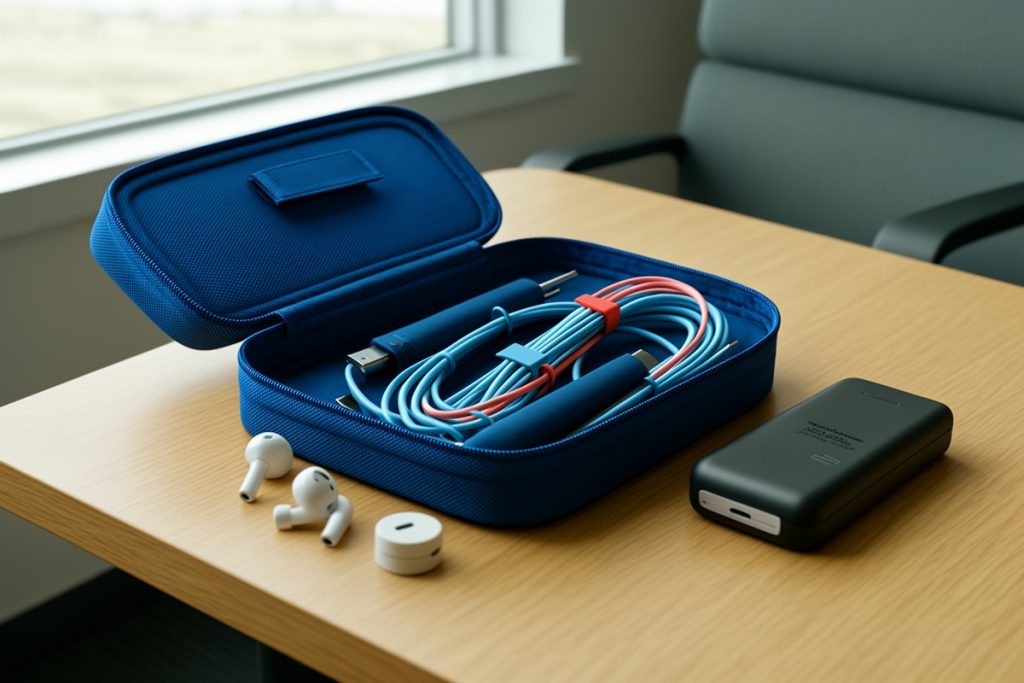
The BAGSMART Large Electronics Organizer Travel Case is a reasonable option for nomads who want one dedicated place for small tech accessories. Its stated purpose is to hold travel electronics and related items, so it can help keep cables, adapters, and other compact gear together before and after screening. It is not a substitute for a laptop sleeve, a battery-safety check, or an airline’s baggage rules. Review the current listing’s dimensions and layout against your own equipment before buying. As an Amazon Associate, GetWitty may earn from qualifying purchases.
Keep your daily essentials near the opening of the case: the cable you use most, your universal adapter, and compact earbuds. Put rarely used backups farther inside. Avoid stuffing every possible cable into one compartment; excess bulk makes it harder to see whether a power bank or battery has been packed correctly.
What should stay separate?
Not every piece of technology belongs in the same pouch. Spare lithium batteries and power banks should travel in your carry-on, not checked baggage, and their terminals need protection from contact with metal objects. The Federal Aviation Administration recommends checking battery guidance before flying because restrictions can depend on battery type and capacity.
Devices containing batteries are generally easier to manage in the cabin, where you can respond to an airline or security request. If you carry specialized equipment, such as camera batteries, medical electronics, or a larger portable power station, check the airline and aviation authority rules before packing.
Keep sensitive or expensive equipment physically protected even if it is not needed at the checkpoint. A memory card, external drive, or compact adapter can disappear quickly when loose in a crowded tray. A small inner pouch or zippered compartment gives those items a second layer of control without making the entire bag difficult to open.
Quick pre-checkpoint checklist
- Laptop and larger electronics are easy to remove.
- Power banks and spare batteries are in carry-on luggage.
- Battery terminals are protected from contact with metal.
- Loose coins, keys, and small accessories are contained.
- Airline battery rules have been checked for unusual or high-capacity items.
- The organizer is not so full that items are hidden or difficult to identify.
- You know where to repack after the screening area.
Common mistakes digital nomads make
Packing by category instead of frequency: A beautifully sorted bag can still be slow if the laptop sits beneath a jacket and the daily charging cable is buried in the center. Pack for the first ten minutes of travel, not for an imaginary inventory inspection.
Treating every airport as identical: Procedures differ by location and lane. A previous trip where your laptop stayed inside the bag does not guarantee the same instruction next time.
Checking a power bank: This is one of the most important mistakes to avoid. Keep spare batteries and power banks in the cabin and confirm the applicable rules when carrying unusual capacities.
Repacking at the belt: Security trays are busy places. Collect everything first, then step aside and rebuild your bag. A 30-second pause can prevent a missing cable, passport, or adapter.
A practical airport system should make your gear easier to inspect, easier to protect, and easier to find after landing. The best setup is usually modest: one accessible laptop compartment, one organized pouch for small accessories, and a clear battery policy check before every trip.
Last reviewed: 2026-08-17