
Quick answer
Improve balance at home by practicing controlled weight shifts, heel-to-toe positions, single-leg standing, and reaching drills three or four times per week. Start beside a sturdy support on a clear, non-slip floor. Keep each movement slow, stop before your form breaks down, and progress by reducing hand support or adding time—not by rushing into unstable equipment.
Key takeaways
- Use a wall, counter, or heavy chair for safety, but avoid pulling on lightweight furniture.
- Practice balance when you are alert, wearing stable shoes or going barefoot on a safe surface.
- Build control first; increase duration, range of motion, or complexity one step at a time.
- Stop for pain, dizziness, chest discomfort, or unusual shortness of breath.
Why balance training is worth your time
Balance is not just the ability to stand on one foot. It is your capacity to control your body while standing, stepping, turning, reaching, and changing direction. That control supports everyday tasks such as climbing stairs, getting out of a chair, carrying groceries, or walking across an uneven surface.
The best balance routine does not need to be dramatic. Consistent, low-risk practice helps you notice where your control fades and gives you a way to train it deliberately. The U.S. Physical Activity Guidelines identify balance as part of multicomponent activity, particularly for older adults, while general exercise guidance also emphasizes regular aerobic and muscle-strengthening activity. Balance work should complement—not replace—those foundations.
Set up a safer home balance session
Choose a clear area with enough room to take two or three steps in any direction. Place yourself beside a kitchen counter, solid table, or firmly anchored railing. A lightweight dining chair can slide, so test it before relying on it. Keep pets, loose rugs, cords, and low objects out of the practice area.
Wear shoes with a secure fit if your floor is slippery. Bare feet can help you feel the floor on a clean, stable surface, but they are not automatically safer. Keep your eyes open, breathe normally, and use light fingertip contact rather than gripping tightly. If you are recovering from an injury, have frequent falls, or experience unexplained dizziness, ask a qualified clinician how to modify the routine.
A beginner’s 20-minute balance routine
Use the table below three or four times weekly, leaving at least a day between harder sessions if your legs are tired. For the three-minute drills, work for about 40 seconds, reset for 20 seconds, and repeat three times. The goal is quiet, controlled movement—not maximum difficulty.
| Time | Drill | How to do it |
|---|---|---|
| 2 minutes | Easy march | Stand tall beside your support and slowly march in place. Keep your ribs stacked over your hips and land softly. |
| 3 minutes | Side-to-side weight shift | Move your weight from one foot to the other without leaning your torso. Pause when your weight is centered over each foot. |
| 3 minutes | Heel-to-toe stance | Place one foot directly in front of the other, as if standing on a narrow line. Use the support as needed, then switch sides. |
| 3 minutes | Sit-to-stand | Use a firm chair. Stand without pushing from your thighs, then lower slowly until you lightly touch the seat. Keep both feet planted. |
| 3 minutes | Supported single-leg stand | Hold the counter lightly and lift one foot just off the floor. Keep your standing knee soft. Switch sides before fatigue makes you wobble. |
| 3 minutes | Clock reaches | Stand on one leg with support and tap the free foot gently forward, diagonally, and to the side. Return to center after every tap. |
| 3 minutes | Slow cooldown | Walk around the room, roll your shoulders, and take relaxed breaths. Notice whether one side feels less steady. |
Technique cues that make each drill more useful
Think “tall and quiet.” Keep your head level, look at a fixed point, and avoid holding your breath. Your ankle, knee, and hip should work together, so do not lock your knees or collapse inward as you shift weight. Small movements are enough at first.
When you lose balance, place the lifted foot down rather than hopping repeatedly or trying to save the repetition. Reset your posture and continue. A clean five-second stand is more valuable than a shaky 20-second attempt. Record the exercise, time, and support level in a simple note so you can compare your control from week to week.
How to progress without making the routine reckless
Change only one variable at a time. First, aim to complete the routine with smoother movement. Next, add five to 10 seconds to a hold or reduce your fingertip pressure. After that, increase the reach distance or add a slow head turn while keeping your torso controlled.
Do not close your eyes until you can perform the movement confidently with full visual awareness and a secure support nearby. Eyes-closed balance removes useful information from your vision and can make a simple drill unexpectedly difficult. A soft surface or unstable tool should also be a later progression, not the starting point.
A practical test is the “quality rule”: if you need to grab the support repeatedly, twist your body, or rush through the movement, the difficulty is too high. Return to the previous level for another week.
Where a stability ball fits—and where it does not
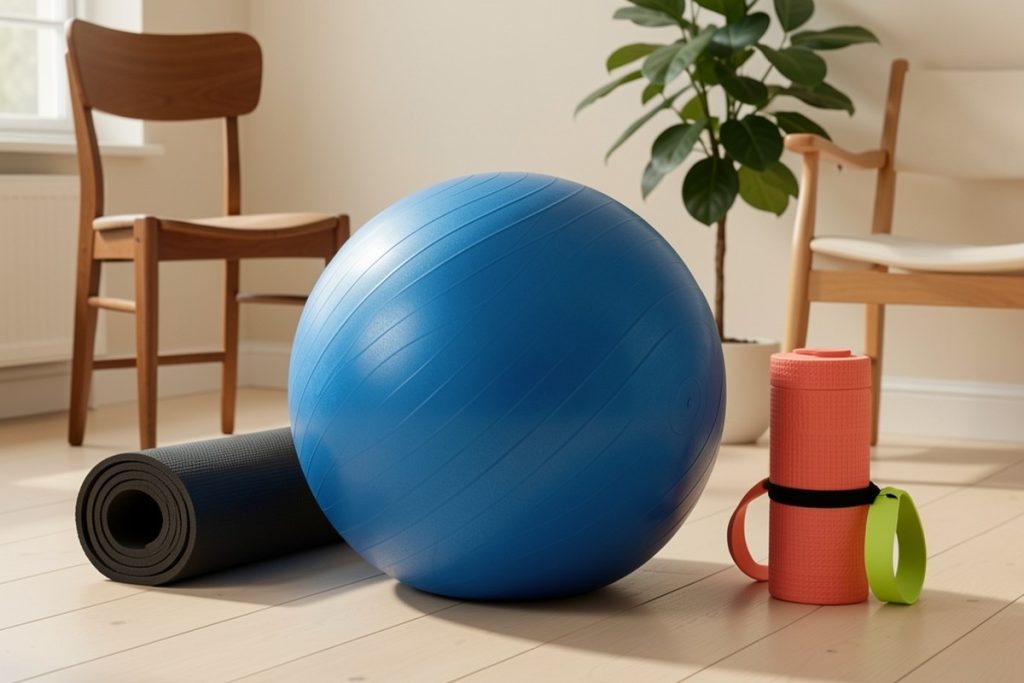
You do not need special equipment for this plan. If you want an optional home-fitness prop after mastering stable-floor drills, the APEXUP Yoga Ball is listed with an anti-burst design, pump, and five size options. Those are product specifications, not evidence that the ball will automatically improve your balance. Choose the correct size, inflate it according to the manufacturer’s guidance, inspect it before use, and keep it away from sharp surfaces.
Use a stability ball for supported seated posture or carefully selected progressions—not as a substitute for a stable support when you are learning to stand on one leg. An unstable surface increases the challenge, which can be useful for an experienced exerciser but counterproductive when basic control is still developing.
Common mistakes that slow progress
- Going too fast: Momentum hides weak control. Slow down until you can feel where your weight is moving.
- Training only the stronger side: Begin with the less steady side, then match that amount of work on the other side.
- Practicing while exhausted: Balance quality drops when your legs are already fatigued. Schedule this routine early in a workout or on its own.
- Turning every session into a test: Stop one repetition before failure. The aim is repeatable practice, not proving how long you can wobble.
When to get professional guidance
Speak with a healthcare professional or physical therapist if you have fallen recently, feel unsteady during ordinary walking, or have a condition affecting vision, sensation, joints, blood pressure, or coordination. Stop exercising and seek appropriate medical help for chest pain, fainting, severe shortness of breath, or sudden neurological symptoms. A professional can also tailor the routine after surgery, pregnancy, or an injury.
For everyone else, consistency is the advantage. Keep the session simple, repeat it often, and make progress only when your current level feels controlled. Better balance is built through hundreds of calm, accurate decisions—not one heroic workout.
Last reviewed: 2026-10-19
Sources
- Physical Activity Guidelines for Americans, 2nd Edition — U.S. Department of Health and Human Services
- WHO Guidelines on Physical Activity and Sedentary Behaviour — World Health Organization