Quick answer
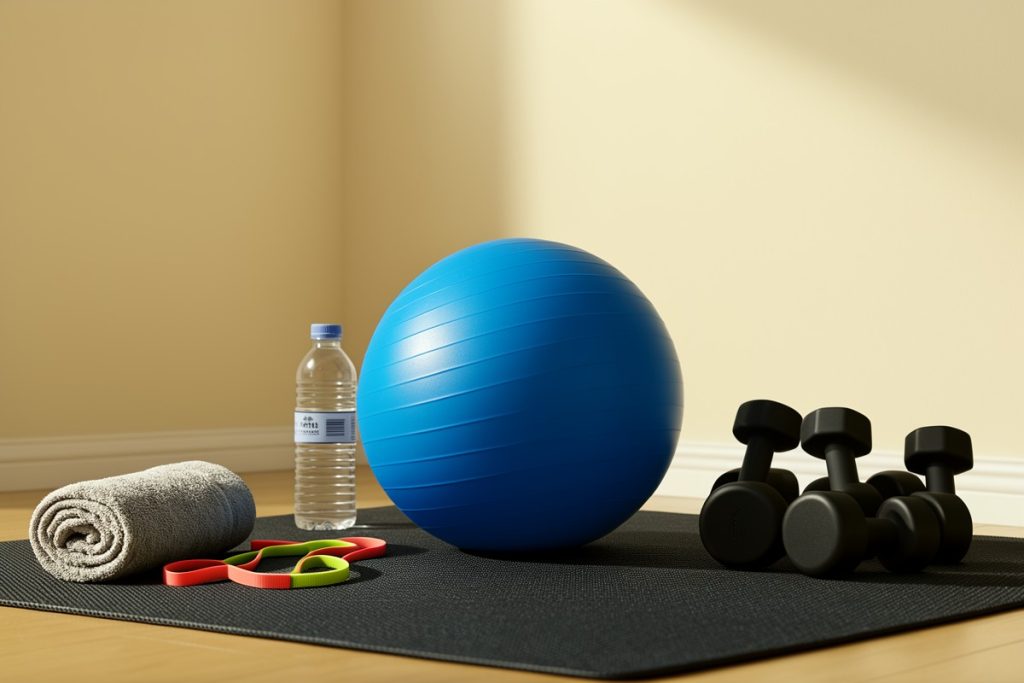
An exercise ball can make a low-impact home core session more challenging without jumping or heavy equipment, but it should support good control rather than create instability for its own sake. Start with ball presses, heel taps, bridges, and supported marches for 10–20 minutes, two or three times weekly. Stop when form slips, and progress by adding controlled repetitions—not speed.
Key takeaways
- Use the ball to improve control, not to force extreme wobbling.
- Begin with two rounds of four low-impact movements.
- Keep your ribs relaxed, breathe steadily, and stop before your back arches.
- Progress by adding repetitions or time before choosing harder variations.
Why use an exercise ball for a low-impact core workout?
An exercise ball gives you a moving surface, so your body has to make small adjustments while you hold a position or complete a repetition. That can make familiar exercises feel more demanding without running, jumping, or lifting heavy weights. It is especially useful when you want a compact home routine that trains trunk control alongside hips and shoulders.
The ball is not automatically better than a stable floor. Its value is that it offers a different challenge and several exercise options with one piece of equipment. If balancing on it makes you tense, hold your breath, or lose your spinal position, use a wall, floor, or chair for support instead. A controlled floor exercise is more useful than a difficult ball exercise performed poorly.
This routine is designed for general fitness, not injury rehabilitation. Anyone with significant back, hip, shoulder, or balance concerns should ask a qualified healthcare professional which movements are appropriate.
Set up the ball safely before exercising
Choose a clear, nonslip area with enough room to lie down and extend your arms and legs. Keep the ball away from sharp furniture, pets, and loose rugs. Inflate it according to the manufacturer’s instructions. It should feel supportive, not so soft that your body sinks deeply or so firm that you cannot maintain a comfortable position.
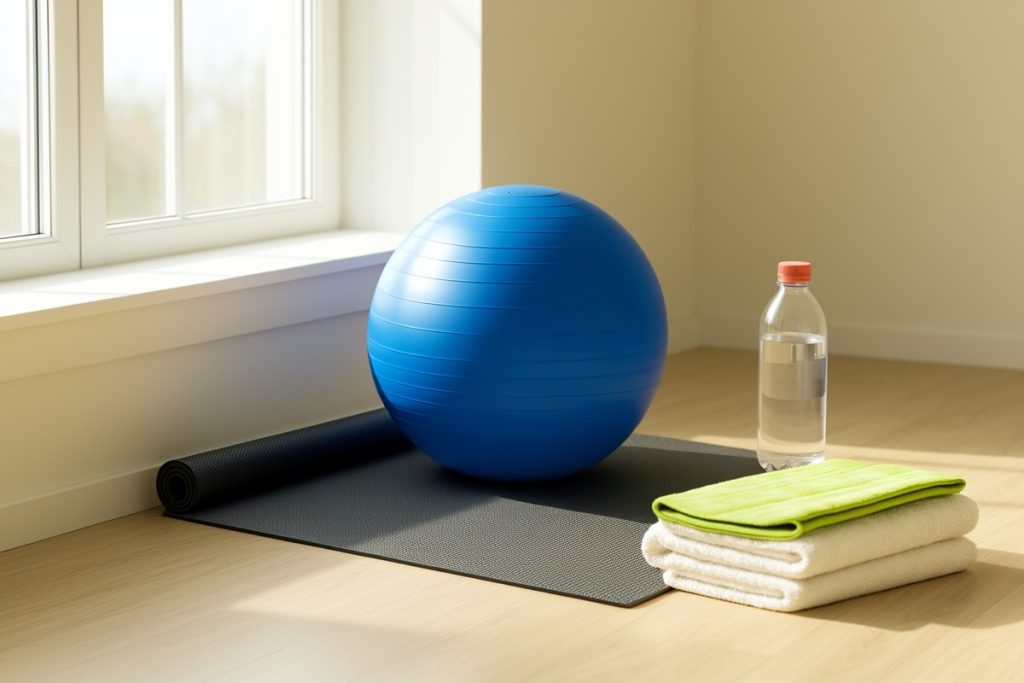
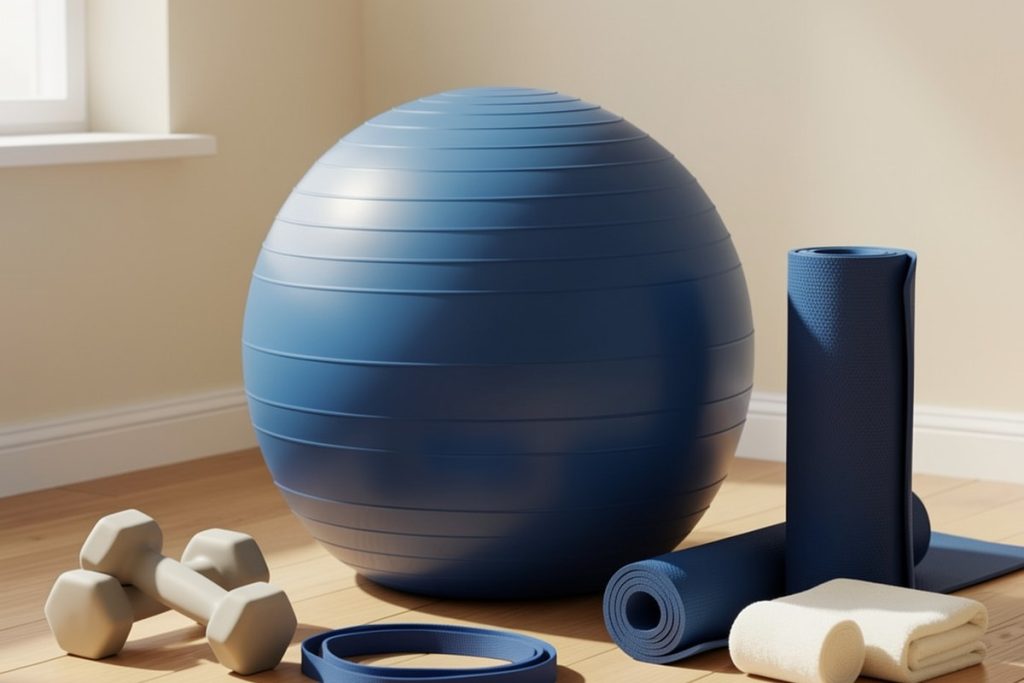
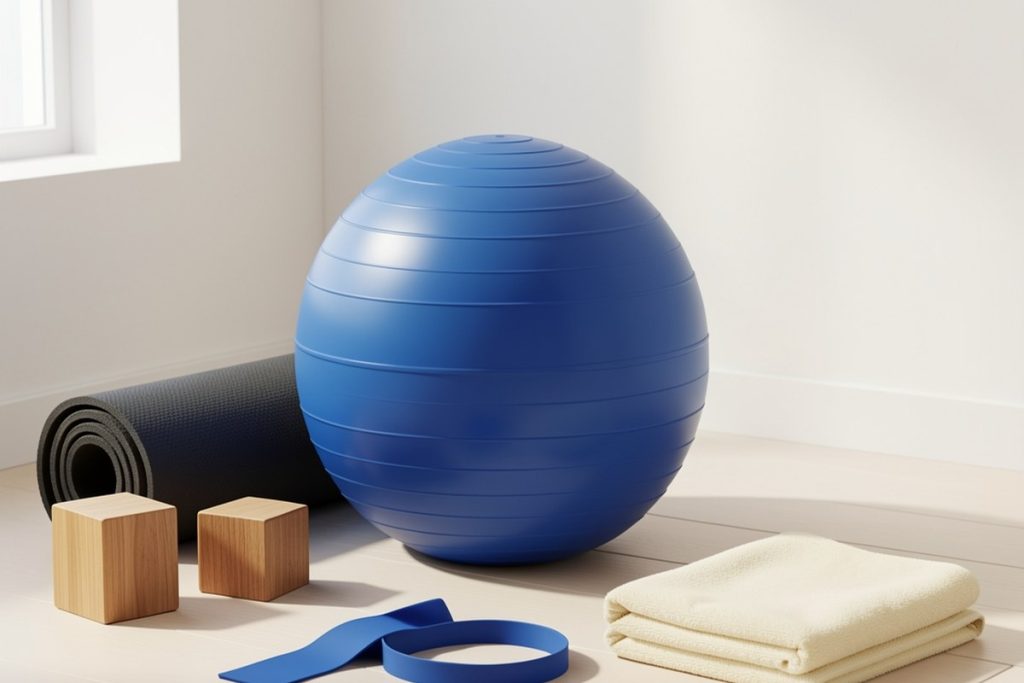
Before starting, test the surface with a gentle seated weight shift or a light hand press. Check that the ball does not slide. The approved listing for the Exercise Ball – Yoga Ball for Pilates & Fitness – Birthing for Pregnancy, Stability, Core, Balance, Therapy for Physical Rehab, Workout for Home Gym & Office Chair, Fast Pump Included describes it for core, balance, Pilates, and home workouts and says a pump is included. Because fit and firmness affect usability, confirm the manufacturer’s sizing and setup information before buying.
Wear shoes with reliable traction or exercise barefoot if that is comfortable and safe. Keep your movements slow enough to notice whether your lower back, neck, or shoulders are compensating.
A 15-minute beginner exercise ball core workout
Complete the following sequence for two rounds. Rest for 30–60 seconds between movements and longer if your breathing has not settled. Aim for about five out of ten effort during the first session. The goal is repeatable control, not exhaustion.
1. Supine ball press
Lie on your back with knees bent and feet planted. Hold the ball between your palms and thighs, with your elbows relaxed. Gently press your hands and thighs into the ball without crushing it. Exhale as you brace your abdomen, hold for five calm breaths, then release. Repeat six to eight times.
Keep your ribs from flaring and your lower back in a comfortable neutral position. This is an accessible way to practice bracing before adding movement.
2. Heel taps with the ball supported
Lie on your back and place your lower legs on top of the ball, knees bent. Find a position where the ball is stable, then slowly tap one heel toward the floor and return it. Alternate sides for six to eight repetitions per leg.
If the ball rolls too much, move it closer to your hips or keep both feet on it while you practice holding the position. Your pelvis should stay quiet; reduce the range if your back begins to arch.
3. Glute bridge with calves on the ball
Place your calves on the ball and extend your arms beside you. Press gently through your heels, lift your hips until your body forms a comfortable diagonal, pause for one breath, and lower slowly. Complete eight to ten repetitions.
Do not chase height. Stop the lift when you feel your glutes working without pinching in your lower back. If the ball feels unpredictable, place your feet on the floor and perform a regular bridge.
4. Standing ball march
Stand with your back near a wall and hold the ball at chest height. Keep your ribs stacked over your pelvis as you slowly lift one knee a few inches, lower it, and switch sides. Continue for 30 seconds.
Use the wall for light support if needed. Keep the ball close to your body at first; moving it farther away increases the demand on your trunk and shoulders.
Use this form checklist for every session
| Check | What to look for |
|---|---|
| Breathing | You can exhale during effort without holding your breath. |
| Alignment | Ribs remain comfortably over the pelvis rather than flaring upward. |
| Control | The ball moves slowly and does not force jerky corrections. |
| Discomfort | Muscle effort is acceptable; sharp, worsening, or radiating pain is a stop signal. |
How to progress without making the workout reckless
Repeat the same routine two or three times per week for two weeks before changing it. First add one or two repetitions to each exercise. Next, add five to ten seconds to the standing march or reduce rest slightly. Only then consider a harder variation, such as extending one leg farther during heel taps or holding the ball farther from your chest during marches.
Keep at least one easier option available. For example, replace the ball bridge with a floor bridge, or perform heel taps with one foot remaining planted. Scaling down is not a failed workout; it lets you accumulate quality practice and return consistently.
General activity guidelines recommend combining aerobic movement with muscle-strengthening activity across the week. This short routine can contribute to the strengthening portion, but it does not replace walking, cycling, swimming, or another activity that raises your heart rate.
Common mistakes to avoid
- Going straight to advanced instability: Start with the ball supported by the floor, wall, or multiple body contact points.
- Moving faster when tired: Slow down or stop when you cannot control the return phase.
- Pulling your neck forward: Keep your head relaxed and your gaze upward during floor exercises.
- Training through pain: Muscle fatigue is different from sharp pain, numbness, or symptoms that travel into an arm or leg.
- Treating the ball as a test of balance: The best result is a steady, repeatable movement pattern.
Finish with a few easy breaths and a short walk around the room. If the routine leaves you unusually sore or aggravates an existing symptom, reduce the volume or seek individualized guidance before repeating it.
Last reviewed: 2026-09-04
Sources
- Physical Activity Guidelines for Americans, 2nd edition — U.S. Department of Health and Human Services
- WHO Guidelines on Physical Activity and Sedentary Behaviour — World Health Organization
- Physical Activity Guidelines for Adults — Centers for Disease Control and Prevention