Quick answer
A stability ball can make beginner home workouts more engaging by adding gentle balance and control challenges to simple movements. Start with seated marches, wall squats, glute bridges, and mobility work for 10–15 minutes, two or three times weekly. Use a clear, non-slip space, inflate the ball according to its instructions, and stop if you feel pain or cannot control the movement.
Key takeaways
- Choose a ball that lets your knees stay close to a right angle when seated.
- Begin with slow, supported movements rather than advanced balance exercises.
- A stability ball can complement, but not replace, walking and strength training.
- Use extra caution during pregnancy, after injury, or when balance is limited.
Why use a stability ball at home?
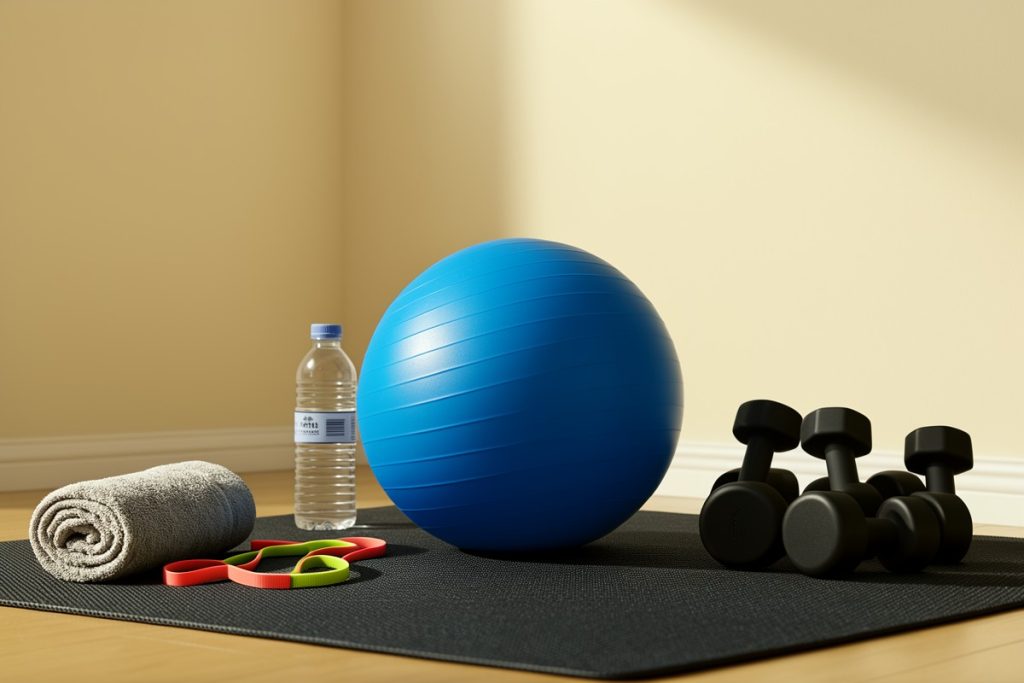
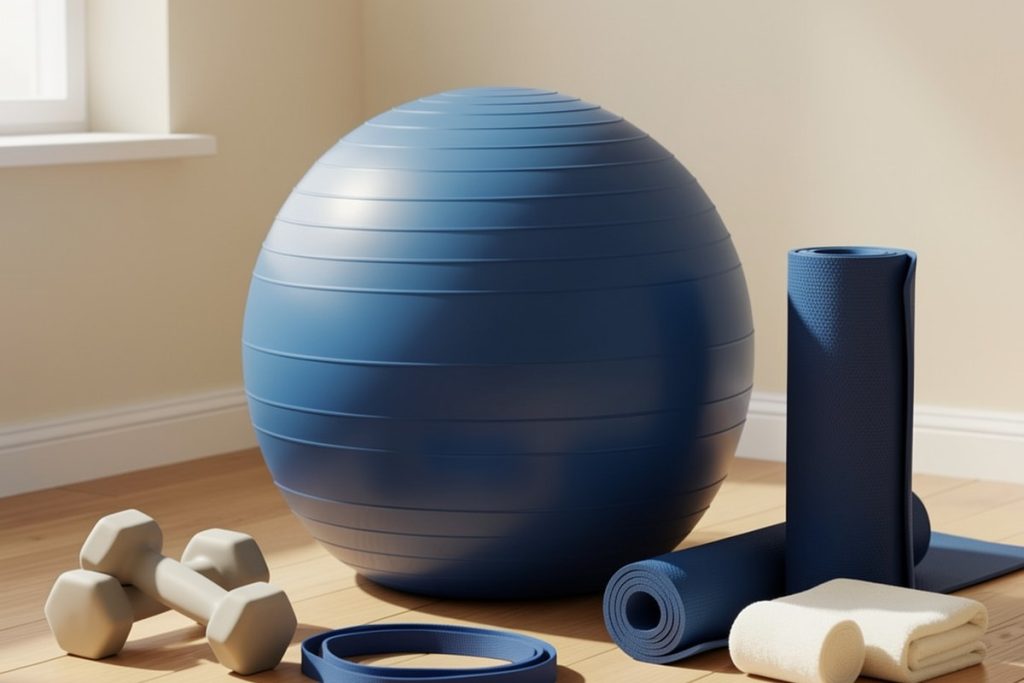
A stability ball is useful when you want more variety without filling your home with equipment. Its rounded surface moves slightly beneath you, encouraging controlled adjustments during exercises that would otherwise feel very familiar. That can make a basic squat, bridge, or seated march more deliberate.
The goal is not to wobble as much as possible. Good training means staying in control, breathing normally, and keeping the movement small enough that you can maintain steady form. For beginners, the ball is best viewed as a tool for practice and variety—not a shortcut to faster results.
It can also support a broader routine. The CDC’s adult activity guidance recommends a combination of aerobic activity and muscle-strengthening work each week. A short ball routine may help with the strengthening portion, but regular walks, cycling, dancing, or another enjoyable aerobic activity still matters.
Set up your stability ball safely
Before exercising, give yourself enough room to move without hitting furniture. Place the ball on a firm, level surface rather than a thick rug, slippery floor, or uneven patio. Keep it away from sharp table edges, pets, and clutter that could cause you to step awkwardly.
- Check the ball for visible damage before each session.
- Inflate it until it feels supportive but not excessively hard.
- Wear shoes or go barefoot only if the floor provides reliable traction.
- Keep a sturdy wall, counter, or chair nearby for balance support.
- Start close to the floor and avoid movements that make you feel unstable.
Fit matters, especially for seated work. When you sit on the ball with your feet flat, your knees should be roughly level with or slightly lower than your hips. If your hips sink below your knees, the ball may be too small, too soft, or unsuitable for your body dimensions. Follow the sizing and weight guidance provided with the specific product.
If you are considering a ball for home exercise, the Trideer Yoga Ball for Exercise, Pilates, Core & Balance Training, Stability Ball for Pregnancy & Birthing Prep, Physical Therapy, Daily Stretching, Office Chair for Active Sitting, Quick Pump Included is one option to compare. Its listing identifies uses including exercise, stretching, active sitting, and a quick pump. It is not automatically the right choice for everyone, so confirm the available size, weight guidance, and return terms before buying.
A 15-minute beginner stability-ball routine
Move through the exercises below at a controlled pace. Rest for 30–60 seconds between movements and complete one or two rounds. If you are new to exercise, one round is enough for the first week.
| Exercise | What it practices | Starting dose |
|---|---|---|
| Seated march | Posture and gentle balance | 30 seconds |
| Wall-supported squat | Leg strength and control | 8–10 repetitions |
| Glute bridge with calves on ball | Hip and posterior-chain strength | 8–10 repetitions |
| Supported seated stretch | Easy mobility and breathing | 60 seconds |
1. Seated march
Sit near the center of the ball with both feet planted about hip-width apart. Keep your chest relaxed and lightly brace your midsection. Lift one foot a few centimeters, set it down, then switch sides. Move slowly enough that the ball does not roll beneath you. If that feels difficult, keep both feet down and practice shifting your weight gently from side to side.
2. Wall-supported squat
Place the ball between your lower back and a wall. Walk your feet slightly forward, then bend your knees only as far as you can while keeping your feet flat and your back supported. Push through the floor to stand. Keep the range comfortable; a shallow squat is more useful than dropping low and losing control. Hold a countertop or use a nearby chair if needed.
3. Glute bridge
Lie on your back with your calves resting on the ball and your arms by your sides. Press gently through your feet, lift your hips a few inches, pause, and lower with control. Keep your ribs from flaring and avoid arching your lower back. If the ball feels too mobile, place your feet on the floor and perform a regular bridge instead.
4. Supported seated stretch
Return to a comfortable seated position. Place your feet wide enough to feel stable, then slowly reach one arm overhead while leaning a small amount to the opposite side. Return to center and switch. Finish with five slow breaths, allowing your shoulders and jaw to relax. This is a mobility exercise, not a test of how far you can bend.
How to progress without overdoing it
Repeat the routine two or three times per week, leaving at least a day between sessions at first. Progress one variable at a time: add a second round, increase each timed exercise by 10 seconds, or add two repetitions. Do not increase all three in the same week.
A useful progression is to improve control before adding difficulty. For example, hold the seated position without gripping the wall, slow down the squat, or pause briefly at the top of a bridge. Advanced moves such as kneeling balance drills, plank variations, and ball pikes can wait until basic exercises feel steady and repeatable.
Use the talk test as a simple guide: you should be able to speak in short sentences during this light-to-moderate routine. For overall health, the U.S. Physical Activity Guidelines provide the larger weekly framework; a stability-ball session is only one small piece of it.
Should you use it as an office chair?
Sitting on a ball for a short period can break up a static workday, but it is not a complete ergonomic solution. The ball offers little back support, and fatigue may cause you to slump. If you try active sitting, alternate it with a supportive chair, stand regularly, and keep your feet firmly on the floor. Do not treat discomfort as proof that the setup is working.
When to modify or skip the routine
Stop an exercise if you feel sharp pain, unusual joint pressure, dizziness, numbness, or loss of control. If you have a recent injury, significant balance concerns, or a condition that affects movement, ask a qualified clinician or physical therapist how to adapt the exercises.
Pregnancy also deserves individual guidance. A ball may be used for comfort, mobility, or exercise in some pregnancies, but balance and movement needs change. The American College of Obstetricians and Gynecologists’ guidance on exercise during pregnancy recommends discussing activity with a healthcare professional when complications or concerns are present. Do not rely on a product description as medical advice.
The best stability-ball routine is one you can perform consistently and confidently. Keep the movements simple, make the setup safe, and combine the ball with walking and conventional strength exercises. Over time, better control and regular practice matter more than trying to make every exercise unstable.
Last reviewed: 2026-08-31
Sources
- Physical Activity Guidelines for Adults — Centers for Disease Control and Prevention
- Physical Activity Guidelines for Americans, 2nd edition — U.S. Department of Health and Human Services
- Four Types of Exercise Can Improve Your Health and Physical Ability — National Institute on Aging
- Physical Activity and Exercise During Pregnancy and the Postpartum Period — American College of Obstetricians and Gynecologists