
Quick answer
A holiday baking station is a dedicated, temporary setup that groups frequently used tools, ingredients, and cleanup supplies in one reachable area. In a small kitchen, choose one drawer or shelf for tools, one counter zone for mixing, and a separate place for overflow. Set it up before baking day, then reset it after each session to keep seasonal cooking manageable.
Key takeaways
- Plan the station around your baking sequence rather than placing every kitchen tool within reach.
- Use one drawer or shelf for small tools and reserve the counter for active preparation.
- Keep bulky equipment, backup ingredients, and rarely used decorations outside the main work zone.
- Build cleanup and food-safety steps into the setup so the station stays useful throughout the season.
By Autumn Cole, Seasonal Lifestyle Curator
Plan the station around one baking session
A small kitchen becomes difficult during the holidays when several recipes compete for the same counter, measuring tools, and oven time. The solution is not to bring every seasonal item into the room. It is to create a temporary baking station that supports the recipes you are actually making.
Start by choosing the first one or two recipes for your baking session. Write down the repeated actions: measuring dry ingredients, mixing, rolling, shaping, baking, cooling, and decorating. The tools used across those steps belong in the station. A recipe-specific gadget used once can stay in storage until it is needed.
This approach also helps you notice bottlenecks. If every recipe needs the same whisk, measuring spoons, or cooling rack, place those items where they are easy to grab. If one recipe requires a stand mixer while another needs a large rolling area, schedule them in an order that avoids moving heavy equipment back and forth.
Create three simple zones
Your station does not need a separate piece of furniture. It can fit into one section of a counter, a kitchen cart, or a nearby table. Divide it into three practical zones:
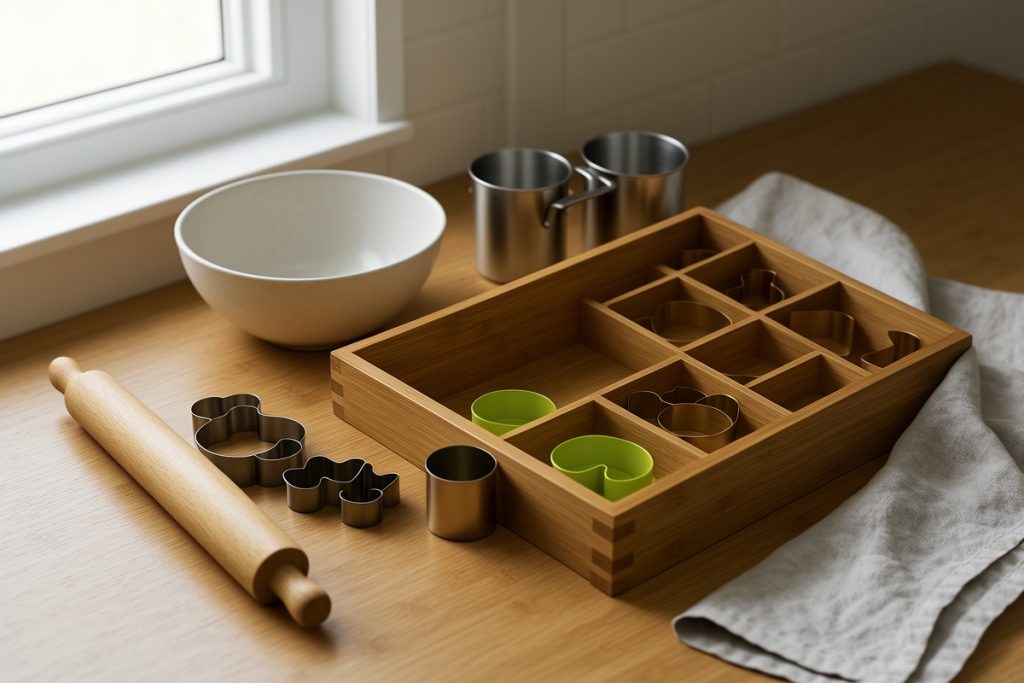
- Tool zone: Keep measuring spoons, spatulas, whisks, cookie cutters, and other small tools together. This is the best place for a drawer or shallow container.
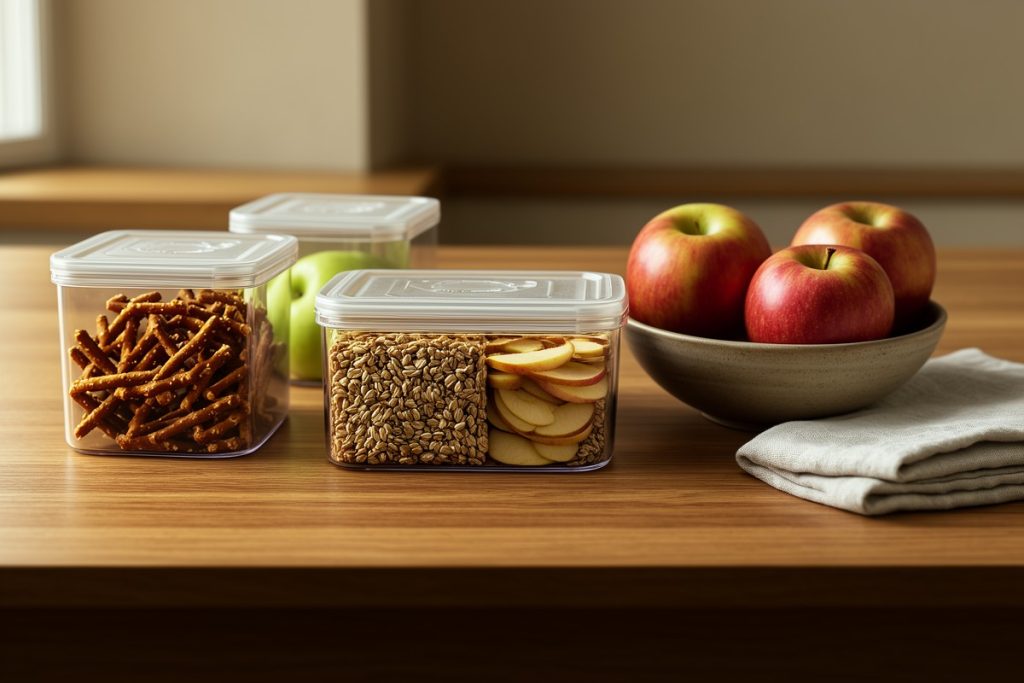
- Ingredient zone: Place only the ingredients needed for the current recipe within reach. Keep unopened backups elsewhere so the work surface does not become crowded.
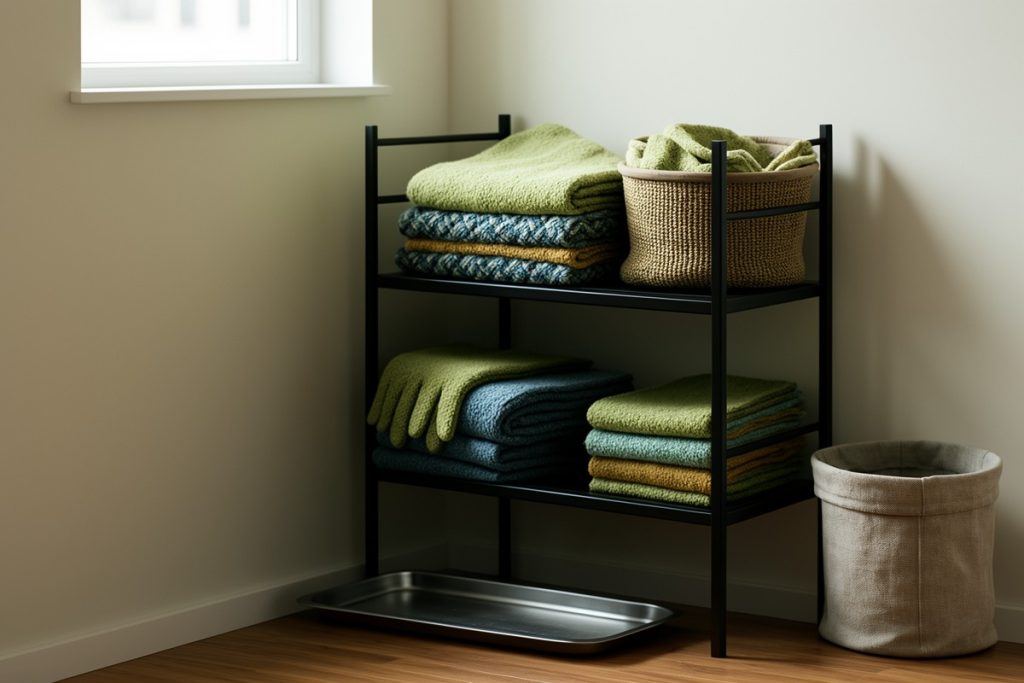
- Action and cleanup zone: Leave enough counter space for mixing or shaping, with a towel, scraper, and waste bowl nearby. Cleanup supplies should be visible but not in the way.
Think of the counter as a landing strip, not permanent storage. Once a task is finished, return its tools to the tool zone and move completed trays to a cooling area. That small reset prevents bowls, wrappers, and utensils from taking over the entire kitchen.
Choose a drawer solution that fits your actual tools
If your kitchen has one shallow drawer near the counter, it can become the station’s most useful home base. Measure the drawer’s inside width, depth, and height before buying anything. A tray that fits poorly will waste space and may prevent the drawer from closing when tools are loaded.
The ROYAL CRAFT WOOD Luxury Bamboo Kitchen Drawer Organizer has a nine-slot layout intended for separating flatware and utensils. That arrangement may work for a baker who wants measuring tools and narrow utensils kept apart rather than mixed in a single container. It will not replace counter space, hold bulky equipment, or solve a drawer that is too small, so check the dimensions and decide which tools genuinely deserve a dedicated slot.
For a seasonal baking setup, prioritize the items you reach for repeatedly. Measuring spoons, a small whisk, rubber spatulas, pastry brushes, and cookie cutters usually earn more valuable drawer space than a specialty tool used for one recipe. Store the latter in a labeled household storage area or bring it out only when that recipe is on the schedule.
Keep the work surface useful, not crowded
Before baking, clear the counter completely. Then return only the mixing bowl, scale, current ingredients, and tools needed for the first stage. This creates a visible boundary between preparation and storage.
A rimmed tray can hold measured ingredients for one recipe and makes it easier to move them if you need the counter for another task. Use a separate tray or cooling area for finished items. Avoid stacking hot baking sheets near ingredients, towels, or decorations; the extra separation makes the station easier to use safely.
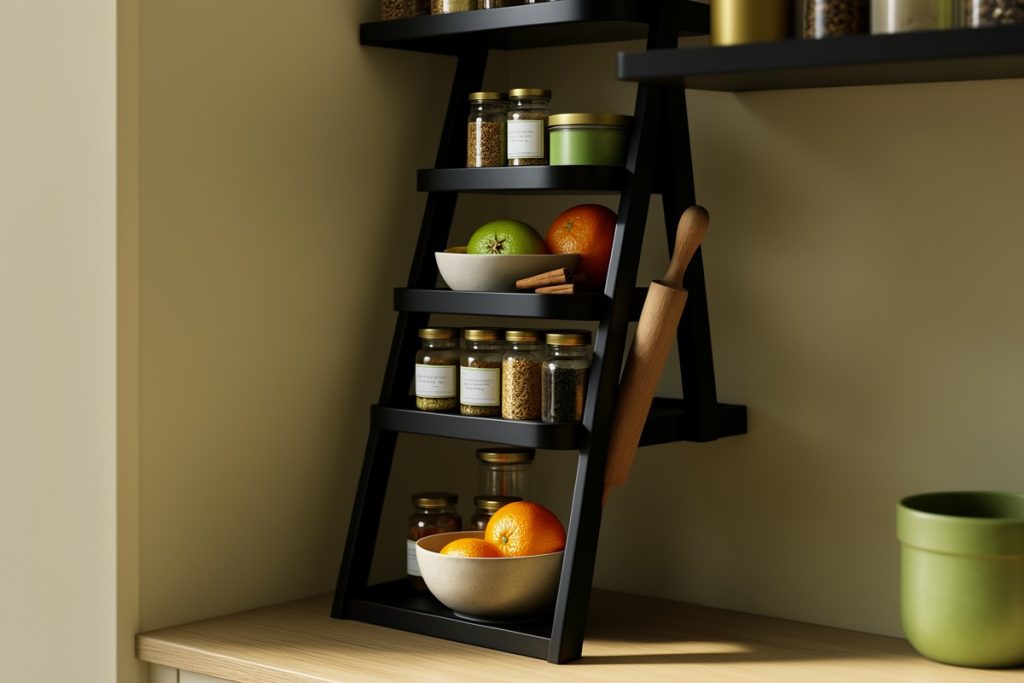
For small kitchens, vertical storage can help without expanding the footprint. A wall rail, shelf, or sturdy stand can hold mixing bowls and frequently used equipment, but only if it does not interfere with cabinet doors, ventilation, or safe movement around the oven. The goal is fewer trips, not more objects on display.
Use this ten-minute setup checklist
- Choose the menu: Select the recipes for this session and identify shared tools.
- Clear the landing area: Remove mail, appliances, and unrelated ingredients from the counter.
- Stock the tool zone: Put the small utensils you will repeatably use into one drawer or container.
- Stage ingredients selectively: Set out current ingredients, while keeping backup supplies in storage.
- Prepare cleanup: Place a towel, scraper, waste bowl, and empty space for used equipment nearby.
- Set a reset point: Decide where cooling trays, finished goods, and washed tools will go before you begin.
This checklist takes less time than searching through several drawers once the mixing has started. It also makes the station repeatable: after the first session, you can adjust the layout based on what you actually reached for instead of guessing.
Make food safety part of the seasonal routine
Holiday baking often involves eggs, dairy, fillings, and doughs that should not sit out indefinitely. As a basic food-safety rule, the USDA advises refrigerating perishable foods within two hours, or within one hour when the temperature is above 90°F. If a recipe includes a perishable filling or frosting, clear refrigerator space before you begin rather than treating storage as an afterthought.
Keep raw ingredients and ready-to-eat decorations separate when practical, and wash tools between recipes when they contain allergens or ingredients that could affect another batch. A clean, dedicated towel and a quick wipe of the counter between recipes are simple ways to reduce avoidable mess.
When the session ends, let suitable baked goods cool according to the recipe, wash the tools that belong in the drawer, and return only dry items to their storage spaces. Wipe the counter, remove food scraps, and leave the station ready for the next recipe. A five-minute reset is much easier than rebuilding the kitchen after several days of holiday baking.
Make the station temporary by design
A good holiday baking station should disappear when the baking is done. Keep a small list of the tools and supplies that worked well, then return seasonal equipment to a single storage area. If the same drawer becomes useful every year, reserve it for baking during the season and give it another purpose afterward.
The best setup is not the one with the most equipment. It is the one that lets you move from measuring to mixing to cleanup without repeatedly searching, shifting appliances, or surrendering the whole kitchen. Start with one recipe, one counter zone, and the tools you actually use. You can expand the station only when the workflow proves that expansion is necessary.
Last reviewed: 2026-10-02