
Quick answer
To do hip thrusts at home, place your upper back against a sturdy bench or sofa, plant your feet, rest a dumbbell across your hips, and drive through your mid-foot. At the top, squeeze your glutes without arching your lower back. Begin with controlled sets of 8–12 repetitions, then increase the load gradually when your form stays strong.
Key takeaways
- Use a stable, padded surface and keep your ribs stacked over your pelvis.
- Drive through your whole foot, finishing with your hips rather than your lower back.
- Start with 2–3 controlled sets of 8–12 repetitions.
- Add weight only when you can pause at the top without losing position.
By Jax Morrison, High-Energy Motivator
Build a stable home hip-thrust setup
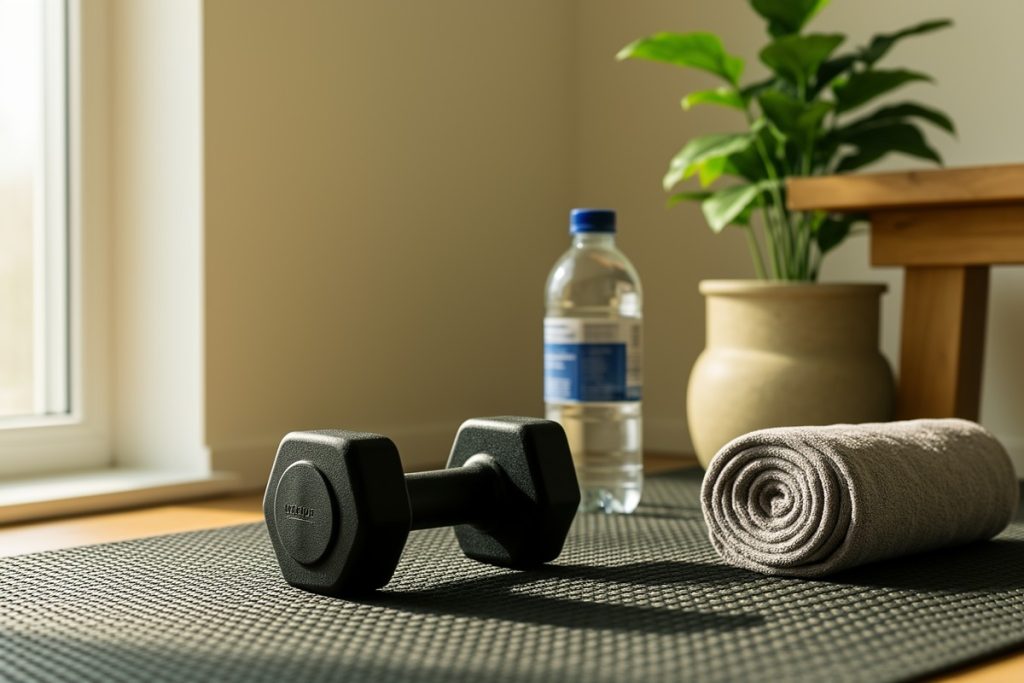
A hip thrust is only useful if your setup stays put. Choose a firm bench, low platform, or sturdy sofa that does not slide when you lean against it. The top edge should contact the area around your shoulder blades, not your neck. If the surface is hard, place a folded towel or exercise mat between your back and the support.
Use a dumbbell that you can control with both hands. Position it horizontally across the crease of your hips, with padding between the weight and your body. Keep the weight centered so it does not roll toward one side. Your feet should be roughly hip-width apart, although a small adjustment may help you find a comfortable range of motion.
Before adding weight, perform a few unweighted repetitions. This lets you check whether the bench moves, the dumbbell feels secure, and your hips can reach full extension without discomfort.
How to perform a dumbbell hip thrust
- Sit on the floor with your upper back against the support and the dumbbell resting across your hips.
- Bend your knees and place your feet flat. Keep your heels close enough that your shins are nearly vertical at the top of the movement.
- Press through your mid-foot and heel to raise your hips. Move as one unit rather than lifting your chest first.
- Pause briefly at the top. Your shoulders, hips, and knees should form a comfortable straight line.
- Lower slowly until your hips are near the floor, keeping the weight controlled throughout the descent.
The goal is controlled hip extension, not the highest possible lift. A strong finish feels like your glutes are contracting while your ribs remain down. If you feel most of the effort in your lower back or the front of your thighs, reduce the range of motion or load and reassess your foot position.
Choose reps, sets, and weight you can repeat
For a beginner home workout, try 2–3 sets of 8–12 repetitions with about 60–90 seconds of rest. These are practical starting points, not rules you must force. If you are new to resistance training, begin with body weight or a very light dumbbell until the movement feels consistent.
Use a simple progression rule: when you can complete all your planned repetitions with a controlled lowering phase, a brief pause at the top, and no painful compensation, add a small amount of resistance in your next session. You can also progress by adding one repetition per set before increasing weight. Keep one or two good repetitions in reserve rather than turning every set into a struggle.
Hip thrusts can support a broader strength routine, but they should not be your only exercise. Include movements that train your upper body, core, knees, and ankles as well. U.S. physical activity guidance recommends muscle-strengthening activity for all major muscle groups on at least two days per week.
When a hip thrust belt helps at home
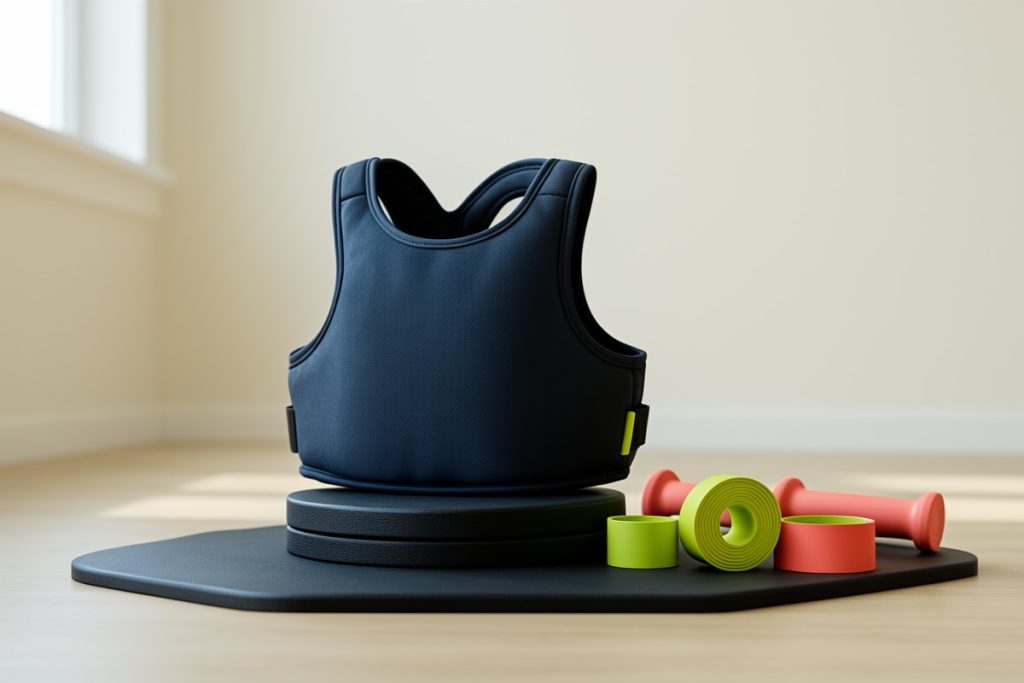
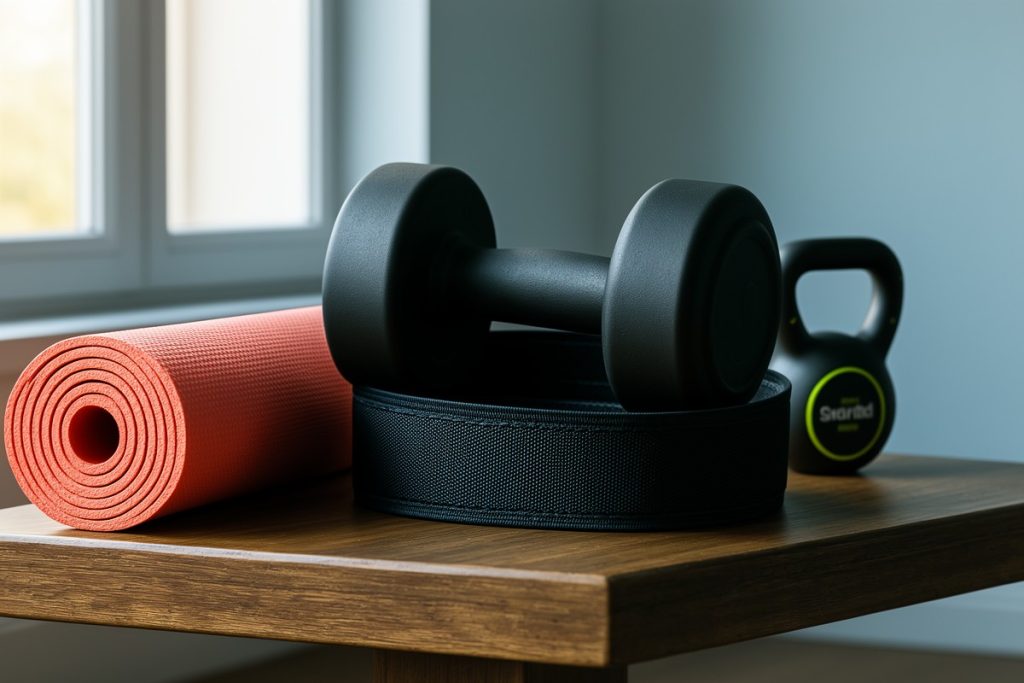
A belt can make a dumbbell or kettlebell setup more comfortable by spreading contact across the hips instead of concentrating pressure at one narrow edge. It may also help keep the weight positioned while you focus on bracing and hip movement. That does not replace a stable bench, appropriate loading, or good technique.
One home-fitness option is the Balency Hip Thrust Belt, which is listed for hip thrusts with dumbbells or kettlebells and includes non-slip padding. Consider it if direct contact with a dumbbell is the main thing limiting your comfort. Check the fit and weight position before each set, and stop using it if it shifts, pinches, or makes your setup less stable.
| What you notice | Best adjustment |
|---|---|
| Dumbbell digs into your hips | Add padding or use a properly fitted belt. |
| Hamstrings dominate the movement | Move your feet slightly closer and test a lighter load. |
| Lower back arches at the top | Reduce the height of the lift and brace more gently. |
| Knees collapse inward | Lower the weight and keep your knees tracking over your feet. |
Common mistakes that reduce the benefit
Using a support that slides
A moving sofa or unstable bench changes the exercise into a balance challenge. Test the support with body weight first. Place it against a wall if appropriate, but do not block a doorway or create a trip hazard.
Overarching to reach the top
Your hips do not need to rise as high as possible. Stop when your torso and thighs align comfortably. If your ribs flare or your back takes over, lower the weight and finish with a smaller, cleaner motion.
Rushing the descent
Dropping quickly removes control and makes it harder to tell whether the load is appropriate. Take roughly two seconds to lower, then drive up smoothly. A brief pause at the top can make a lighter dumbbell challenging without adding unnecessary weight.
Letting the knees drift
Your knees should generally follow the direction of your toes. They do not need to be perfectly fixed, but avoid letting them collapse inward as you fatigue. End the set when you can no longer maintain a comfortable, controlled position.
A simple 10-minute home routine
Complete two rounds with steady technique: 10 dumbbell hip thrusts, 8 body-weight split squats per side, 10 incline push-ups against a sturdy surface, and a 20–30-second side plank per side. Rest as needed. The routine gives the hip thrust a place in a balanced session rather than treating it as a complete workout by itself.
Use the following checklist before your next set:
- Is the bench or sofa stable?
- Is the weight centered and padded?
- Can you keep your ribs down and chin slightly tucked?
- Can you pause at the top without lower-back discomfort?
- Can you lower the weight under control?
When to modify or stop
Muscle effort and mild fatigue are normal; sharp pain, numbness, joint pain, or persistent back discomfort are reasons to stop and reassess. Try body weight, a shorter range of motion, or a different support. If symptoms continue, seek advice from a qualified healthcare professional. People returning from injury, pregnancy, or surgery should follow individualized guidance rather than copying a generic routine.
Consistency matters more than finding the heaviest dumbbell in the house. Start with a setup you can repeat, make each repetition deliberate, and progress only when your technique earns the next challenge.
Last reviewed: 2026-10-02
Sources
- Physical Activity Guidelines for Americans, 2nd edition — U.S. Department of Health and Human Services
- Progression Models in Resistance Training for Healthy Adults — American College of Sports Medicine position stand
- WHO Guidelines on Physical Activity and Sedentary Behaviour — World Health Organization